If your core gives out before the rest of the pose does, a longer Plank is not always the answer. This yoga sequence for core strength starts with easier stability work, builds into Plank, Side Plank, and Boat, then finishes with easier floor work so you can stop while your form is still clean.
You can follow all 11 poses or use the route selector below to choose a shorter foundation, steady, challenge, or no-floor version. Every strength pose has a way to scale down, and pain is a stop signal—not a score. If stiffness is the bigger barrier than strength, use the yoga flexibility guide alongside this routine.
Table of Contents
- How to Use This Core-Strength Sequence
- Safety First: When to Modify or Stop
- Quick Setup & Warm-Up
- Choose Your Core Practice for Today
- Step-by-Step Yoga Sequence for Core Strength
- How to Progress Without Chasing Longer Holds
- Frequently Asked Questions About Yoga for Core Strength
- Your Next Core Practice
How to Use This Core-Strength Sequence
For this routine, “core strength” means keeping your trunk steady while your arms or legs move. You do not need to suck your stomach in or hold your breath. Think steady ribs, steady pelvis, normal breathing while the pose gives your midsection something to resist.
- Start easier than you think. A controlled knees-down Plank is more useful than a full Plank that turns into breath-holding and sagging.
- Use the route selector. It can turn the full sequence into a 10-minute option or a longer version based on the starting position and time that fit today.
- Progress one variable at a time. Add a little time, a harder variation, or more of the sequence—rather than increasing everything at once.
- No floor today? The sequence includes a short seated core starter so floor access is not a prerequisite.
Safety First: When to Modify or Stop
This is a general strength-oriented yoga routine, not a test you have to pass. Muscular effort is expected; sharp, pinching, radiating, or worsening pain is not.
- Wrists or shoulders: Use Tabletop, knees-down Plank, or Forearm Plank instead of forcing straight-arm loading.
- Lower back: Keep Boat and leg-lowering ranges small enough that you can breathe normally and keep your back comfortable. Low Boat is optional.
- Pregnancy, postpartum, injuries, or health conditions: Use guidance appropriate to your situation rather than assuming this generic sequence fits unchanged. The NCCIH yoga safety overview notes that some people, including pregnant people and those with health conditions, may need yoga modifications.
- Persistent symptoms: If a movement repeatedly causes pain, numbness, tingling, or symptoms that are getting worse, stop using that movement as a strength exercise and get qualified guidance.
Useful rule: finish a set while you can still control the shape and breathe. “More shaking” is not a required sign of a better core session.
Quick Setup & Warm-Up
You do not need special equipment. Give yourself enough floor space to extend your arms and legs, use a mat if it improves grip or comfort, and keep a folded blanket nearby for knees or head support. For a simpler home setup, see this no-equipment yoga at home routine.
- Cat-Cow: Move for 5 slow breaths to warm your spine.
- Tabletop weight shifts: Rock a little forward/back and side-to-side so wrists, shoulders, and knees tell you how they feel today.
- Exhale on effort: Gently firm around your waist as you exhale, then keep breathing instead of holding a hard brace.
Choose Your Core Practice for Today
Answer two quick questions about the starting position and practice time that fit today. You’ll get a practical version of the sequence below, including a no-floor option.
Step-by-Step Yoga Sequence for Core Strength
The core yoga poses below move from easier stability work into more demanding poses, then wind down. Follow the whole sequence or use your route result as permission to skip poses that do not fit today.
No-floor option: 3-move seated core starter
If getting to the floor is the main barrier, use a sturdy chair with your feet flat and your back unsupported. This is a starting option, not a lesser version of the practice.
- Seated brace + breath: Sit tall. Exhale and gently firm around your waist while keeping your ribs stacked over your pelvis. Take 3–5 normal breaths; relax and repeat 3 times.
- Seated knee lift: Hold the chair lightly, lift one foot a few inches without leaning back, lower with control, and alternate for 6–8 lifts per side.
- Opposite hand-to-knee press: Lift one knee slightly and press the opposite palm into it for 3–5 seconds without holding your breath. Do 3 rounds per side.
For a longer practice that stays gentle and highly adaptable, continue with these gentle yoga sequences.
| Pose | Main job | Starting range | Easy-down option |
|---|---|---|---|
| Tabletop Core Engagement | Low-load trunk control | 5 breaths | Seated brace + breath |
| Bird-Dog | Anti-rotation stability | 3–5 breaths/side | Move one limb at a time |
| Plank | Whole-body bracing | 15–30 sec | Knees down or forearms |
| Side Plank | Side-body stability | 10–20 sec/side | Lower knee down |
| Dolphin | Shoulders + trunk | 3–5 breaths | Bend knees |
| Boat | Front-body control | 3–5 breaths | Toes down / hold thighs |
| Low Boat | Higher-load front-body work | 5–15 sec | Optional / knees bent |
| Supine Leg Lowering | Pelvic-trunk control | 6–8/leg | Smaller range |
| Wind-Relieving Pose | Downshift | 3–5 breaths | One knee at a time |
| Supine Spinal Twist | Gentle mobility | 3–5 breaths/side | Support knees |
| Savasana | Rest | 1–5 min | Bend knees / support legs |
1. Tabletop Core Engagement
Start on hands and knees with wrists under shoulders and knees under hips. Exhale and gently firm around your waist as if you were preparing for a light cough, but keep breathing. Hold that steady feeling for one breath, soften, and repeat for 5 breaths.
- Make it easier: Use the seated brace above or place a folded blanket under your knees.
- Focus: Keep ribs and pelvis quiet instead of trying to pull your stomach in as hard as possible.
2. Bird-Dog for Core Stability
From Tabletop, slide your right leg back and reach your left arm forward. Keep your hips level and your lower back quiet. Hold for 3–5 breaths, then switch sides.
- Make it easier: Move only the leg or only the arm; keep the other three points of support down.
- Focus: If you’re looking for core stability yoga rather than an abs-only workout, Bird-Dog is useful because the challenge is resisting twist, not lifting the arm or leg as high as possible.
Visual cue: imagine a glass of water resting across your low back and keep it level.
3. Plank
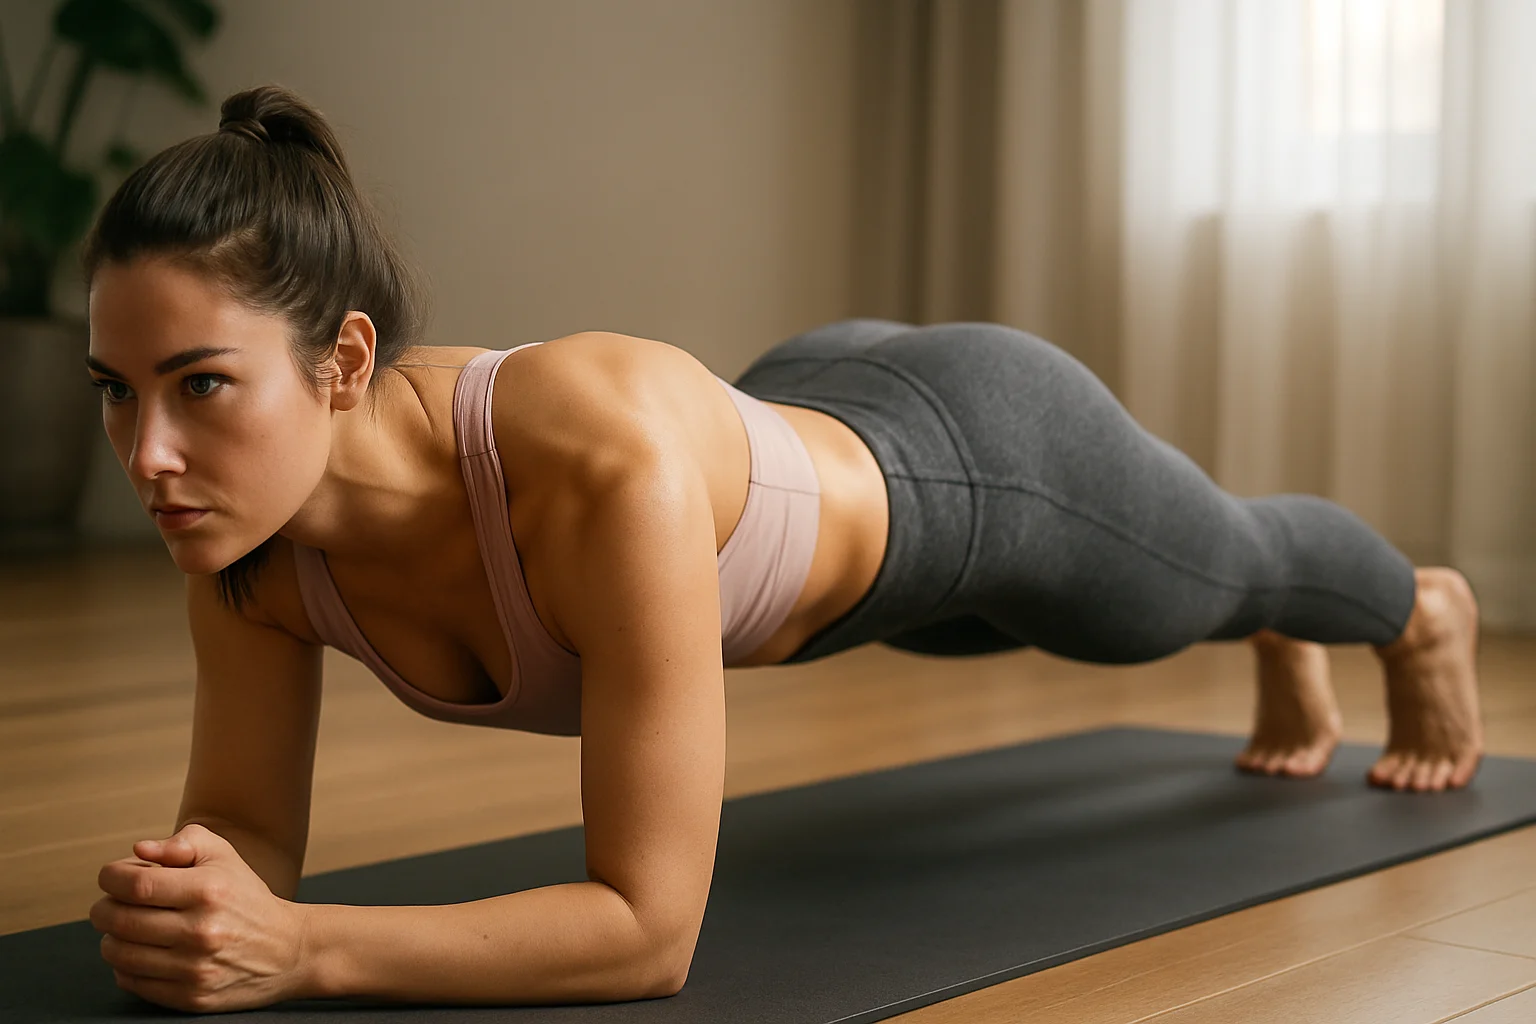
From Tabletop, step your feet back until your body forms a long line. Press the floor away and keep breathing. Start with 15–30 seconds; stop sooner if your hips sag, your shoulders pinch, or you have to hold your breath.
- Make it easier: Lower your knees or use Forearm Plank.
- Focus: Whole-body tension with normal breathing.
4. Side Plank
From Plank, shift onto one hand and the outside edge of the same-side foot. Stack the feet only if that feels steady. Hold 10–20 seconds, then switch sides.
- Make it easier: Put the lower knee down or step the top foot in front for support.
- Focus: Keep the underside of your waist lifted without forcing the shoulder.
5. Dolphin
Come to your forearms and knees, tuck your toes, and lift your hips into an inverted V. Press your forearms down and keep 3–5 steady breaths.
- Make it easier: Bend your knees and keep your heels lifted.
- Focus: Let the shoulders and trunk share the load.
If tight hamstrings—not core strength—are what stop the shape, work on that separately with these yoga hamstring stretches.
6. Boat
Sit with knees bent and feet down. Lean back without collapsing your chest, then lift one or both feet until you find a position you can hold for 3–5 breaths.
- Make it easier: Keep toes on the floor, hold the backs of your thighs, or lift one foot at a time.
- Focus: Keep the effort in a range where you can still breathe and stay tall through the spine.
7. Low Boat — Optional Challenge
From Boat, lower your torso and legs only as far as you can without your low back lifting or discomfort appearing. A 5–15 second hold is enough; skip it entirely if the position does not suit your back.
- Make it easier: Keep knees bent or lower only your upper body.
- Focus: Control the range rather than chasing a lower position.
8. Supine Leg Lowering
Lie on your back with knees bent. Keep your pelvis comfortable and lower one foot toward the floor, then bring it back without letting the movement pull your back into a bigger arch. Repeat 6–8 times per side.
- Make it harder: Increase the leg reach gradually; use both legs only if your back stays comfortable and controlled.
- Focus: Slow movement with a quiet trunk.
9. Wind-Relieving Pose
Hug one or both knees toward your chest and breathe easily for 3–5 breaths. Rock gently if that feels good.
Why it’s here: This is the first downshift after the stronger work.
10. Supine Spinal Twist
With knees bent, let them move to one side while your shoulders stay comfortable on the floor. Support your knees with a pillow or block if needed. Stay for 3–5 breaths, then switch.
Why it’s here: Gentle rotation gives you a change of position before the final rest.
11. Savasana
Rest on your back for 1–5 minutes, or bend your knees and place your feet on the floor if that is more comfortable. Let the effort go rather than trying to “hold” your core during the rest.
Why it’s here: The sequence is finished; this is recovery, not another strength task.
How to Progress Without Chasing Longer Holds
There is no useful four-week deadline for “seeing results.” A better progress check is whether the same variation feels more controlled: you can breathe more normally, wobble less, keep your position without rushing, and finish with enough energy to repeat good reps.
If this sequence is challenging enough to count as strength work for you, two strength-focused sessions per week is a practical starting frame. Current CDC physical-activity guidance says adults need muscle-strengthening activity on at least 2 days each week; more frequent yoga is not automatically better if the extra volume makes your form worse or leaves you under-recovered.
- First: keep the same variation and make the movement cleaner.
- Then: add a little hold time or one extra controlled round.
- Last: move to the harder variation or complete more of the full sequence.
Progress rule: change one thing at a time. Longer holds, harder variations, and more total poses do not all need to increase in the same week.
If strength is your main training goal beyond yoga, this routine can sit beside more conventional resistance work; this yoga for weight training guide explains that relationship in more detail.
If the seated option is the one you’re most likely to repeat, try a full chair-yoga practice on a stiff morning and notice how a gentler start feels before you decide what to add next.
A Seated 10-Minute Routine for Rest Days
It won’t train your core — it’s a gentle seated practice for the days between sessions, delivered after you confirm your email.
Confirm to get the routine and yoga tips. Unsubscribe anytime.
Something went wrong. Please check your email address and try again.
Frequently Asked Questions About Yoga for Core Strength
Your Next Core Practice
For your next session, choose the easiest variation that lets you breathe normally and keep your trunk steady. Repeat that route until it feels predictable; then change one variable—slightly more time, one harder variation, or more of the sequence—not all three at once.
If flexibility is what blocks the positions, the yoga flexibility guide is the better next route. If loading or back discomfort is the limiting factor, keep this sequence conservative and use the lower-back yoga guide for a gentler context. The goal is not to win Low Boat; it’s to make control easier to find the next time you step on the mat.