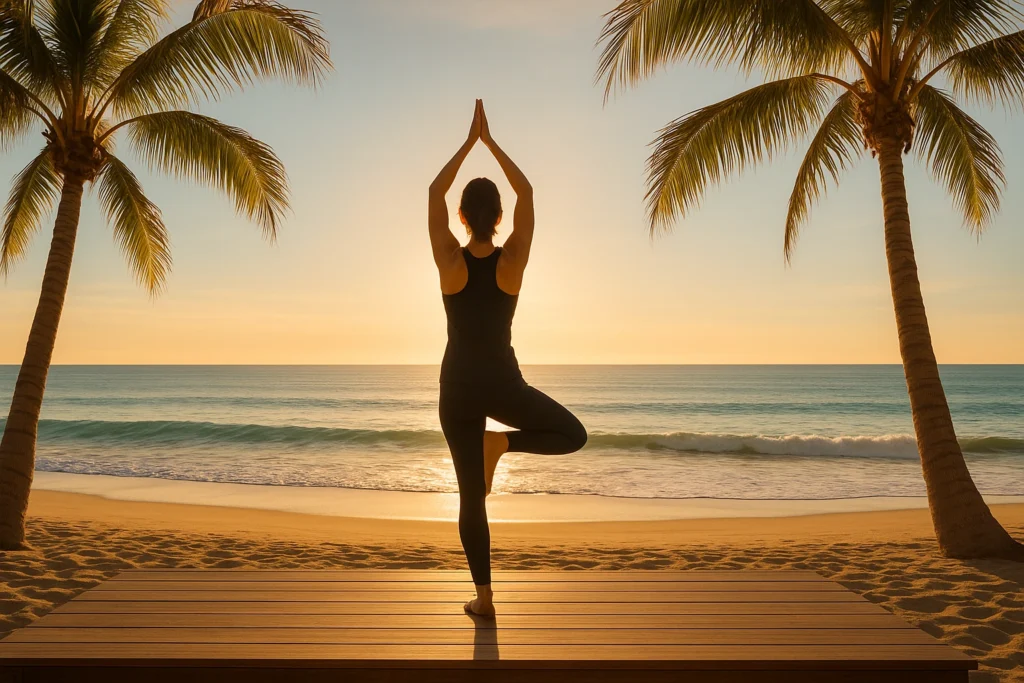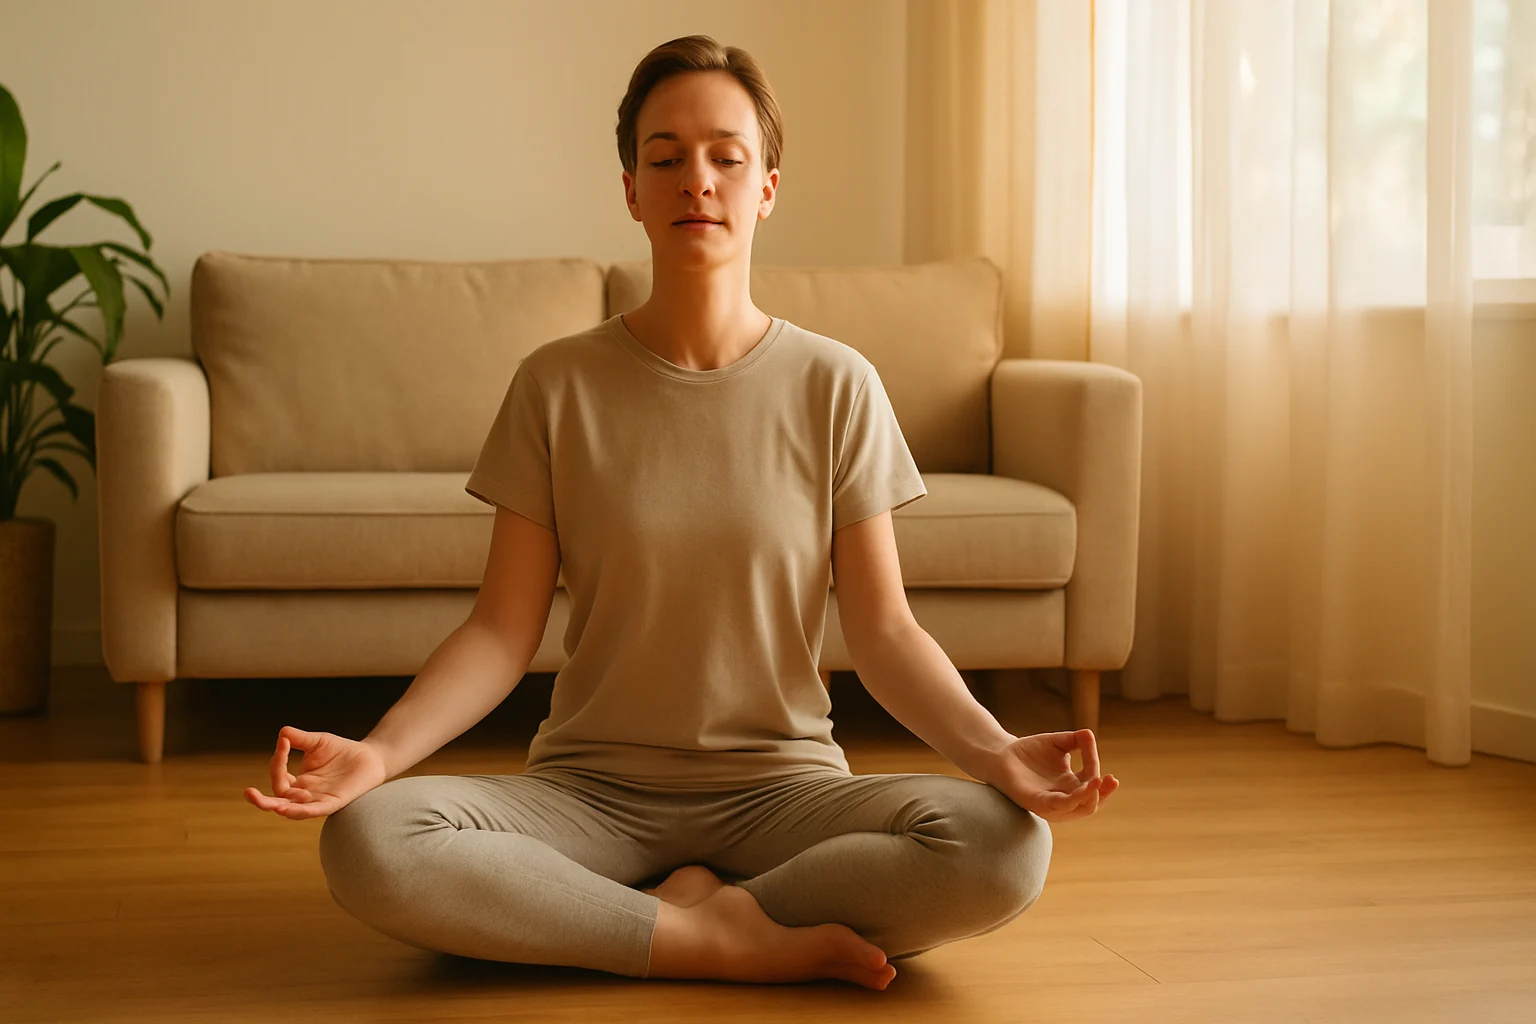
You do not need a mat, blocks, straps, or deep flexibility to start yoga at home. For this guide, “no equipment” means no required yoga props: you need only enough clear space to stand and move with stable footing. The core routine below takes 15 minutes and stays standing, so floor work is optional.
If stiffness is the bigger barrier, the yoga flexibility guide covers gradual flexibility work and prop-supported options; the routine on this page stays equipment-free.
Start the 15-Minute RoutineTable of Contents
- Choose Your Home Yoga Starting Point
- Before You Start: Space, Footing, and Support
- A 15-Minute Yoga at Home No Equipment Routine
- Make the Routine Gentler
- Make a Home Practice Easy to Repeat
- Frequently Asked Questions
- Start With the Version You Can Repeat
Not sure whether to start seated, stay standing, or include floor work? Use this two-question check-in to match today’s setup and time.
Choose Your Home Yoga Starting Point
Answer two quick questions about setup and time. You’ll get a practical starting point, not a medical-readiness assessment.
Answer both questions to see a starting point.
Before You Start: Space, Footing, and Support
The core practice is deliberately simple: no yoga mat, block, strap, or bolster is required. Use a clear area where you can move without bumping furniture, and choose a surface or footwear that does not slide.
- Clear space: Give your arms and legs room to move without hitting furniture.
- Stable footing: Use a surface that feels secure rather than practicing on something slippery.
- Optional support: A wall or sturdy chair can help with balance if you already have one, but the standing core does not depend on it.
If the floor itself is the obstacle, skip the optional floor add-on. You do not need to “graduate” to floor poses for the practice to count.
A 15-Minute Yoga at Home No Equipment Routine
Use the clock as a loose guide rather than a target to beat. Keep each movement inside a comfortable range, breathe normally, and shorten or skip anything that does not feel right.
Minutes 0–3: Gentle Warm-Up
- Shoulder rolls: Roll your shoulders slowly forward, then back. (1 min)
- Gentle neck turns: Turn your head side to side within a comfortable range; keep the movement small rather than circling the neck. (1 min)
- Arm sweeps and wrist circles: Sweep your arms up and down, then circle your wrists both ways. (1 min)
Minutes 3–11: Standing Sequence
- Mountain Pose (Tadasana): Stand with your feet about hip-width apart, soften your knees, and let your arms rest by your sides. (1 min)
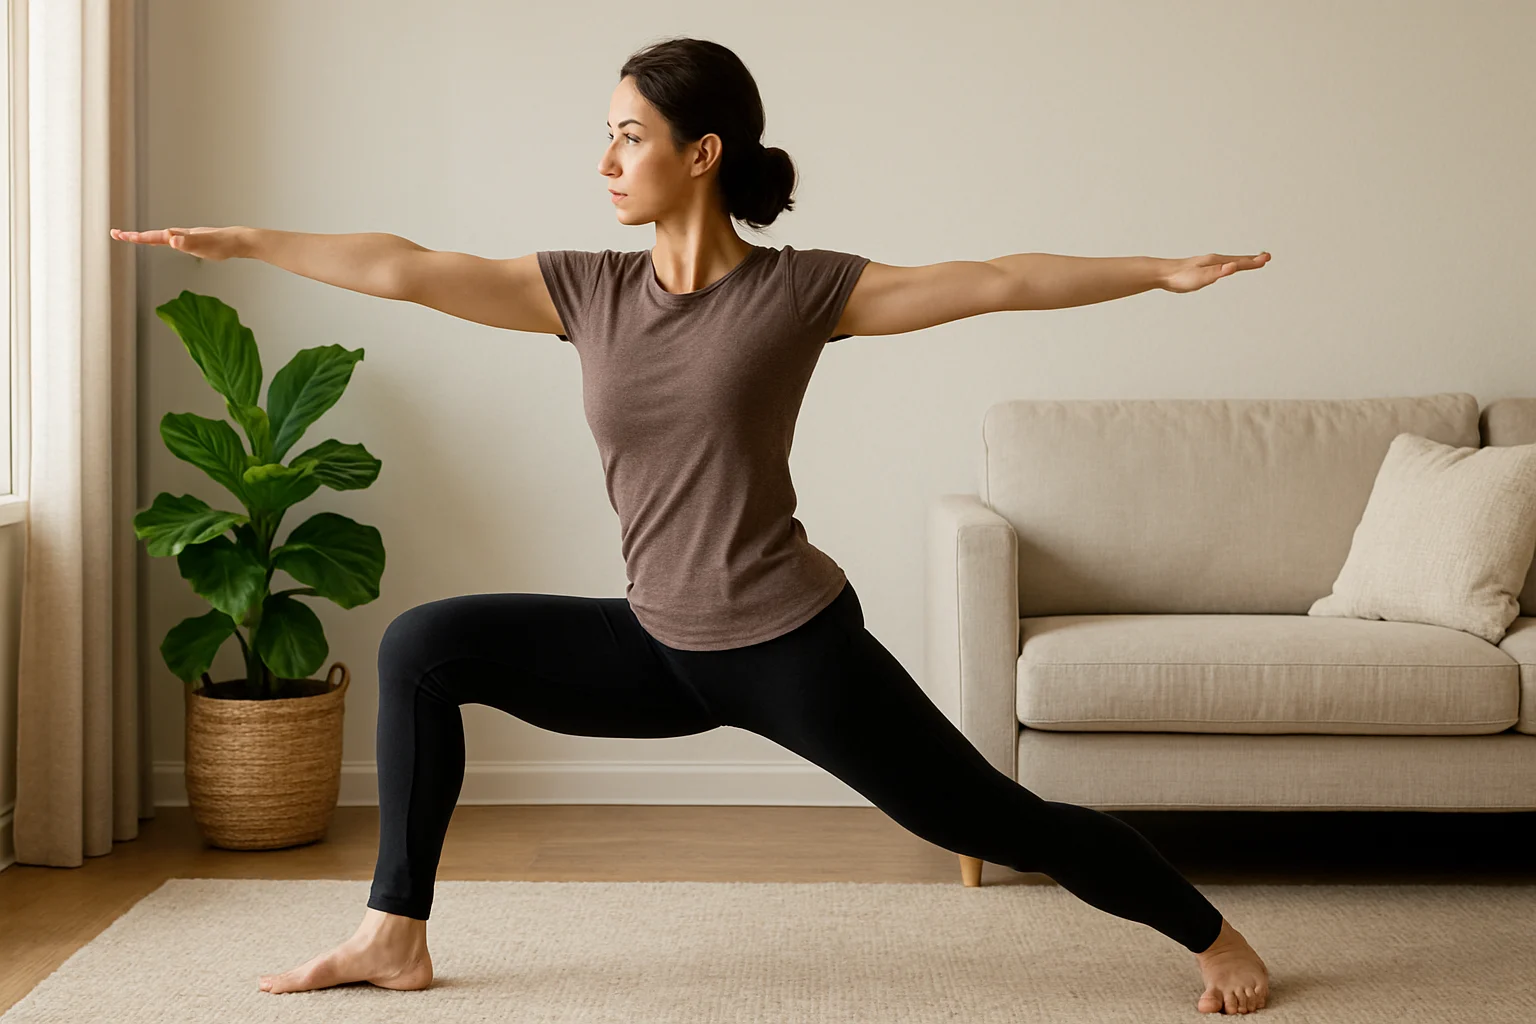
- Warrior II (Virabhadrasana II): Step your feet wide, turn one foot out, and bend that knee only as far as feels steady. Keep your gaze wherever your neck feels comfortable. (1 min per side)
- Easy Forward Fold: Soften your knees and hinge forward from your hips. Keep your hands on your thighs or shins instead of reaching for the floor. (2 min)
- Kickstand Balance: Shift weight into one leg and keep the toes of the other foot on the floor beside your ankle. Use a wall if you want extra steadiness. (1 min per side)
- Standing Side Reach: Reach one arm overhead and lean gently to the opposite side, then switch. (1 min)
If forward folds are the place where you feel most limited, use the hamstring-stretch guide for a more focused route instead of trying to reach lower here.
Minutes 11–15: Easy Finish
- Slow arm reach with breath: Inhale as your arms rise comfortably; exhale as they lower. Keep the shoulders relaxed. (2 min)
- Quiet standing breath: Return to Mountain Pose, soften your gaze, and let your breathing settle without forcing a pattern. (2 min)
Optional Floor Add-On (5–10 Minutes)
Add this only if getting down to the floor and the surface itself feel comfortable. Otherwise, finish after the 15-minute standing practice.
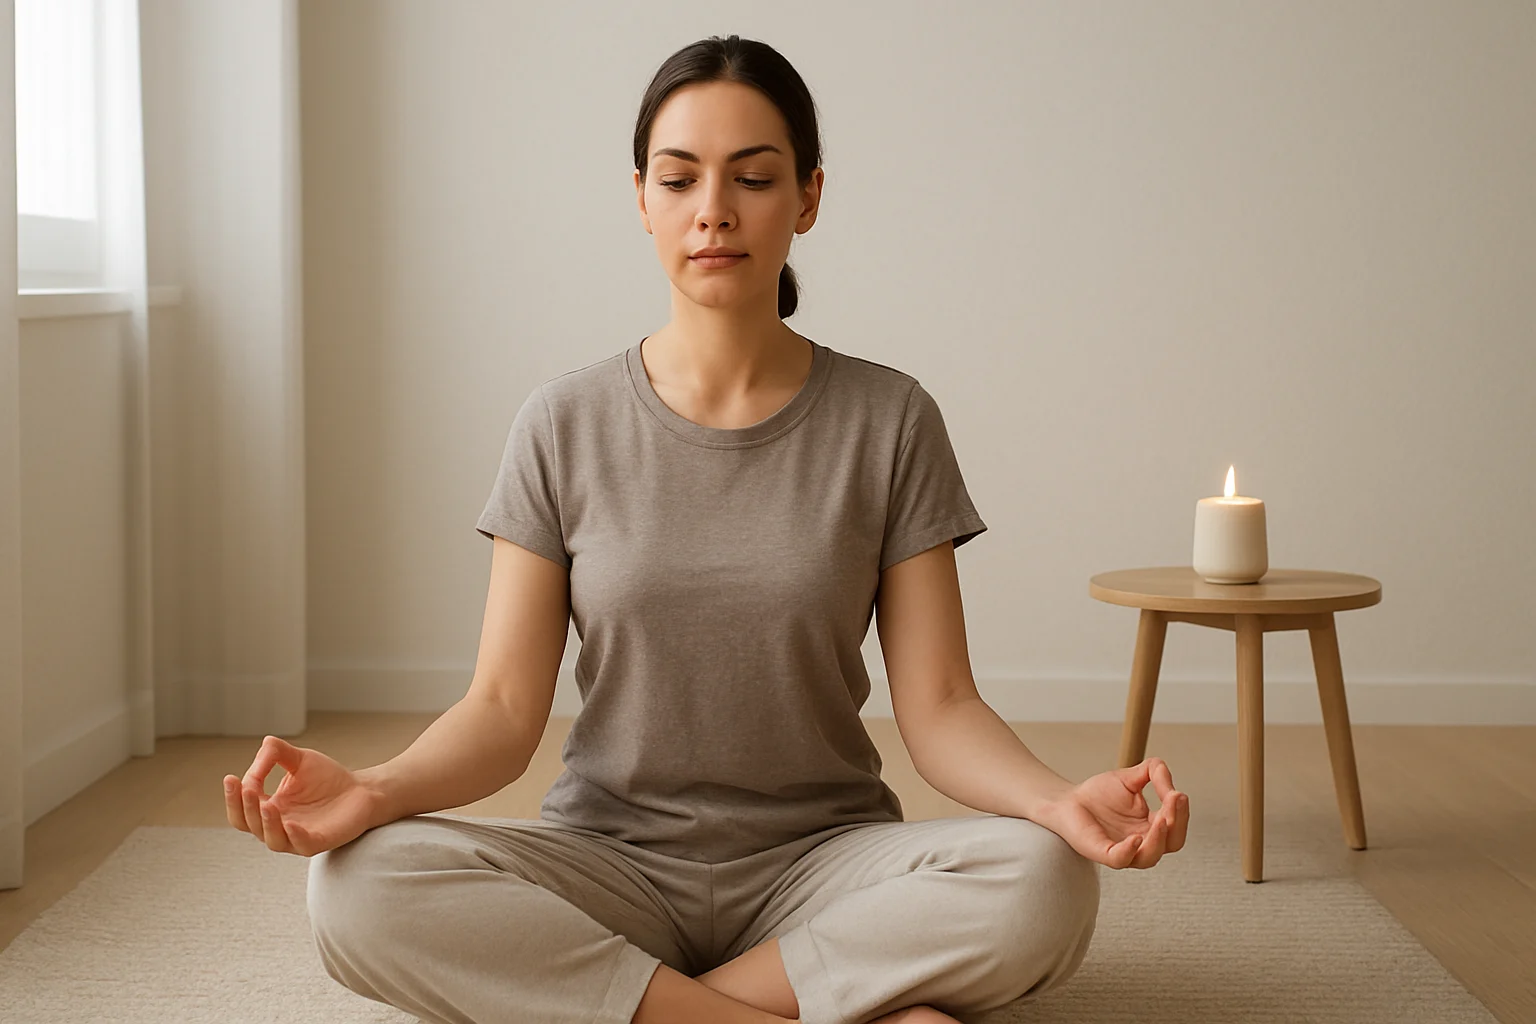
- Easy Pose (Sukhasana): Sit in any comfortable cross-legged position and let your hands rest. (1 min)
- Butterfly Pose (Baddha Konasana): Bring the soles of your feet toward each other and let your knees open only as far as they comfortably go. (1 min)
- Knees-to-Chest: Lie on your back and draw one or both knees in only as far as feels comfortable. (1 min)
- Reclining Twist: Let bent knees move gently to one side, stopping well before strain, then switch. (about 1 min per side)
- Rest: Lie in a comfortable position and let your breathing return to normal. (2 min)
Make the Routine Gentler
Gentler does not mean “less real.” The useful version is the one you can control without forcing range, balance, or a floor transition.
- Shorten the range: A smaller bend, reach, or twist is still the pose you are practicing.
- Keep the knees soft: Especially in standing folds, avoid locking the legs to chase depth.
- Use support you already have: A wall or sturdy chair can make balance work more approachable.
- Skip floor transitions: Stay with the standing sequence or choose the seated route from the starting-point tool.
- Stop with pain: Back out of any movement that hurts rather than trying to push through it.
A Simple Seated Start
If you would rather stay seated, use a sturdy chair without wheels on a stable surface and keep both feet supported.
Try slow shoulder rolls for about a minute, gentle side reaches for about a minute per side, and easy heel lifts or seated marching for 1–2 minutes. Repeat once if you want a longer practice, or stop after one round. The chair is an optional household support for this variation, not required equipment for the standing core.
NCCIH’s yoga safety guidance notes that injuries can occur and that older adults, people who are pregnant, and people with health conditions may need individualized modifications.
If the seated option above is the version you’re most likely to repeat, the free printable below gives you a separate 10-minute chair-yoga routine to try.
Get the 10-Minute Chair Yoga Routine
The 17-page PDF arrives after you confirm your email.
Confirm to get the routine and yoga tips. Unsubscribe anytime.
Something went wrong. Please check your email address and try again.
Make a Home Practice Easy to Repeat
A beginner home yoga practice is easier to repeat when the setup stays simple. Keep the first few sessions familiar rather than collecting new poses every time.
- Start with the time you actually have: Five or ten minutes is enough to use the warm-up or one standing sequence.
- Use the same clear spot: Fewer setup decisions make it easier to begin.
- Repeat before expanding: Learn a small set of movements, then add variety when you want it.
If Motivation Is the Problem
Lower the entry bar. One round of the warm-up is better than waiting for the perfect 30-minute window, and missing a day does not require you to restart from zero.
Prefer a Guided Class?
If guided yoga would make it easier to get started, ALO Wellness Club is currently free with an account. Its New To collection includes introductory 10–15-minute no-equipment programs, including yoga.
Frequently Asked Questions
Start With the Version You Can Repeat
Choose the smallest version that fits today: the warm-up, the full 15-minute standing core, or the seated or optional floor variation. You do not need to earn your way to a harder version; the useful practice is the one you can repeat without forcing it. When you want another low-pressure full-body option, continue with these gentle yoga sequences.