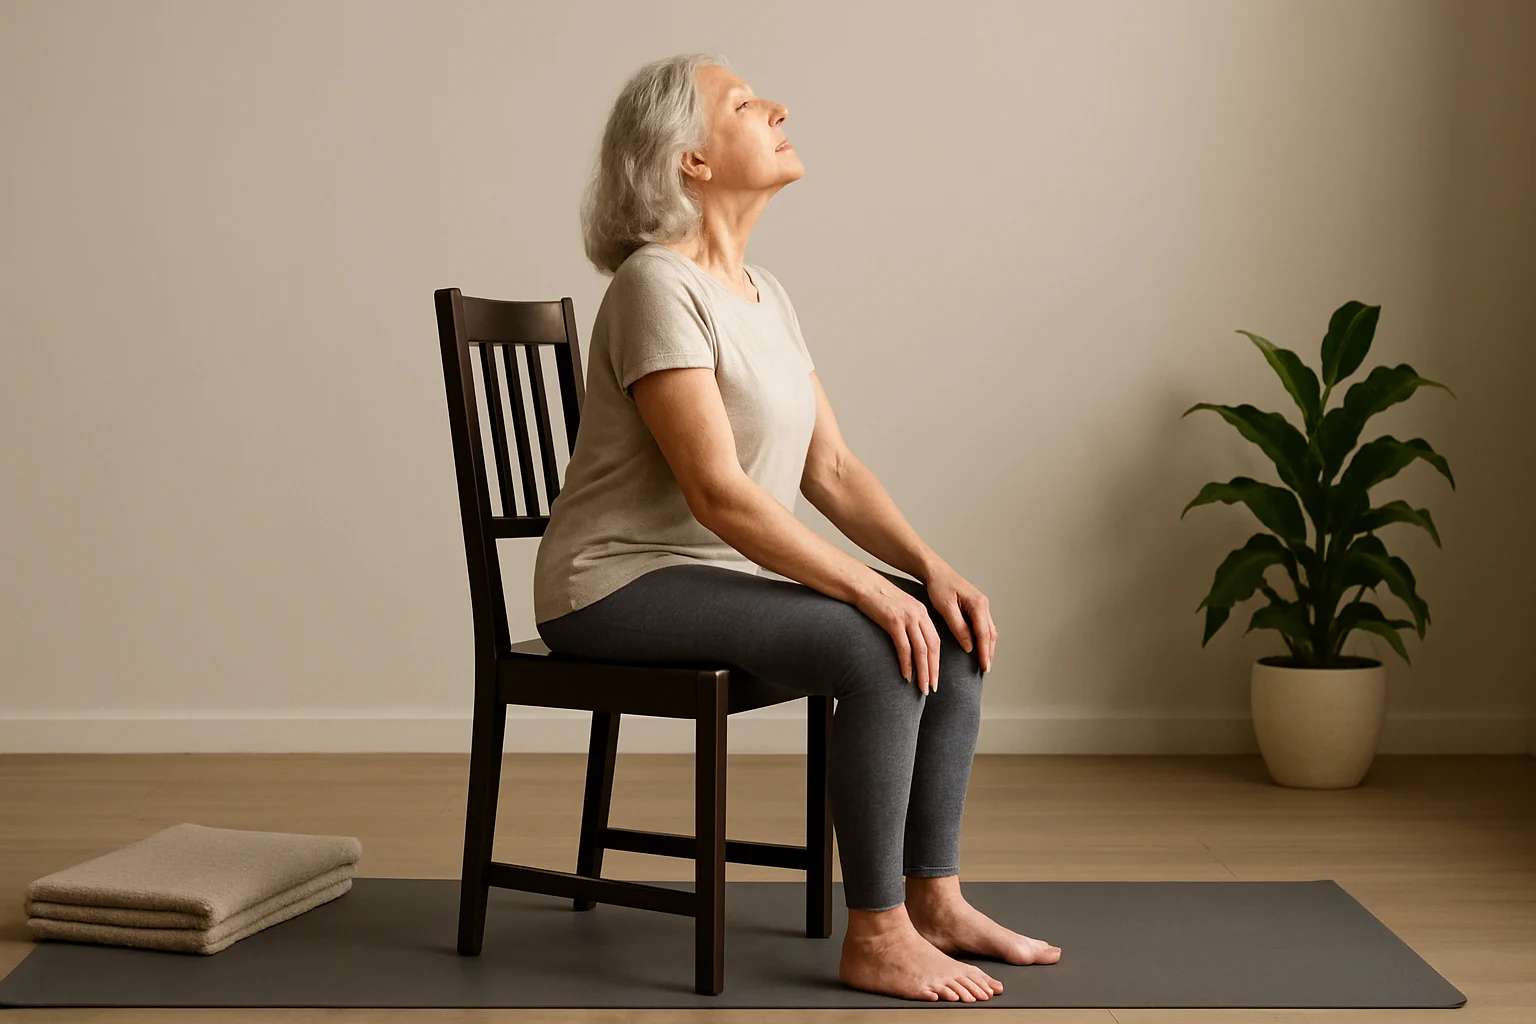
If you want more support—or if getting down to the floor is one more obstacle you do not need—keep the chair. This guide keeps gentle yoga for seniors with back pain chair-based, with movements you can make smaller, stop, or repeat without treating range as the goal. The aim is not to declare any pose universally “safe”; it is to help you choose a starting point that fits what you can do today.
Research suggests yoga may offer a small benefit for chronic low-back pain, but older adults may need some poses modified or avoided. That is why this page stays practical and conservative. If another health condition is part of what you are managing, our yoga for specialized health guide can help you find a more specific starting point.
Table of Contents
- Find Your Gentle Yoga Starting Point
- What Gentle Yoga Can—and Can’t—Do for an Older Back
- Safety First: When to Modify or Pause
- Seated Chair Yoga for a Sensitive Back
- Chair-Supported Standing Options
- Breathing to Slow the Practice Down
- 8-Minute Chair-Based Routine
- 10-Minute Chair Yoga Routine for Stiff Mornings
- Build a Practice You Can Repeat
- Common Questions About Chair Yoga and Back Pain
- Choose Support Over Range
Before you choose a movement, use this quick check to decide whether to stay seated, stand with chair support, pause for medical guidance, or use the broader senior back-pain guide for floor-based practice.
Find Your Gentle Yoga Starting Point
Use the questions below to check setup, symptoms, and bone health. The result points you to a useful next section; it does not diagnose back pain or tell you that a movement is universally safe.
Answer the questions below to get a starting point.
What Gentle Yoga Can—and Can’t—Do for an Older Back
Yoga is not a diagnosis or a cure for back pain. The current evidence is more modest: the National Center for Complementary and Integrative Health says research suggests a slight benefit for low-back pain, and it also notes that older adults may need to modify or avoid some poses.
A chair-based practice can still give you useful movement without making floor transfers part of the workout. Depending on the person and the program, yoga for older adults may support flexibility, strength, balance, stress regulation, and body awareness. The useful standard here is simple: supported movement that stays within your current ability, not how deep a pose looks.

Safety First: When to Modify or Pause
Safe senior yoga is less about finding a universal list of approved poses and more about noticing when the situation needs a different level of support. Start smaller than you think you need, keep the chair stable, and stop when symptoms become sharper, stronger, or different.
Pause and get medical guidance when symptoms change
Do not use a web routine to work through warning signs. MedlinePlus advises contacting a medical professional for concerns such as back pain after a serious fall or blow, severe pain, new weakness or numbness, difficulty walking, or loss of bowel or bladder control.
Take extra care with osteoporosis or spinal compression fractures
If you have osteoporosis or a history of spinal compression fractures, movement choices may need to change. The Bone Health & Osteoporosis Foundation cautions against forward spinal flexion and notes that forceful or end-range twisting may also need to be limited or modified. In this guide, favor upright or neutral-spine options unless your clinician or qualified instructor has given you different guidance.
Set up the chair before you move
- Use a sturdy chair: avoid wheels unless they lock securely.
- Give your feet a stable base: keep them on the floor or another firm support.
- Keep the range small: a comfortable range is more useful than chasing a textbook shape.
- Use support on purpose: the chair, wall, or folded towel is part of the practice.
Seated Chair Yoga for a Sensitive Back
These movements keep both feet close to the floor and remove the need to kneel, lie down, or stand on one leg. Move slowly enough that you can notice what changes. If a movement increases pain, make it smaller or skip it.
1. Seated Mountain
Sit toward the front half of the chair with both feet planted. Let the spine lengthen without forcing the chest up or pulling the shoulders back hard. Take 3–5 easy breaths and notice whether you can soften your jaw, shoulders, and hands.
2. Shoulder Rolls and Gentle Chest Opening
Roll the shoulders up, back, and down a few times. Then let the hands rest beside the hips or lightly on the chair and widen across the collarbones. Keep it easy: this is an upper-body opening, not a deep backbend.
3. Seated Side Bend
Keep one hand on the chair or thigh and reach the other arm up. Lean only a little to the side while keeping both sitting bones heavy, then return to center and switch sides.
4. Seated Knee Lifts
Lift one foot a small distance, lower it, then switch sides. Keep the torso quiet instead of leaning back to make the leg lift higher. If lifting the foot is uncomfortable, slide it forward and back instead.
5. Seated Leg Extension
Slowly straighten one knee until the leg is comfortable, then lower it. Alternate sides for 4–6 easy repetitions. Stop if the movement creates new back or leg symptoms.
6. Small Seated Chest Lift to Neutral
On an inhale, gently broaden the chest and let the pelvis tip forward only slightly. Return to a tall neutral position on the exhale rather than rounding deeply forward. If you have osteoporosis or a compression fracture, keep the movement especially small and follow your individualized restrictions.
Chair-Supported Standing Options
Standing is an option, not a progression you have to earn. If standing feels steady, keep the chair in the practice as a balance aid. Keep both hands available when you need them; there is no prize for using less support.
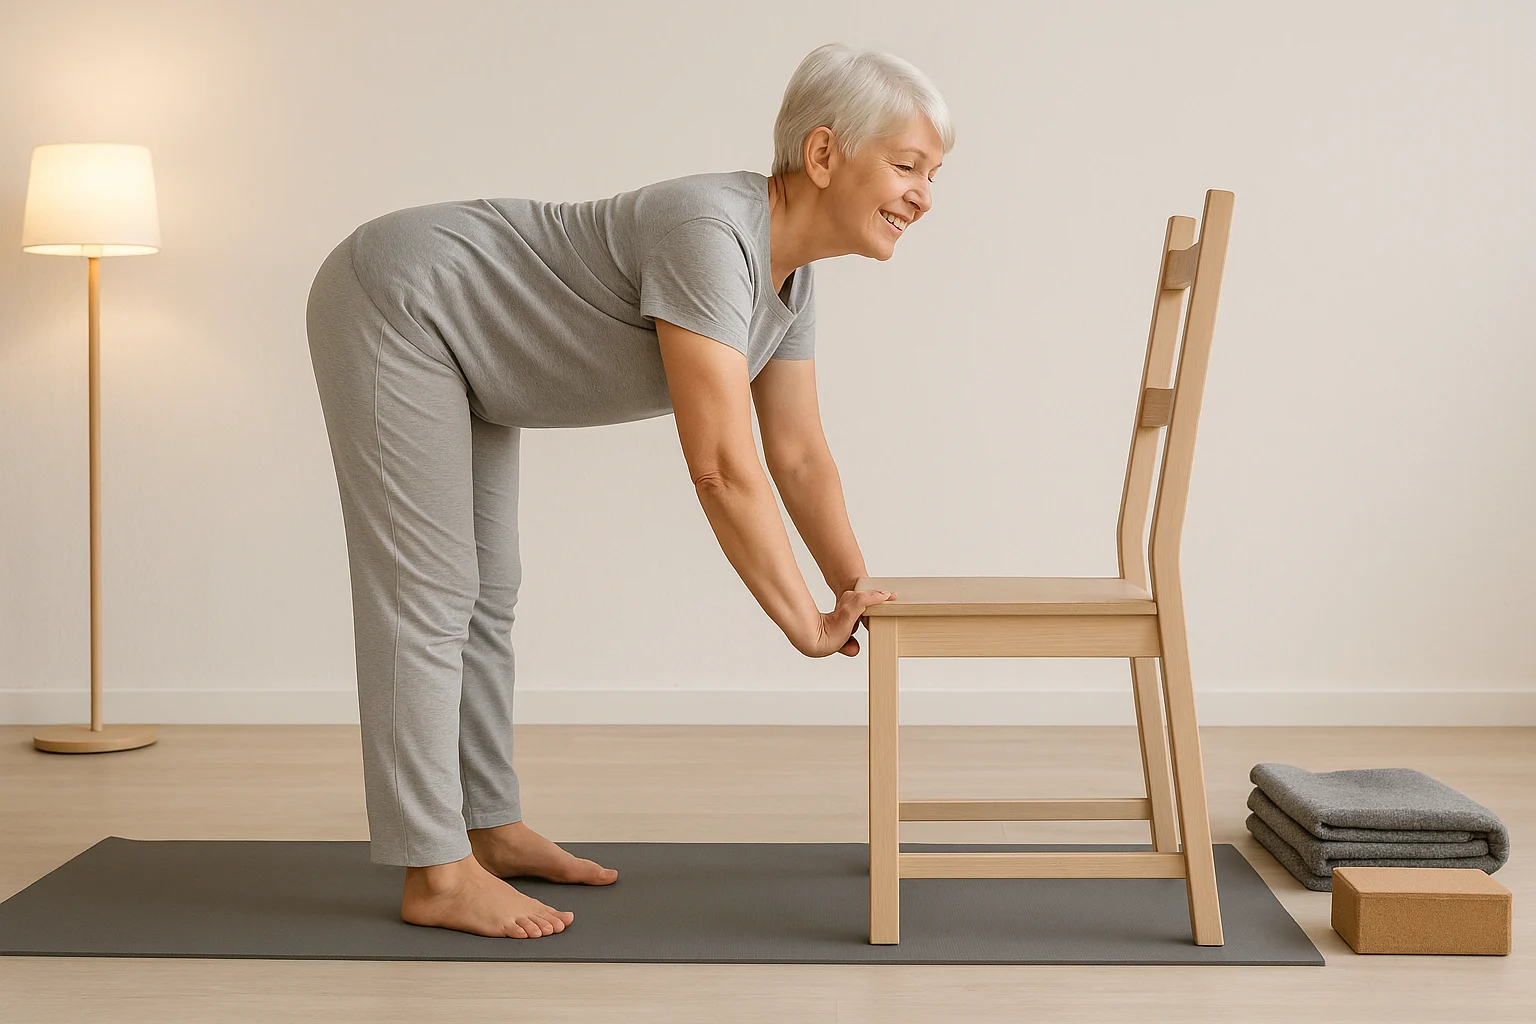
Supported Mountain With Weight Shifts
Stand behind the chair with hands resting lightly on the backrest. Shift a little more weight into one foot, return to center, then switch sides. Keep the movement small enough that you could stop at any moment.
Supported Chair Pose
Stand behind the chair, feet comfortable and knees soft. Send the hips back a few inches as if you were beginning to sit, then return to standing. Keep the spine long and use the chair for balance. A small bend is enough.
Supported Standing Side Reach
Keep one hand on the chair and reach the other arm overhead or slightly out to the side. Stay upright rather than chasing a deep bend. Return to center before switching sides.
Breathing to Slow the Practice Down
Breathing does not need to “fix” your back to be useful. A slower breath gives you time to notice bracing, rushing, and whether a movement is getting easier or harder.
Simple belly breathing
Rest a hand on your lower ribs or belly. Breathe in comfortably through the nose, then let the exhale take a little longer without forcing it. Keep the shoulders relaxed.
Pair breath with movement
Inhale as you lengthen or open; exhale as you return to neutral. If coordinating breath makes the movement feel complicated, drop the pattern and simply breathe normally.
8-Minute Chair-Based Routine
This short sequence keeps the chair involved from start to finish. Treat the timing as a loose structure, not a target you have to complete.
| Time | Movement | Focus | If needed |
|---|---|---|---|
| 1 min | Seated Mountain + easy breathing | Settle into the chair and find a comfortable upright position. | Lean back into the chair if sitting unsupported is tiring. |
| 1 min | Shoulder rolls + chest opening | Move the upper body without forcing the low back. | Keep the hands on the thighs. |
| 1 min | Seated side bends | Use a small side-to-side range. | Keep the reaching arm lower. |
| 1 min | Seated knee lifts | Alternate sides while keeping the torso quiet. | Slide one foot instead of lifting it. |
| 1 min | Seated leg extensions | Move slowly through a comfortable knee range. | Shorten the range. |
| 2 min | Supported standing weight shifts or small Chair Pose | Use the chair for balance and keep both feet grounded. | Stay seated and repeat knee lifts instead. |
| 1 min | Quiet seated breathing | Notice how the back feels before you stand up and move on. | Finish earlier if symptoms are increasing. |
If stiff mornings are when you most want a routine ready to follow, the resource below is built for that moment.
A Chair Routine for Stiff Mornings
17 pages, delivered after you confirm your email.
Confirm to get the routine and yoga tips. Unsubscribe anytime.
Something went wrong. Please check your email address and try again.
If you want a broader chair-yoga progression that is not specifically about back pain, continue with our chair yoga for seniors guide.
Build a Practice You Can Repeat
There is no magic number of yoga sessions that makes back pain behave. Start with an amount of movement that feels manageable, then repeat it often enough to learn which movements your body tolerates well. If a session leaves symptoms clearly worse, shorten the next one, remove the aggravating movement, or get individual guidance before continuing.
Prefer an Instructor-Led Class?
SilverSneakers yoga is one option for older adults who prefer an instructor-led class. SilverSneakers currently offers live, on-demand, and community fitness options, including yoga, and the program is available at no additional cost through select Medicare plans for eligible members.
Depending on the class, yoga may include seated and standing movements with chair support, mindful breathing, balance work, and gentle stretching. If you are interested, check SilverSneakers eligibility rather than assuming your plan includes it.
If you are comfortable with more standing and floor-based work, use our standing-plus-seated yoga guide for senior back pain. If you want yoga guidance for other types of pain, see our yoga for pain relief guide.
Common Questions About Chair Yoga and Back Pain
Choose Support Over Range
A useful gentle session is not the one where you reach farthest. It is the one where you can stay attentive, use the support you need, and stop before the movement turns into a test of endurance. In my own yoga practice, I find that a smaller range often makes it easier to notice what the movement is actually doing.
Pick one or two movements from the seated section and try them once at an easy range. If either one makes symptoms sharper, stronger, or different, remove it rather than pushing through. That is a more useful measure of progress than reaching farther.