
This chair yoga for seniors guide treats the chair as the starting point—not a fallback. If standing balance, kneeling, or getting to the floor is what makes yoga hard to start, every pose on this page stays seated and includes a smaller-range option.
Start with five minutes. Set up a sturdy chair, use the routine builder for a sequence matched to your goal and comfortable range, or go straight to the seven poses. The aim is a practice you can repeat, not a deeper stretch or a perfect-looking pose.
Build Your Chair Yoga RoutineTable of Contents
- Set Up Your Chair
- Build Your Chair Yoga Routine
- 7 Chair Yoga Poses
- Build a First-Week Plan
- Frequently Asked Questions
- Repeat What Worked
Set Up a Stable Chair Yoga Space
You do not need special yoga equipment. Set up once so you can pay attention to the movement instead of wondering whether the chair will slide or whether you have enough room.
- Choose a stable chair: Use a sturdy chair without wheels. Choose a seat height that lets your feet rest securely, and place all four chair feet on a firm, non-slip surface.
- Clear your reach: Leave enough space at the sides and behind you for your arms and legs to move without hitting furniture.
- Give your feet traction: Choose footwear or bare feet based on what gives you secure, non-slip contact with the floor.
- Start with a smaller range: Keep breathing normally and stop if you feel pain, dizziness, or unusual shortness of breath.
Chair Yoga Benefits: Why the Chair Helps
A chair gives you a seated base for posture, breathing, range of motion, and gentle strength without making standing balance the price of entry. That can be useful when floor transitions feel awkward, tiring, or simply unnecessary for the kind of movement you want today.
A chair adds support, but it does not remove risk. NCCIH advises older adults and people with health conditions to discuss individual needs with a health care provider and yoga instructor because some practices may need to be modified or avoided. For osteoporosis or low bone density, NIAMS recommends asking a health care provider which exercise is appropriate for you. If pain is the reason you are here, our guide to yoga for pain relief can help you compare gentler approaches.
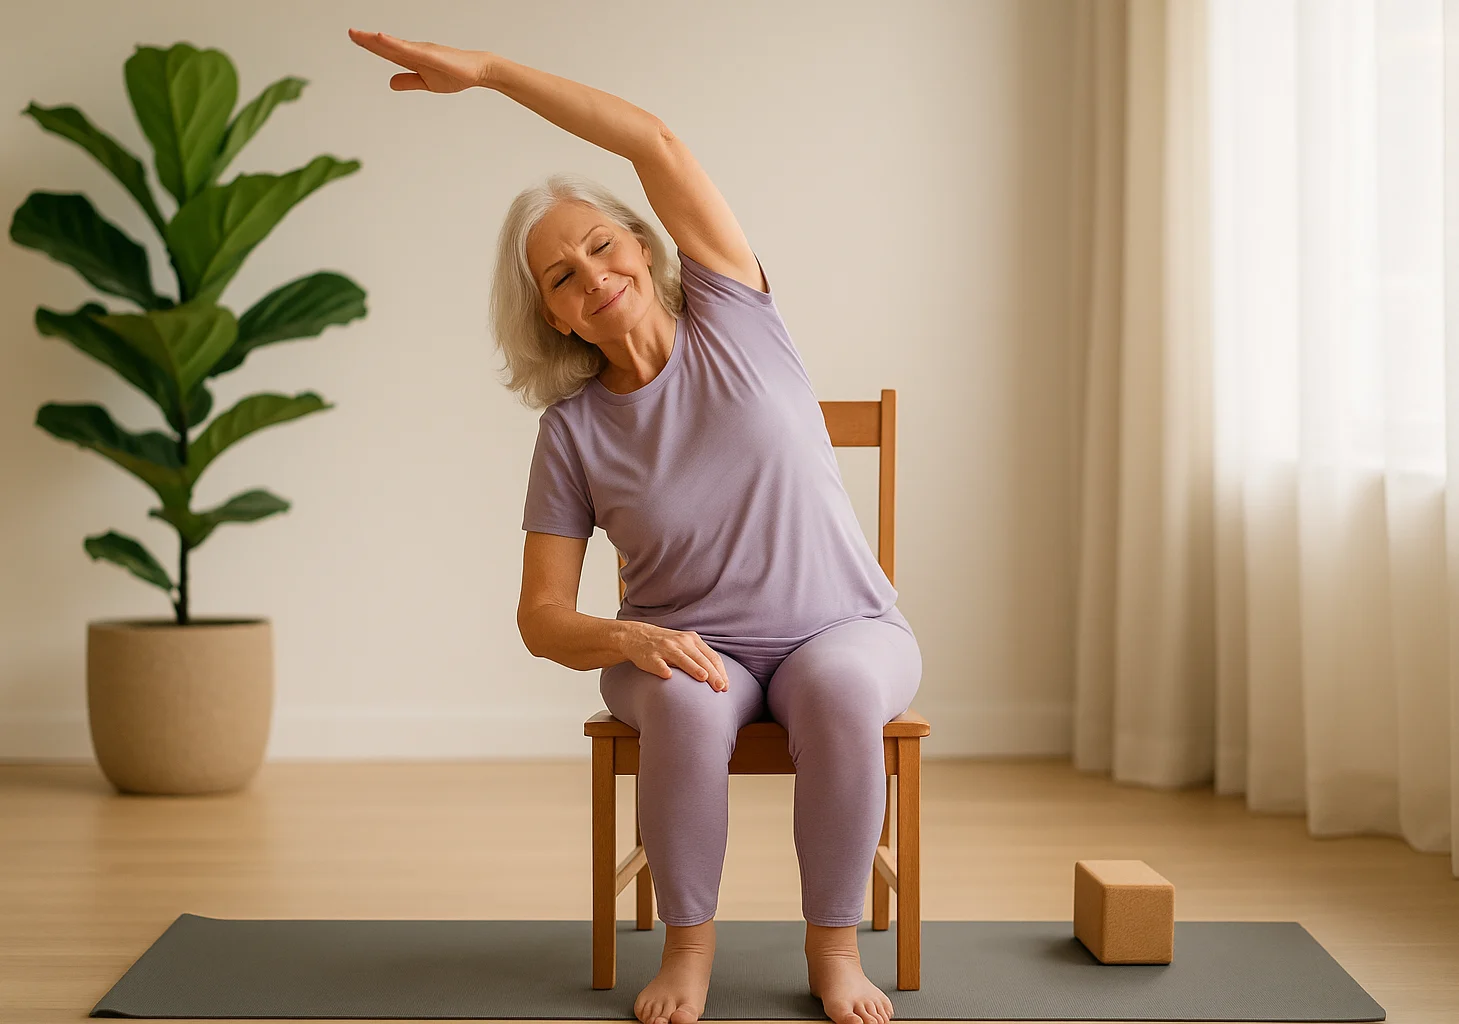
If you would rather skip the builder, start with Seated Mountain → Chair Cat-Cow → Seated Side Bend and keep the range easy. Otherwise, use the routine builder to match the sequence to your goal, comfortable range, and available time.
Build Your Chair Yoga Routine
Choose your goal, a comfortable range for today, and how much time you have. You’ll get a seated starting sequence plus a simple way to scale it.
Answer 3 quick questions to build your starting routine.
7 Senior Yoga Poses You Can Do in a Chair
You do not need to do all seven poses. The order below is a simple progression: settle in, warm the spine and side body, add controlled leg work, then finish with rotation and a gentle fold. Start with the three to five movements your routine suggests; every pose stays chair-based and includes a smaller or more supported option.
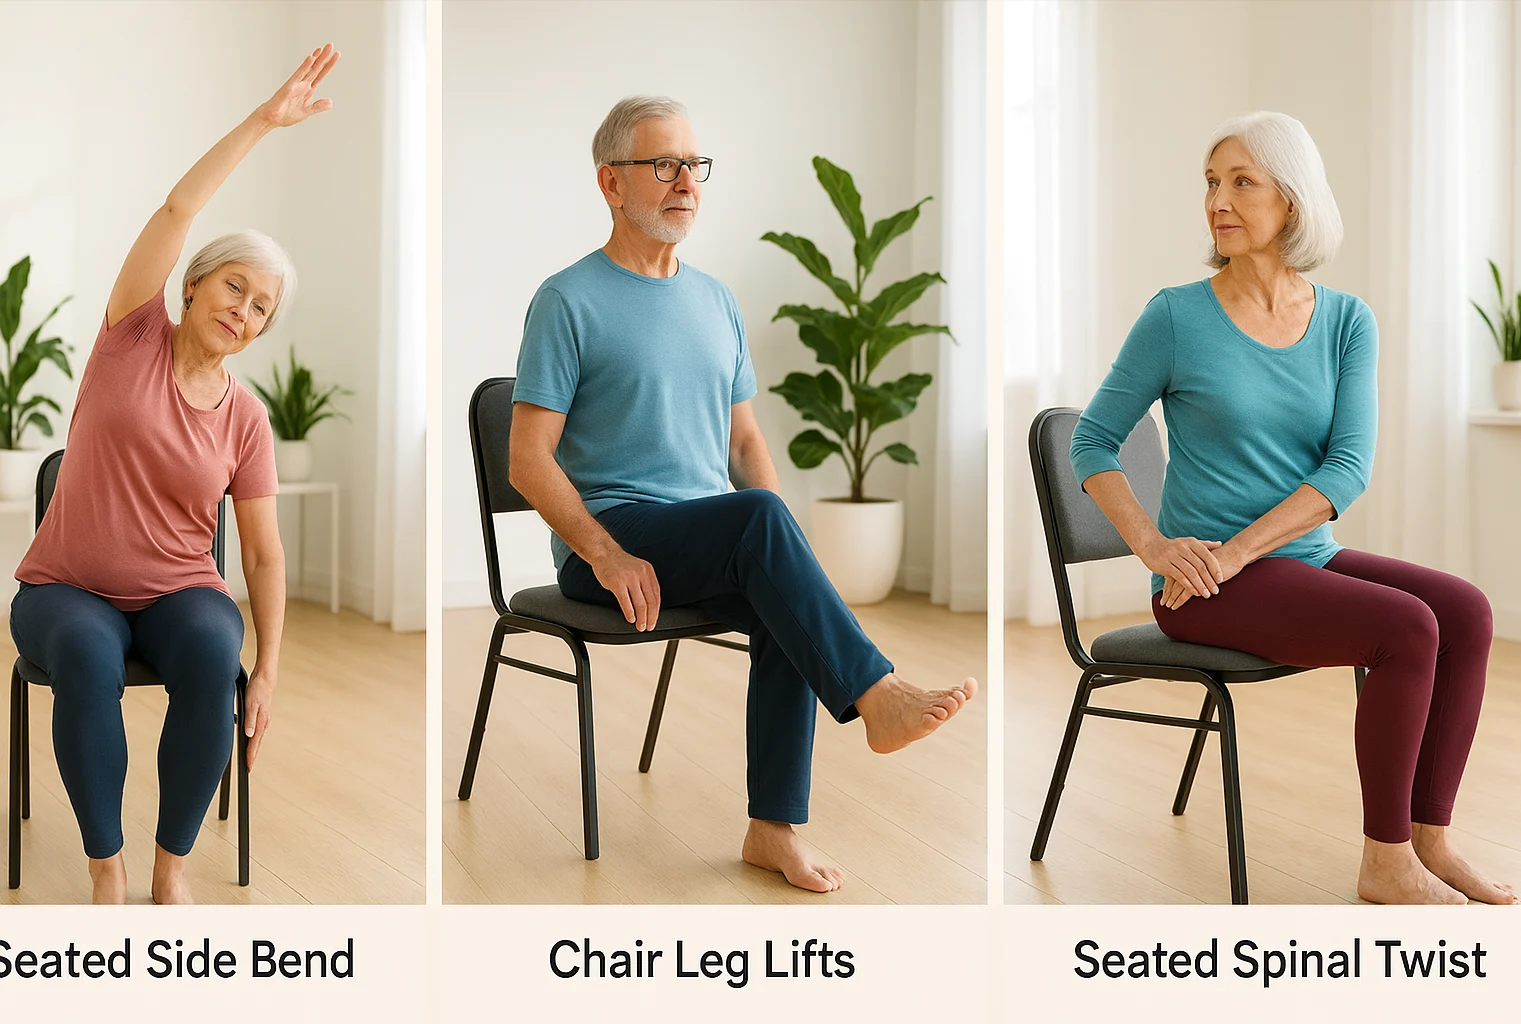
1. Seated Mountain Pose
- How to: Sit with both feet supported and about hip-width apart. Let your hands rest on your thighs, lengthen through the spine, and take 3–5 easy breaths.
- Make it easier: Sit a little farther back in the chair or use the chair back for light support if staying upright feels tiring.
- Focus: A steady base, relaxed shoulders, and comfortable breathing.
2. Chair Cat-Cow
- How to: Place your hands on your thighs. Exhale as you gently round the spine; inhale as you lift the chest and return through neutral. Repeat for 5–8 comfortable rounds.
- Make it easier: Keep the movement small and your gaze forward rather than tipping the head far back.
- Focus: Smooth spinal movement that follows the breath.
3. Seated Side Bend
- How to: Sit tall with both feet supported. Reach one arm up, lean gently to the opposite side, and take 2–3 easy breaths before switching sides.
- Make it easier: Keep the lifted arm lower or leave one hand on the chair for support.
- Focus: Length through the side body without lifting a sit bone or forcing the reach.
4. Chair Leg Lifts
- How to: Sit tall and hold the chair lightly if needed. Straighten one leg to a comfortable height, lower with control, and repeat 5–8 times before switching sides.
- Make it easier: Lift only the heel or use a small seated march instead of fully straightening the knee.
- Focus: Slow, controlled leg work without leaning back to create momentum.
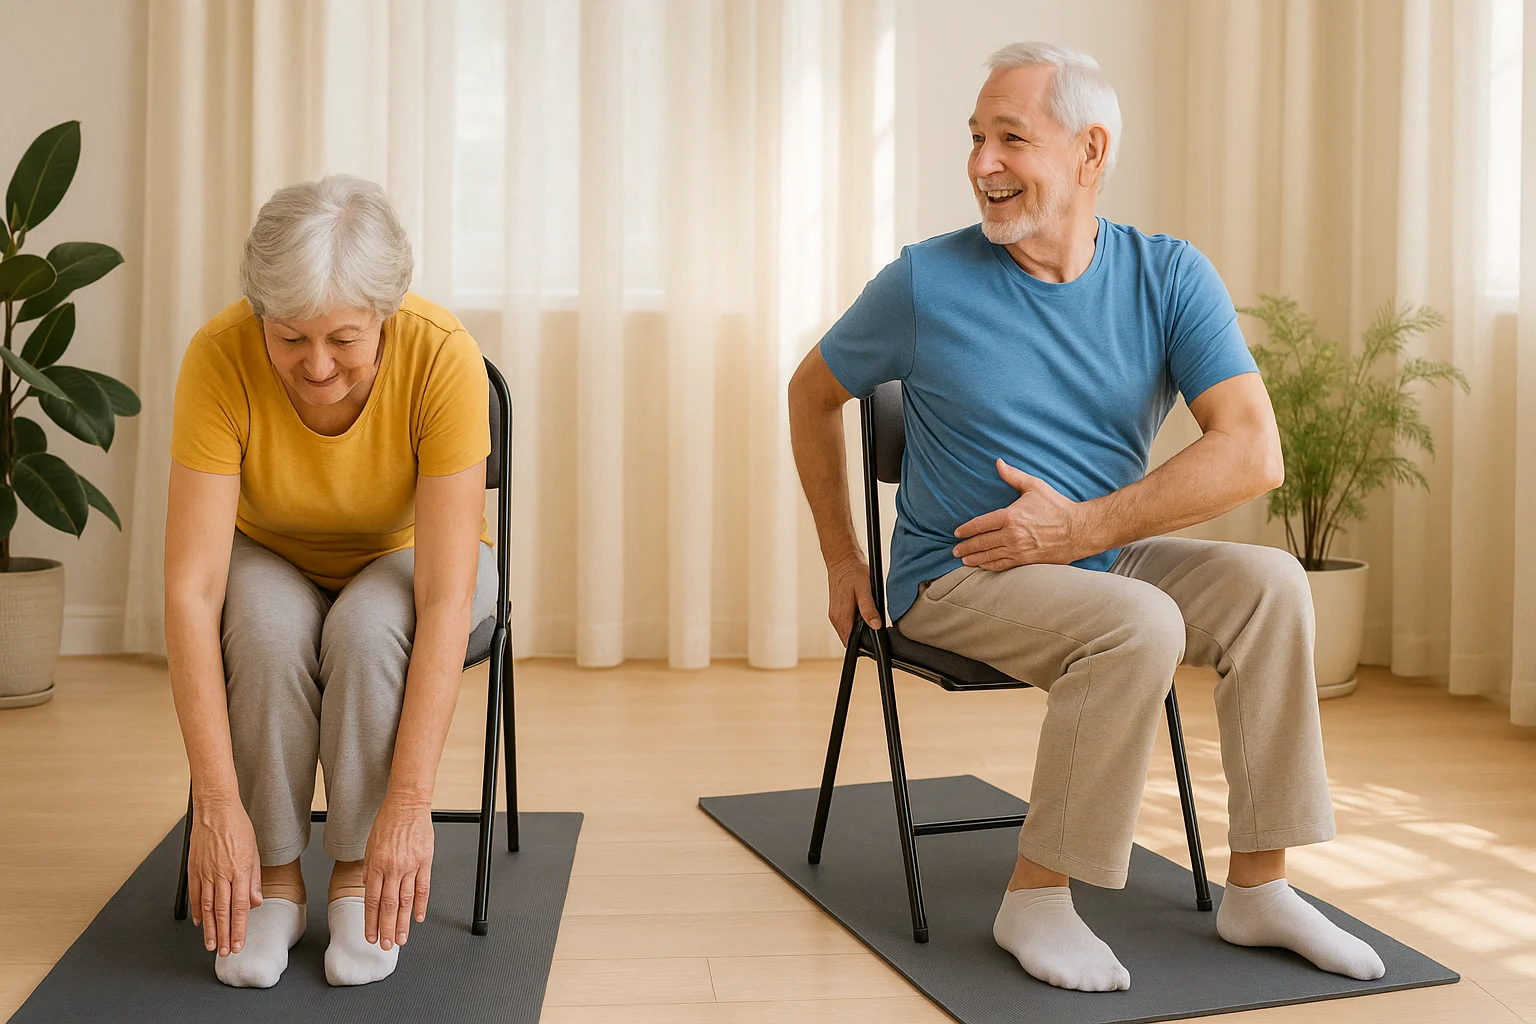
5. Modified Chair Warrior II
- How to: Sit slightly sideways on the chair with one leg reaching forward and the other opening to the side as comfort allows. Extend the arms only if that feels steady, then switch sides.
- Make it easier: Shorten the leg position and keep one or both hands on the chair instead of extending the arms. If chair arms make the sideways position awkward, stay facing forward and use a smaller leg position.
- Focus: A stable seat and comfortable hip range rather than the size of the pose.
6. Seated Spinal Twist
- How to: Sit tall with both feet supported. Turn the ribs gently to one side for 2–3 breaths, return to center, and repeat on the other side.
- Make it easier: Keep both hands on your thighs and use a smaller turn. Do not pull on the chair to force a deeper twist.
- Focus: A comfortable rotation that does not change your breathing.
7. Chair Seated Forward Fold
- How to: Sit with both feet supported. Hinge forward only as far as you can stay comfortable and controlled, keeping your hands on your thighs or sliding them toward your shins. Return slowly.
- Make it easier: Use a very small hinge—or skip the fold—if forward bending does not feel right or if a health professional has advised you to limit it.
- Focus: Control and ease, not reaching the floor.
Build a Chair Yoga Habit: A Simple First Week
You do not need a daily streak. A useful first week is about learning which movements feel repeatable and letting your body give you feedback. Use this as a flexible template, not a requirement. If you would rather have the poses on paper beside the chair, our printable chair yoga poses cover the same seated shapes.
| Practice | What to do |
|---|---|
| First session | Spend about 5 minutes with three poses from the routine builder. Keep the range easy and learn the setup. |
| Next 1–2 sessions | Repeat the same three poses before adding one new movement. If one pose felt uncomfortable, replace it rather than pushing through. |
| Later in the week | Use a 10–15 minute routine if you want more, or repeat the shorter sequence if that is the version you are more likely to do again. |
| Lower-energy day | Choose the small-range option, do one or two easy movements, or rest if movement does not feel right. |
Chair yoga does not need to do every fitness job. Current CDC guidance for adults 65 and older includes aerobic, muscle-strengthening, and balance activity, with people doing what their abilities and health conditions allow. If relaxation is your main goal, you can also use yoga and breathwork for stress relief on quieter days.
If stiff mornings are when starting feels hardest, keep a ready-made routine nearby instead of rebuilding your plan each day.
A Chair Routine for Stiff Mornings
Confirm your email to get the routine. Occasional emails, unsubscribe anytime.
Something went wrong. Please check your email address and try again.
Frequently Asked Questions
Start With Five Minutes, Then Repeat What Worked
Your first useful benchmark is not how far you moved—it is whether the routine felt clear enough to repeat. Choose three poses today. Next time, repeat the same three before adding anything new. Repeat before you add. If you want an even simpler entry point, start with our seated yoga poses for beginners.