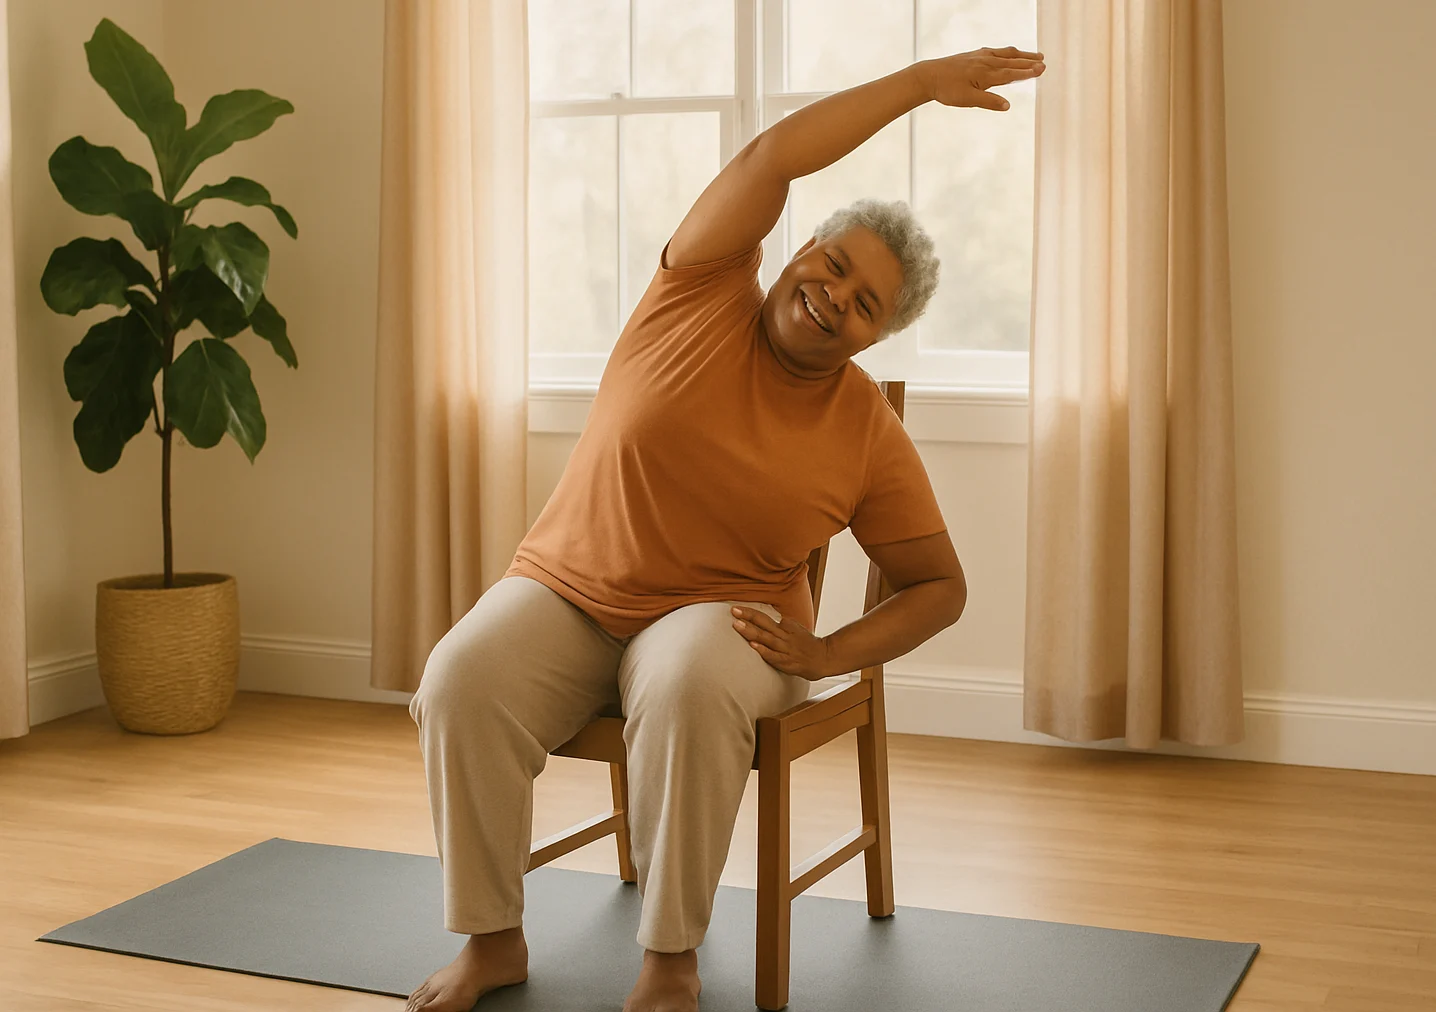
New to yoga? You do not need to get onto the floor to begin. These five seated yoga poses for beginners use a sturdy chair, small ranges of motion, and simple breathing so you can try one movement at a time.
If standing balance, stiffness, or getting down to the floor makes a typical class feel like too much, start with the setup and breathing notes below. Then use the pose matcher if you want one place to begin. For broader guidance on adapting practice around mobility limits or health considerations, see our guide to yoga for specialized health needs.
Table of Contents
- Getting Started: Chair Setup & Breathing
- Find a Seated Yoga Pose to Try
- 5 Easy Seated Yoga Poses
- Build a Simple Seated Yoga Routine
- Frequently Asked Questions
- Start with One Pose Today
Getting Started: Chair Setup and Breathing
Why a Chair Can Be a Good Starting Point
A chair gives you a stable base and removes the need to transition down to the floor. That can make yoga easier to approach when standing balance or floor transitions are a barrier. A 2025 Harvard Health overview of chair yoga summarizes small studies in older adults that reported benefits for pain, daily function, and stress. The evidence is still limited, so think of chair-based practice as a gentle movement option rather than a treatment.
Choose a Stable Chair
You do not need special yoga gear. Use a chair that stays put on the floor and gives you enough support to sit comfortably. If you use a wheelchair, lock the brakes and keep the supports you normally rely on in place.
- Stable base: Avoid a rolling office chair unless it can be securely locked.
- Firm seat: A firm dining-style chair is usually easier to move from than a deep, soft couch.
- Room to move: Armrests are optional; keep them if they help you feel supported.
Set Up Your Seated Position
- Feet supported: Keep your feet flat on the floor when possible, or use a stable foot support if they do not reach.
- Spine comfortable: Sit tall without bracing or forcing your back into a rigid position.
- Seat position: Sit where you feel supported. Moving toward the front edge can create more room, but it is optional.
There is no single mandatory basic yoga sitting position for this routine. You may see floor-based names such as Sukhasana (Easy Pose) or Dandasana (Staff Pose) in yoga guides, but you do not need to reproduce those shapes in a chair.
Comfortable clothes and a stable seat are enough to start. If you use a wheelchair, our wheelchair yoga for seniors guide has more setup ideas.
If you’re an older adult or managing an injury or health condition, NCCIH’s yoga safety guidance notes that some poses may need modification and recommends discussing individual needs with a health care provider and yoga instructor.
Take Three Easy Breaths
Breathing can give the movements a slower pace, but it does not need to be complicated. If breathing through your nose is comfortable, use it; otherwise choose an easy breathing pattern that works for you.
- Breathe in: Let your ribs and belly expand naturally.
- Breathe out: Let the breath leave without squeezing or forcing.
- Move with it: Use the inhale to lengthen and the exhale to move, but never use a breath cue as a reason to push farther.
Try three easy breaths with a soft gaze. Close your eyes only if that feels steady and comfortable.
If five choices feel like a lot, use this quick matcher to pick one place to begin. It will send you straight to the detailed steps below.
Find a Seated Yoga Pose to Try
Choose the area you want to focus on first. This is a starting-point matcher, not a safety assessment; keep the movement comfortable and stop if a pose causes or increases pain, numbness, dizziness, or other concerning symptoms.
Choose one focus area above. I’ll point you to one of the five poses explained below.
5 Easy Seated Yoga Poses for Beginners
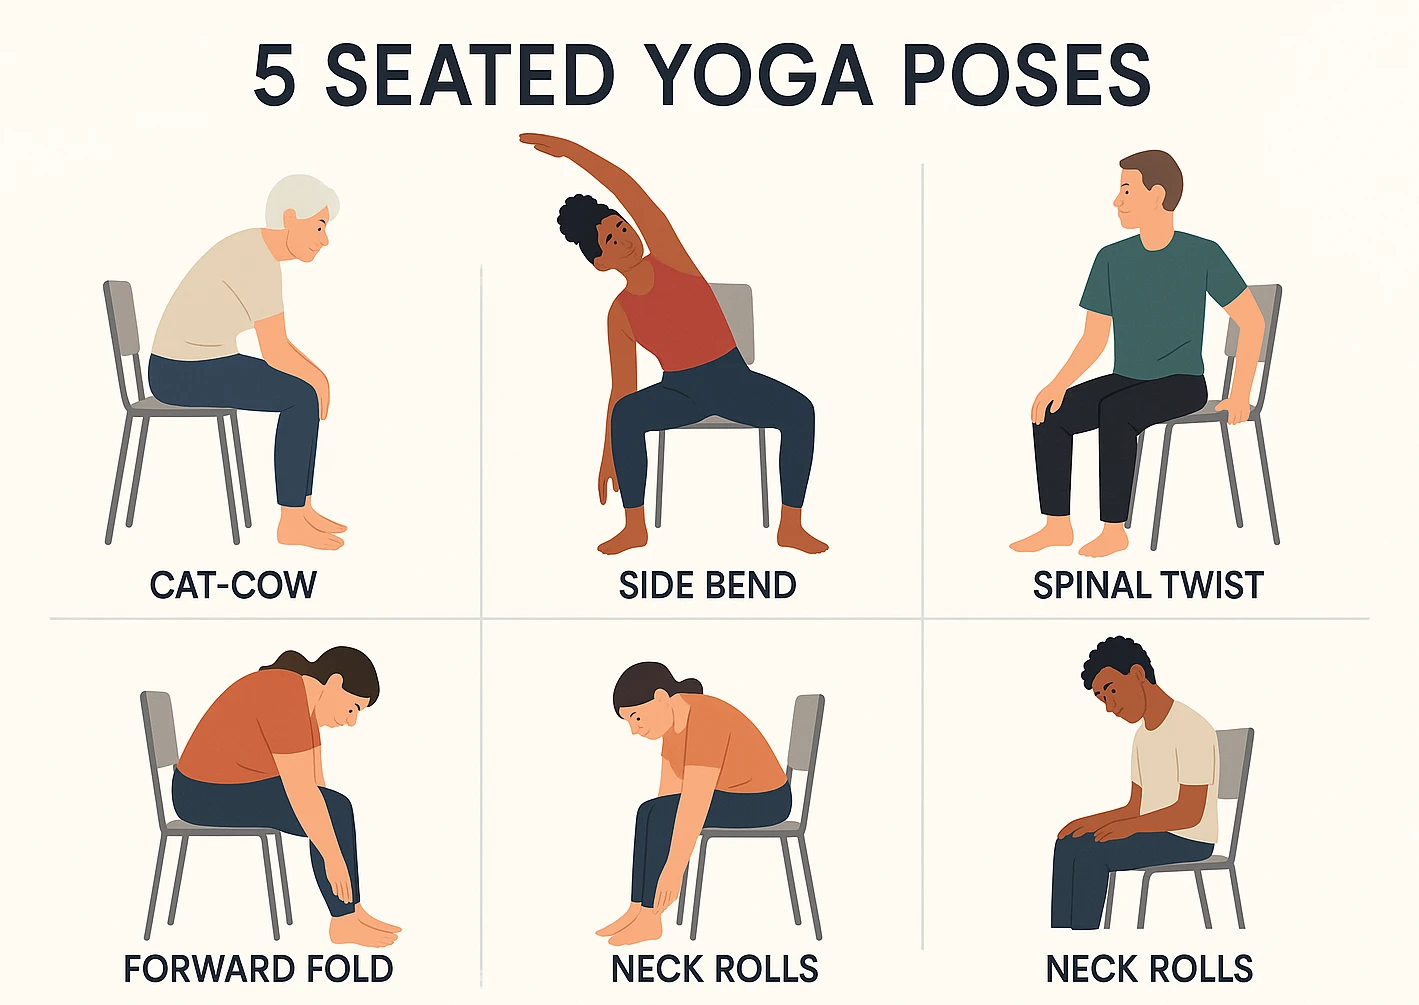
These five chair-based poses all stay seated, but the right range is individual. Start small, keep the movement comfortable, and skip any variation that causes or increases pain, numbness, dizziness, or other concerning symptoms. The modification notes below are ways to reduce range or add support; they are not treatment advice for arthritis, sciatica, or other conditions.
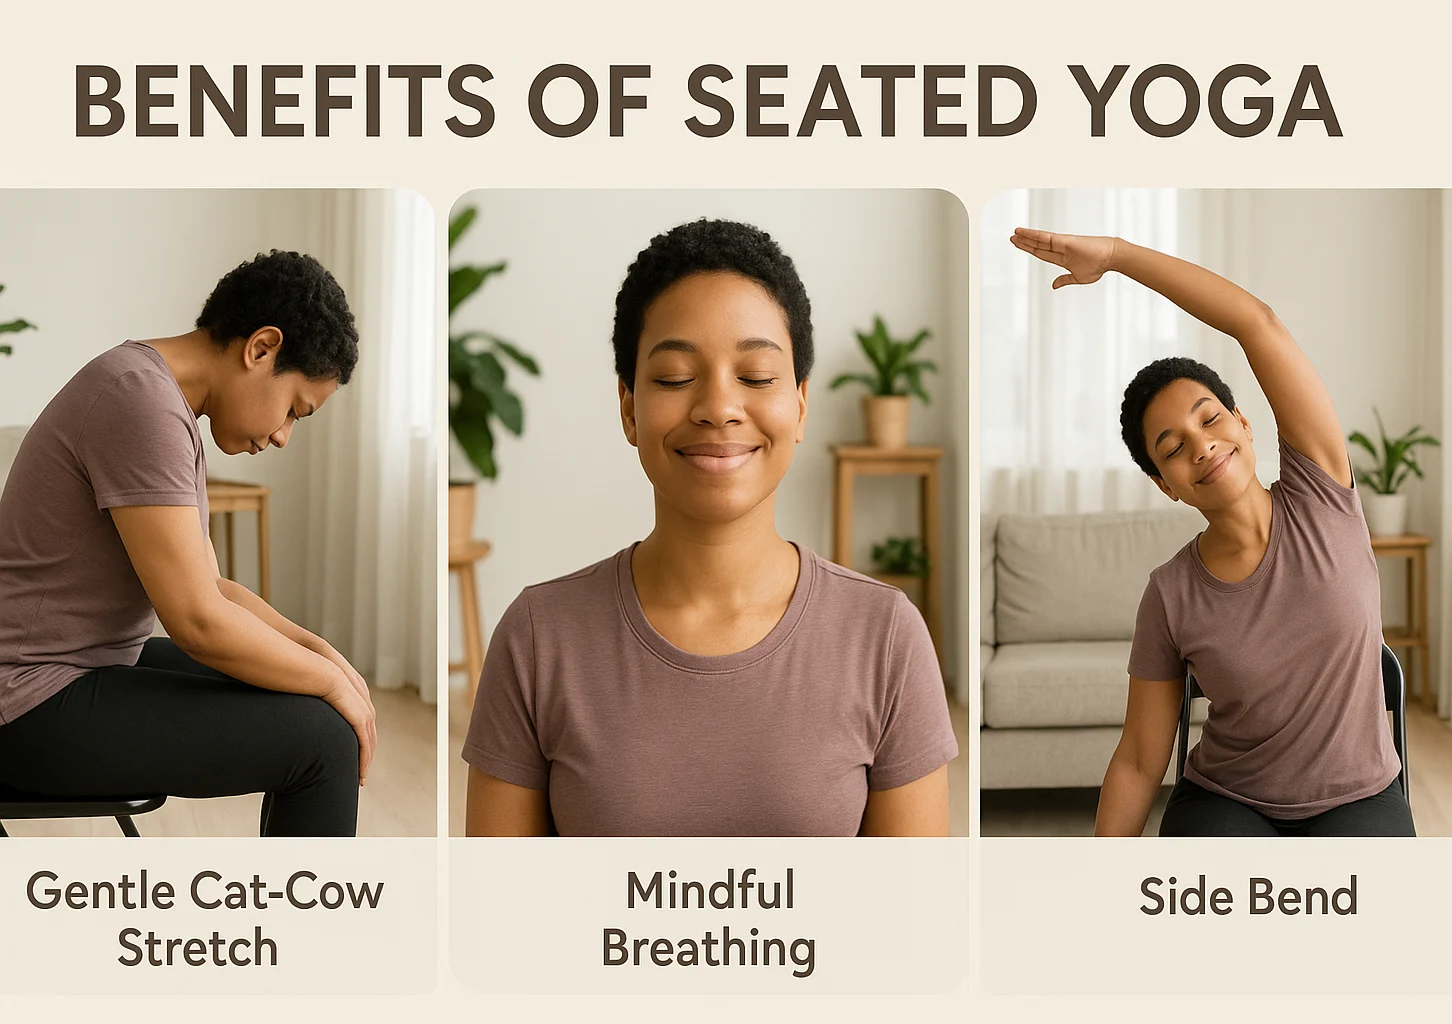
1. Seated Cat–Cow (Spine Mobility)
This seated yoga stretch gently moves the spine between a small arch and a small rounding. Use less range than you think you need at first.
How to do it:
- Start: Sit tall with your feet supported and your hands resting on your thighs.
- Cow (inhale): Gently lift your chest and tip the pelvis forward a little. Keep the neck comfortable.
- Cat (exhale): Round your back slightly and let your chin move toward your chest without forcing it.
- Flow: Move slowly between the two shapes for a few comfortable breaths.
What you may notice:
- Gentle movement through the upper and middle back.
- A chance to let the shoulders move with the breath.
- A simple rhythm that makes it easy to keep the range small.
Make it smaller: Keep the movement tiny, leave your hands on your thighs or armrests, and stay more upright if that feels steadier.
2. Seated Side Bend (Side Body)
This chair stretch creates a gentle reach along one side of the body while your seat stays grounded.
How to do it:
- Start: Sit tall with your right hand on your thigh or chair for support.
- Reach (inhale): Lift your left arm only as high as feels comfortable.
- Bend (exhale): Lean gently to the right while keeping both sides of your seat supported.
- Pause: Take a few easy breaths, return to center, then switch sides.
What you may notice:
- A stretch along the side of your torso.
- Gentle movement through the ribs and upper back.
- A little more space to notice your breathing without forcing a deeper bend.
Make it smaller: Keep the reaching arm lower, or leave both hands down and practice only a slight side lean.
3. Seated Spinal Twist (Gentle Rotation)
This seated twist lets you explore a small amount of rotation from a supported upright position.
How to do it:
- Start: Sit tall with your feet supported.
- Turn (exhale): Rotate gently to the right, placing your left hand on your right thigh and your right hand on the chair if useful.
- Lengthen (inhale): Sit a little taller. On the next exhale, stay where you are or turn only a little farther if it feels easy.
- Pause: Take a few comfortable breaths, return to center, then switch sides.
What you may notice:
- Gentle rotation through the torso.
- Movement around the shoulders and upper back.
- A clear point where you can stop before the twist feels strained.
Make it smaller: Keep the turn subtle and avoid pulling yourself deeper with your hands. If back discomfort is one reason you are exploring seated yoga, our yoga for seniors with back pain guide covers gentler options and cautions.
4. Seated Forward Fold (Hamstrings)
This variation keeps the fold shallow and supported so the goal is a comfortable hinge, not reaching toward the floor.
How to do it:
- Start: Sit tall with your feet supported and your knees comfortably bent.
- Lengthen (inhale): Create a little space through your spine.
- Fold (exhale): Hinge forward from the hips and rest your hands on your thighs or shins. Keep your head and neck comfortable.
- Return: Stay for a few easy breaths, then come back upright slowly.
What you may notice:
- A stretch through the backs of the legs.
- A different way to practice hip hinging while seated.
- A clear option to stop high rather than chasing a deeper fold.
Make it smaller: Keep your torso more upright, bend your knees more, or widen your stance if that gives you a steadier base.
5. Seated Neck Rolls (Neck & Shoulders)
Here, “neck rolls” means small side-to-side movements and half-rolls rather than a full circle. The aim is gentle motion, not a big stretch.
How to do it:
- Start: Sit tall and let your shoulders relax.
- Chin down (exhale): Lower your chin only as far as feels comfortable.
- Ear to shoulder: Ease your right ear toward your right shoulder, return to center, then repeat on the left.
- Flow: Continue with small side-to-side movements or a gentle half-roll through center. There is no need to circle the neck all the way around.
What you may notice:
- Gentle movement through the neck.
- A chance to notice whether one direction feels more limited than the other.
Make it smaller: Reduce the range further, or switch to soft shoulder rolls if moving your head does not feel comfortable.
Build a Simple Seated Yoga Routine
You do not need a long or fixed daily sequence. A short practice can be enough to learn which movements feel useful and which ones you would rather skip.
- Settle: Take three easy breaths in a supported seated position.
- Choose: Pick one or two poses and use a comfortable range rather than trying to make the stretch bigger.
- Check in: Return to a neutral seated position and notice what felt comfortable, what you would make smaller, and what you would skip next time.
If you want a short movement break at a desk, try 5-minute desk yoga. Stop if a movement causes or increases pain or other concerning symptoms; if you want individual modifications, a gentle or chair-yoga instructor can help.
If stiffness is most noticeable in the morning, you may prefer having the sequence already chosen.
Get the Chair Yoga Routine for Stiff Mornings
Confirm to get the routine and yoga tips. Unsubscribe anytime.
Something went wrong. Please check your email address and try again.
Frequently Asked Questions
Start with One Pose Today
You do not need to do all five poses at once. Choose one movement, try a few comfortable breaths, then return to your neutral seated position and notice how you feel. If that went well, repeat it or add a second pose. The goal is not the deepest stretch; it is a small practice you can return to without forcing.
If you want a ready-made sequence for your next practice, the free chair yoga poses PDF includes a printable 10-minute routine with nine chair-based movements.