Lower back feeling touchy when you sit, stand, or change position? The easiest position is the right starting position. This guide gives you seven beginner-friendly yoga positions for lower back pain, with modifications for stiffer bodies and a two-question finder when you are not sure whether to start on your back, on hands and knees, or off the floor.
For chronic non-specific low-back pain, research suggests yoga can offer small improvements in pain and function, broadly similar to other exercise approaches. If you want the broader picture beyond the lower back, see our yoga for pain relief guide.
Find a Gentle Starting PointThis post contains an Amazon affiliate link. As an Amazon Associate, I earn from qualifying purchases. If you buy through the link, I may earn a commission at no extra cost to you. Learn more.
Table of Contents
- Three Rules Before You Pick a Pose
- When to Pause or Get Help
- Starting Point Finder
- 7 Beginner-Friendly Poses
- Build a Simple Routine
- Free Chair Yoga Routine
- What the Evidence Says
- Between Sessions
- FAQs
- Choose a Repeatable Pose
Three Rules Before You Pick a Pose
Use this page like a pose library, not a prescription. You do not need all seven positions, and the deepest version is never the goal.
- Choose the easiest setup: Start on your back, on hands and knees, or off the floor—whichever is easiest to enter and leave.
- Modify early: A blanket, cushion, shorter range, or shorter hold is part of the pose, not a fallback.
- Stop on a clear warning: Sharp, electric, worsening, or traveling symptoms are a reason to come out rather than push deeper.
Before You Start: When Yoga Is Not the Next Step
If you have a diagnosed condition such as sciatica or a herniated disc, a generic pose list cannot tell you which movements are appropriate for you. Follow the advice you have been given by your clinician, use a smaller range when needed, and stop a movement if it clearly worsens or spreads your symptoms.
How to Tell When a Pose Is Too Much
A pose does not need to feel dramatic to be useful. Keep the range small enough that you can breathe normally and come out of the position without bracing or rushing.
- Comfortable effort: Mild stretching, muscle work, or stiffness that settles as you move can be a reasonable place to start.
- Stop signal: Sharp, pinching, electric, clearly worsening, or traveling symptoms mean come out of the pose.
- Use support: Blankets, cushions, a wall, or a chair can make the setup more accessible.
- Get personal guidance: New severe symptoms, increasing numbness or weakness, or a recent injury deserve individual assessment rather than a longer hold.
If you are not sure where to begin, use the finder below to choose a starting position based on what your body can comfortably do today—not on trying to diagnose where the pain is coming from.
Find a Lower-Back Yoga Starting Point
Answer two quick questions. This finder can suggest a practical place to start, but it cannot diagnose the cause of back pain.
Answer both questions to see a starting point.
7 Beginner-Friendly Yoga Positions for Lower Back Pain
The back pain yoga poses below are options, not a sequence you need to complete. Use the finder above to choose a starting setup, then scan all seven and keep only the positions that stay comfortable. Use the modifications rather than forcing a deeper shape.
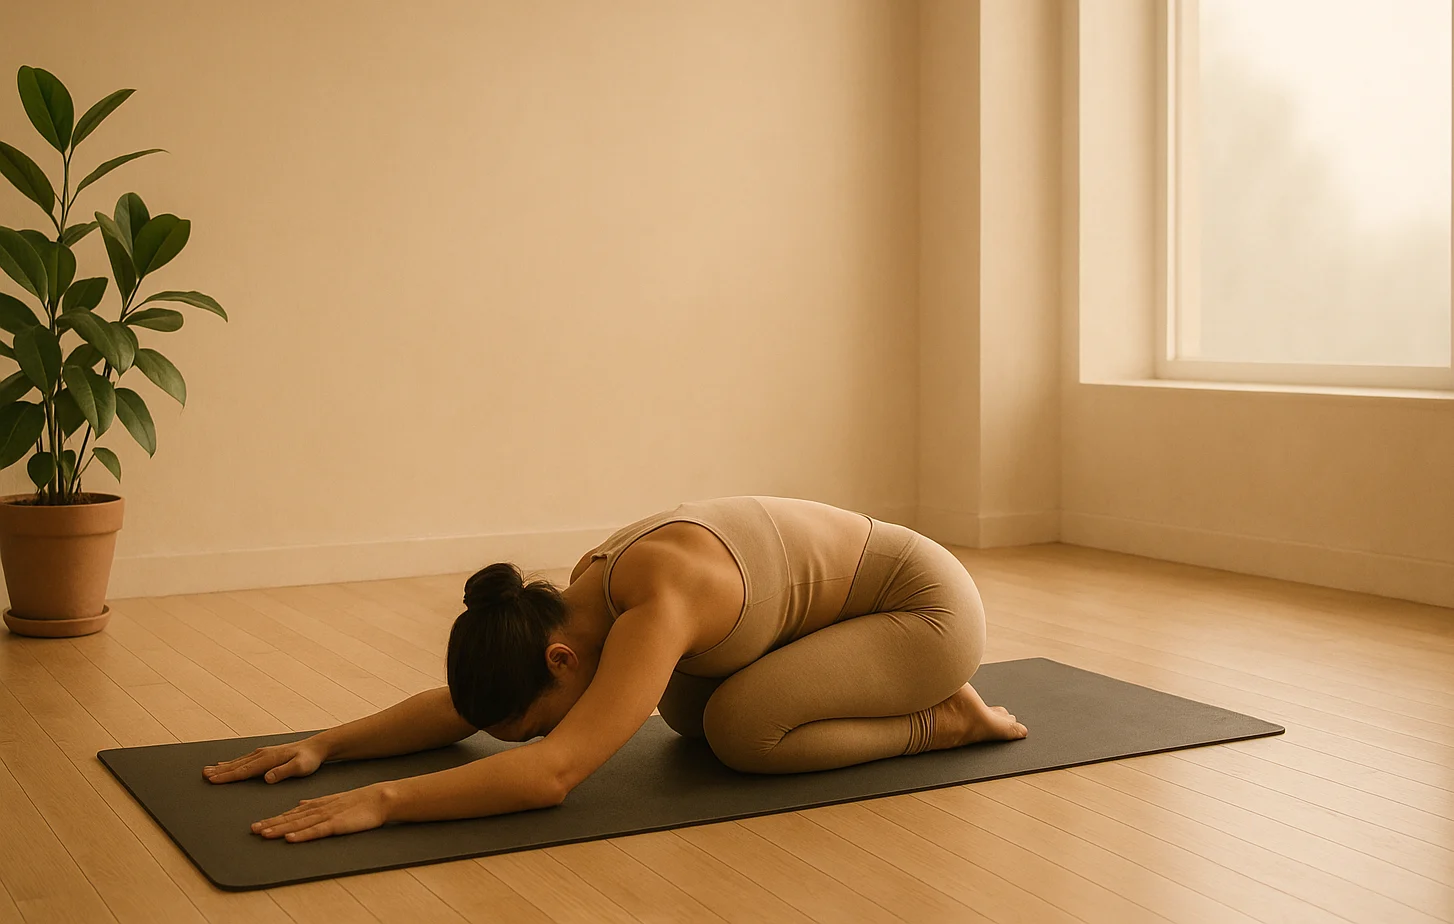
Child’s Pose (Balasana)
What it emphasizes: A supported kneeling rest with hip and knee flexion. If bringing your hips toward your heels feels cramped, use the prop options below or skip it.
How to Do It:
- Kneel with big toes touching and knees wide or hip-width apart.
- Lower hips toward heels, extending arms forward or resting them alongside your body.
- Rest your forehead on the mat or on support, keeping your neck comfortable.
- Hold for 30 seconds to several minutes.
Make it easier:
- Use a folded blanket under the forehead if it doesn’t reach the mat.
- Place a firm cushion or bolster between your hips and heels if that makes the position more comfortable.
A firm household cushion works well here. If you’d rather use a dedicated yoga prop, the Gaiam Yoga Bolster is one option.
Cat-Cow Pose (Marjaryasana-Bitilasana)
What it emphasizes: A slow, adjustable spinal movement. Keep the range small enough that neither the rounding nor the arching clearly worsens your symptoms.
How to Do It:
- Get into a tabletop position with hands under shoulders and knees beneath hips.
- Cow Pose (Inhale): Drop belly, lift chest and tailbone, looking slightly forward.
- Cat Pose (Exhale): Round spine, tuck tailbone, and relax head downward.
- Flow between poses for 5–10 breaths, syncing with breath.
Make it easier:
- Add a blanket under knees for cushioning.
- Use forearms if wrists are sensitive.
Knee-to-Chest Pose (Apanasana)
What it emphasizes: A supine hip-and-low-back stretch with a small, easy-to-control range. Keep the other foot down if extending the leg pulls on your back.
How to Do It:
- Lie on your back, knees bent, feet flat, hip-width apart.
- Exhale, draw one knee to chest, holding shin or thigh.
- Keep other foot flat or extend leg if comfortable.
- Hug knee gently, feeling a lower back stretch.
- Hold for 30 seconds to 1 minute, then switch legs.
- Optionally, hug both knees if that remains comfortable.
Make it easier:
- Hold behind thigh if shin is hard to reach.
- Place a cushion under head if it lifts off the mat.
Supine Spinal Twist (Supta Matsyendrasana)
What it emphasizes: Gentle rotation through the trunk and hips. Support the knees and use a smaller range rather than pulling yourself deeper into the twist.
How to Do It:
- Lie on your back, knees bent, arms in a “T” shape.
- Draw knees to chest, then let them fall to one side, keeping shoulders grounded.
- Optionally, gaze in the opposite direction of your knees.
- Stay in the pose for 30 seconds to a minute, then swap sides.
Make it easier:
- Place a cushion under knees if they don’t reach the floor.
- Focus on grounding shoulders without forcing the twist.
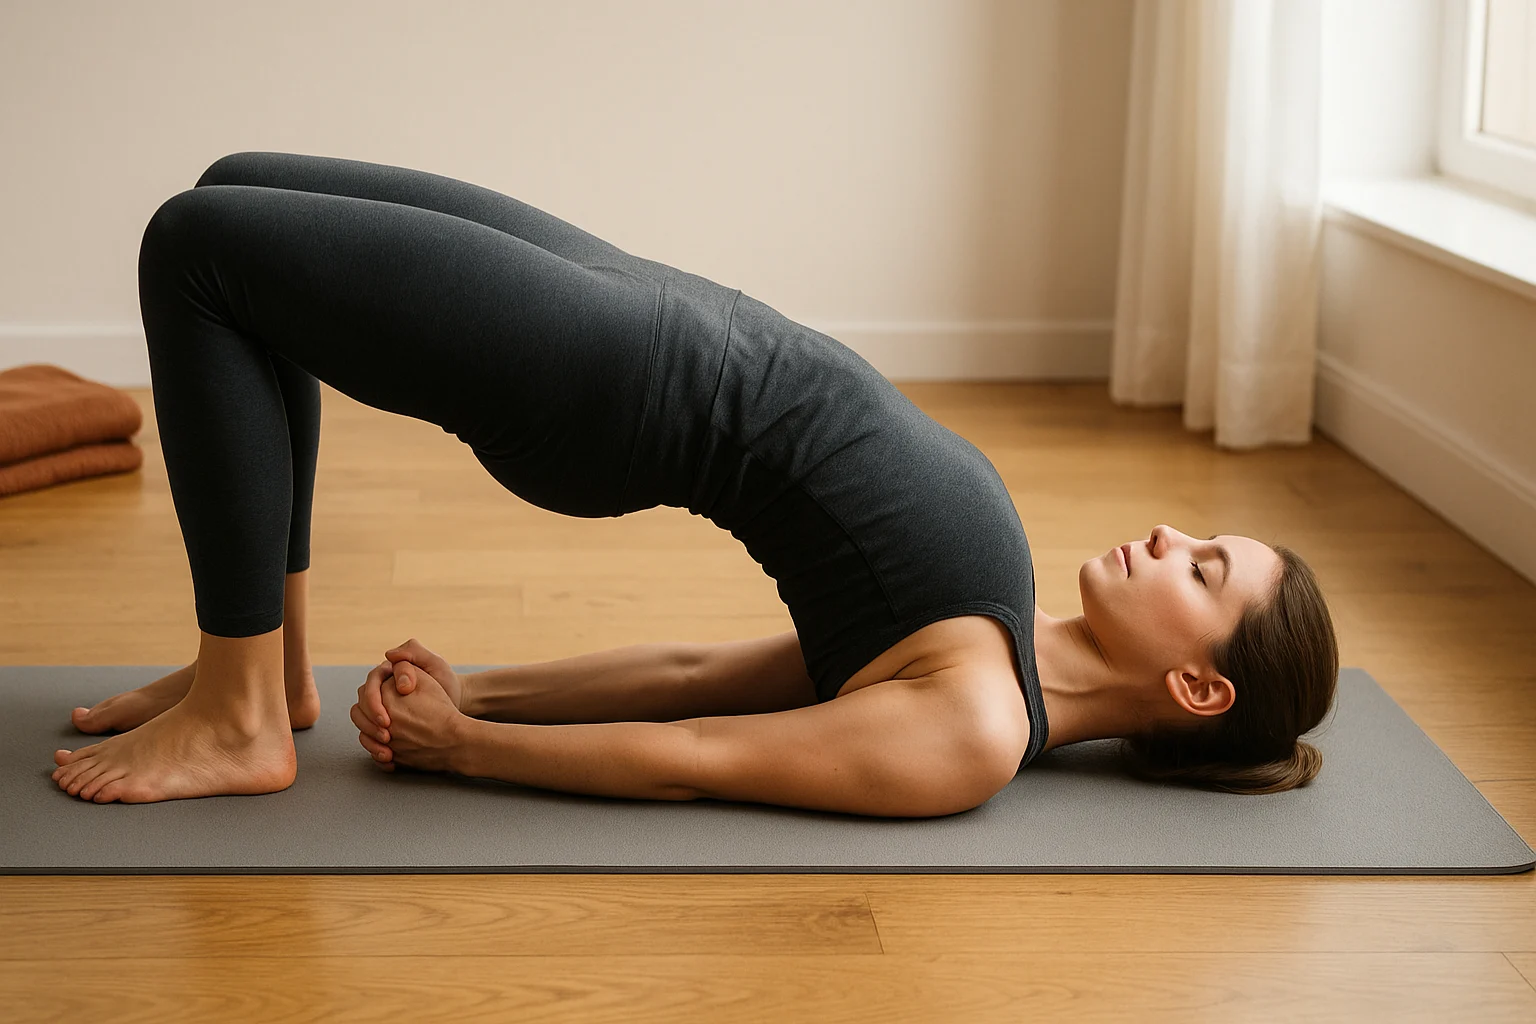
Bridge Pose (Setu Bandhasana)
What it emphasizes: A glute-focused hip lift with help from the trunk and hamstrings. The goal is a comfortable lift, not maximum height.
How to Do It:
- Lie on your back, knees bent, feet hip-width apart, heels near the buttocks.
- Inhale, press feet to lift hips, engaging glutes.
- Lift only as high as you can while breathing normally and keeping the movement comfortable.
- Hold for 30 seconds, then lower slowly.
- Repeat 3–5 times.
Make it easier:
- Lift hips lower for less intensity.
- Place a block under sacrum for a restorative version.
Sphinx Pose (Salamba Bhujangasana)
What it emphasizes: A mild prone backbend. Some backs like this direction and others do not, so come out if it pinches or increases your symptoms.
How to Do It:
- Lie on stomach, legs extended, forearms parallel, elbows under shoulders.
- Press forearms to lift chest, keeping neck long.
- Keep your pelvis heavy and your shoulders relaxed; do not force a higher chest position.
- Hold for 30 seconds to 1 minute, then lower.
Make it easier:
- Move elbows forward to reduce intensity.
- Lower chest slightly if there’s pinching.
Figure Four Stretch (Supine Pigeon Prep)
What it emphasizes: A supine outer-hip stretch. If the position brings on electric or traveling symptoms, do not treat a deeper stretch as the answer.
How to Do It:
- Lie on back, knees bent, feet flat.
- Place right ankle on left thigh, forming a “figure four.”
- Stay here or lift left foot, threading hands behind left thigh.
- Bring the left thigh toward you only as far as feels comfortable, keeping your head relaxed.
- Hold for 30 seconds to 1 minute, then switch sides.
Make it easier:
- Loop a yoga strap, belt, or long towel behind the supporting thigh and hold the ends if reaching around the leg is uncomfortable.
- Add a cushion under head if it lifts.
Build a Simple Routine from the Poses That Feel Best
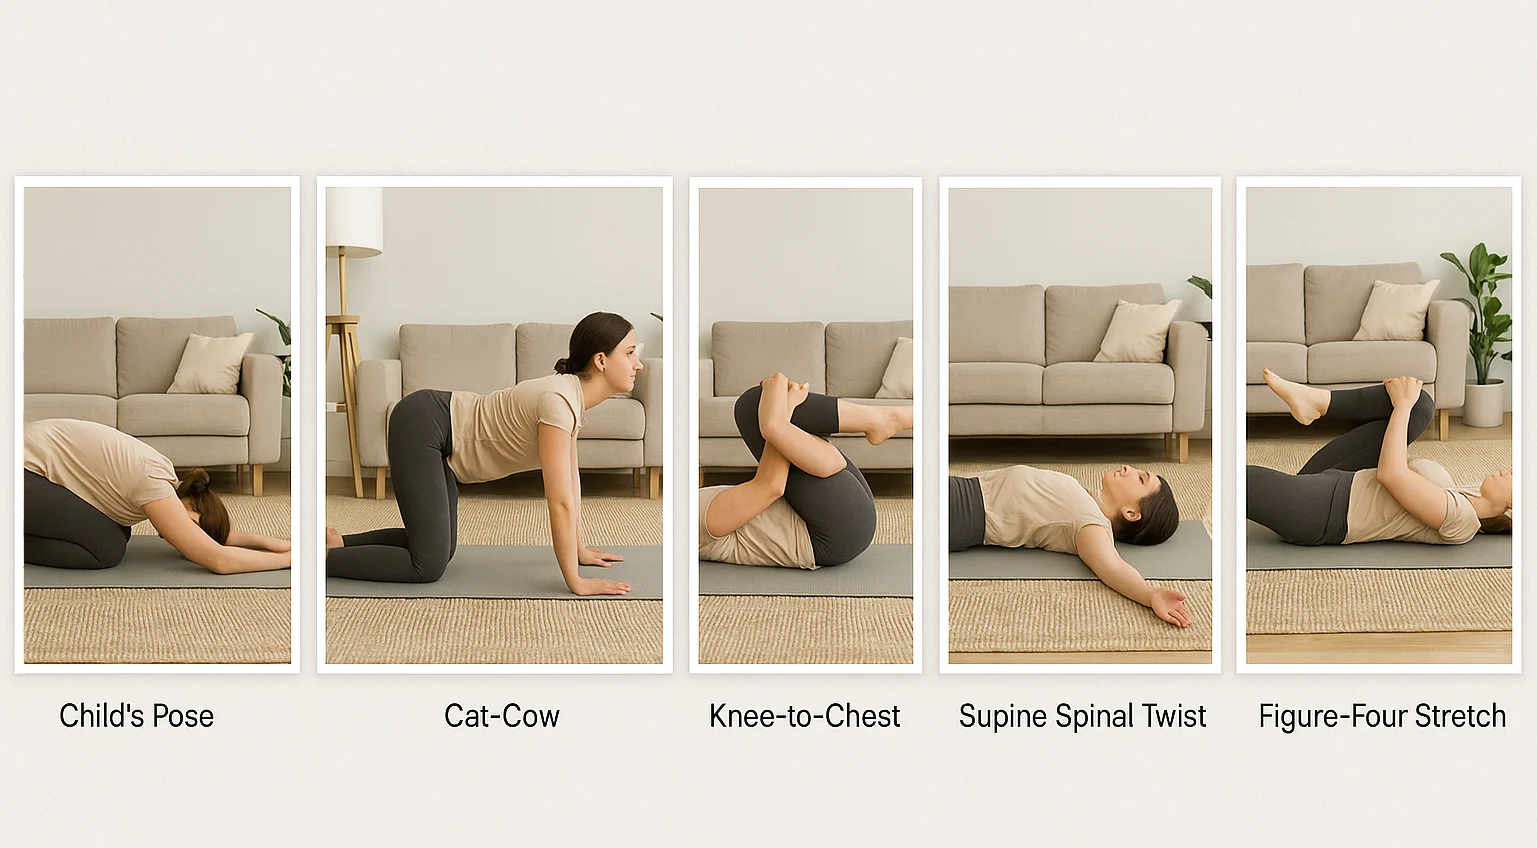
You do not need to use every position in one session. Pick three or four options that stayed comfortable, and treat the sequence below as a menu rather than a prescription.
- Easy mobility: 5–8 slow Cat-Cow rounds, or 30–60 seconds of Knee-to-Chest on each side.
- Supported rest: 1–2 minutes in Child’s Pose with props, or a comfortable rest on your back if kneeling is not a good fit.
- Optional strength: 5 slow Bridge repetitions if lifting the hips feels comfortable.
- Optional hip stretch: 30–60 seconds of Figure Four on each side if it stays local and comfortable.
- Finish: Take a minute of easy breathing in the position that feels most settled.
If a pose has stayed comfortable over several sessions, add a few breaths, a slightly larger range, or one extra easy round. If symptoms are worse during or after the session, scale the next practice back instead of automatically adding more. For lower back relief from yoga, let comfort and repeatability—not depth—decide what stays in the routine.
If floor practice feels like too much on stiff mornings, a seated routine can be a practical alternative.
Get the 10-Minute Chair Yoga Routine for Stiff Mornings
Confirm to get the routine and yoga tips. Unsubscribe anytime.
Something went wrong. Please check your email address and try again.
What the Evidence Says About Yoga for Lower Back Pain
Yoga does not diagnose or fix a specific cause of lower back pain. For chronic non-specific low-back pain, current evidence suggests yoga can produce small improvements in pain and back-related function, with results broadly similar to other forms of back-focused exercise.
That makes yoga one movement option, not a special cure. Its practical advantage is that the range, support, pace, and starting position can all be adjusted. If slower breathing helps you keep the practice calm and controlled, our yoga and breathwork for stress relief guide goes deeper on that side of practice.
For the research summary, see Cochrane’s review of yoga for chronic non-specific low back pain.
Between Sessions: Keep Moving Without Overthinking Posture
Yoga does not need to carry the whole job. If long desk stretches leave you stiff, change position, take a short walk, or use a brief movement break such as our 5-minute desk yoga routine.
Treat yoga for back health as one part of ordinary daily movement, not the whole job. Vary your position instead of chasing one perfect posture, and choose movement you can repeat without a big symptom flare.
Frequently Asked Questions
Choose the Easiest Pose You Can Repeat Comfortably
You do not need all seven positions. Pick one starting setup from the finder, try a few slow breaths or repetitions, and notice how you feel during the movement and afterward. If it stays comfortable, keep it in your rotation; if it does not, use a smaller range or a different setup. The goal is not to win the pose—it is to leave the mat feeling no worse than when you started.