Being flexible is not the same as feeling stable. If your joints easily move past neutral, yoga can reward exactly the range you may need to control rather than deepen. The useful goal is not a smaller body or a bigger stretch—it is a range you can support without hanging on the joint.
This guide to yoga for hypermobile joints focuses on strength, body awareness, props, and practical modifications. Start with the framework below, then use the quiz after the five pillars to find the part of the guide that deserves your attention first. For the broader health context, see our guide to yoga for specialized health.
Table of Contents
- What Hypermobility Means for Yoga
- Why Strength Matters More Than Stretch
- Five Pillars for a More Controlled Practice
- Find Your Stability Focus
- Poses That Build Control
- Poses and Habits to Modify
- Finding the Right Yoga Class
- How to Tell the Practice Is Working for You
- Frequently Asked Questions
- Make Control the Goal, Not Depth
- Free 10-Minute Chair Yoga Routine
What Hypermobility Means for Your Yoga Practice
Picture your joints as hinges on a door. Hypermobility means one or more joints move beyond the range expected for most people. Some people are flexible without symptoms; others have pain, instability, or repeated injuries. In conditions such as Ehlers-Danlos syndromes and hypermobility spectrum disorders, differences in connective tissue and joint control can make that extra range harder to manage.
When hypermobility is symptomatic, pain, fatigue, poor balance, repeated sprains, or joint instability can make that extra range more relevant on the mat. Symptoms vary widely, and joint noises on their own do not necessarily mean a joint is unstable.
If pain, instability, or repeated injuries are what made you notice the extra range, the useful yoga question is not “How flexible am I?” but “Can I control this range comfortably?” For deeper practice cues, explore our guide on yoga alignment principles.
Why Strength Matters More Than Stretch in Yoga for Hypermobile Joints
Many classes reward deeper range. If you’re already hypermobile, repeatedly pushing farther can make it harder to stay controlled at the edge of a pose. A more useful approach comes back to three basics:
- Building Muscle Strength: Think of muscle as active support around a joint. In standing poses, use enough leg and hip engagement to keep the shape controlled rather than hanging at the end of your range.
- Practicing Proprioception: Proprioception is your sense of joint position and movement. It can be reduced in some people with symptomatic hypermobility, so slower, deliberate movement and visual feedback can help you pay attention to where a joint actually is.
- Controlled Movement: Moving slowly lets you engage the right muscles and avoid pushing joints too far.
By prioritizing strength and control over extra range, yoga can fit the same general direction used in hypermobility rehabilitation. Current NHS guidance emphasizes muscle strength and fitness, while The Ehlers-Danlos Society emphasizes stability, movement control, and avoiding excessive stretching. This is the practical idea behind yoga for joint stability. To complement it, try our yoga sequences for core strength.
Five Pillars for a More Controlled Practice
These five ideas turn “be careful” into something you can actually do on the mat. They are not rigid rules; use them to notice where you have control and where a smaller range or different cue works better.
Pillar 1: Mindful Movement & Body Awareness
Slow the transitions enough to notice where the joint actually is. That extra beat can make it easier to catch a knee, elbow, shoulder, or hip drifting into a range you did not mean to use.
- Move Slowly: Take your time moving in and out of poses, and notice how each joint feels.
- Feel Your Joints: In standing shapes, notice if a knee drifts into hyperextension (that backward bend). Move back toward a range you can actively hold rather than forcing one fixed knee position.
- Use a Mirror: A quick glance can help you compare what you feel with what you see, especially when you’re learning where your neutral range is.
Pillar 2: Prioritizing Muscle Engagement
Use muscle engagement as active support, but do not treat one cue as universal. A useful cue should make the pose feel more controlled without creating pain, pinching, or extra tension elsewhere.
- “Hug the Midline”: In some standing poses, gently imagine drawing the legs toward the midline if that helps you feel steadier through the hips.
- Engage the Quads: Lightly tighten the front of the thighs to avoid simply resting in knee hyperextension.
- Support the Shoulders: Use gentle shoulder-muscle engagement without forcing the shoulder blades into one fixed position.
- “Root Down, Lift Up”: Press evenly through the feet and lengthen through the spine if that cue helps you feel organized rather than rigid.
- Stay Out of a Passive Lock: If your knees or elbows naturally move beyond neutral, use a small amount of muscular control rather than hanging passively at the end of the joint range.
Pillar 3: Avoiding End-Range of Motion
End range is not automatically dangerous, but repeatedly forcing or hanging in your maximum range can be a poor trade when control is limited. Stay where you can support the position comfortably. Props can reduce the amount of range a pose demands—see our guide to essential yoga props for blocks and straps.
- Keep Stretching Gentle: Tight muscles can still benefit from careful stretching. Aim for a mild muscle stretch, stabilize the areas that are already very flexible, and avoid forcing the joint beyond the range you can control.
- Blocks: Bring the floor closer in folds or standing poses so you do not have to reach by locking a joint.
- Straps: Extend your reach without using the strap to pull yourself deeper.
- Blankets: Add padding where pressure on knees or wrists distracts from controlled movement.
- Bolsters: Support restorative shapes so relaxation does not depend on sinking into your maximum range.
- Modify Poses: Tweak every shape to fit you—comfort and control beat picture-perfect angles.
Pillar 4: Core Stability as Your Foundation
Core and trunk strength can contribute to whole-body control, but the goal is not to brace as hard as possible. Use enough effort to keep the movement steady while breathing normally.
- Use a Comfortable Brace: Gently firm the trunk without sucking the abdomen in hard or holding your breath.
- Exhale Through Effort: Let the exhale help you pace a harder part of the movement while keeping the trunk steady.
- Adjust the Effort: If a core cue increases pain, pressure, or breath-holding, reduce the effort or choose a different variation.
Pillar 5: Breathing to Keep Effort Controlled
Use breathing as a pacing cue rather than a promise that one technique will “stabilize” a joint. If you can breathe comfortably through the effort, it is easier to notice when you are bracing too hard or pushing the pose. For more techniques, see our beginner breathwork guide.
- Easy Diaphragmatic Breathing: Let the ribs and abdomen expand comfortably on the inhale, then exhale without forcing the belly inward.
- Skip Forced Breath Holds: You do not need a specific breath count for joint stability. If long holds make you lightheaded or tense, use an easy, continuous rhythm instead.
- Breathe with Movement: Exhaling through a harder phase of a pose can be a simple way to pace effort without holding your breath.
Find Your Stability Focus for Hypermobile Joints
Answer three quick questions about how you move in yoga. You’ll get a practice focus and a direct link to the most useful section of this guide. This is a practice-planning tool, not a diagnosis.
Yoga for Joint Stability: Poses That Build Control
Whatever focus the quiz gave you, use the poses below to practice the same idea: choose a range you can control and let muscular effort—not depth—be the main feedback.
Standing Poses for Grounding
Standing poses give you a practical way to work on leg strength, balance, and controlled joint position.
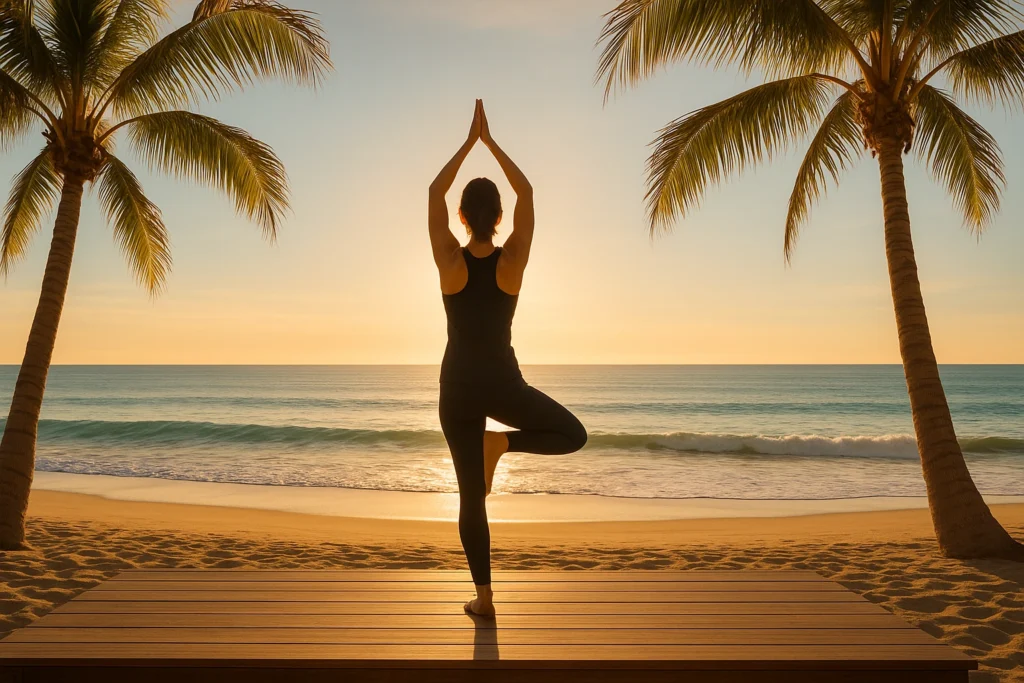
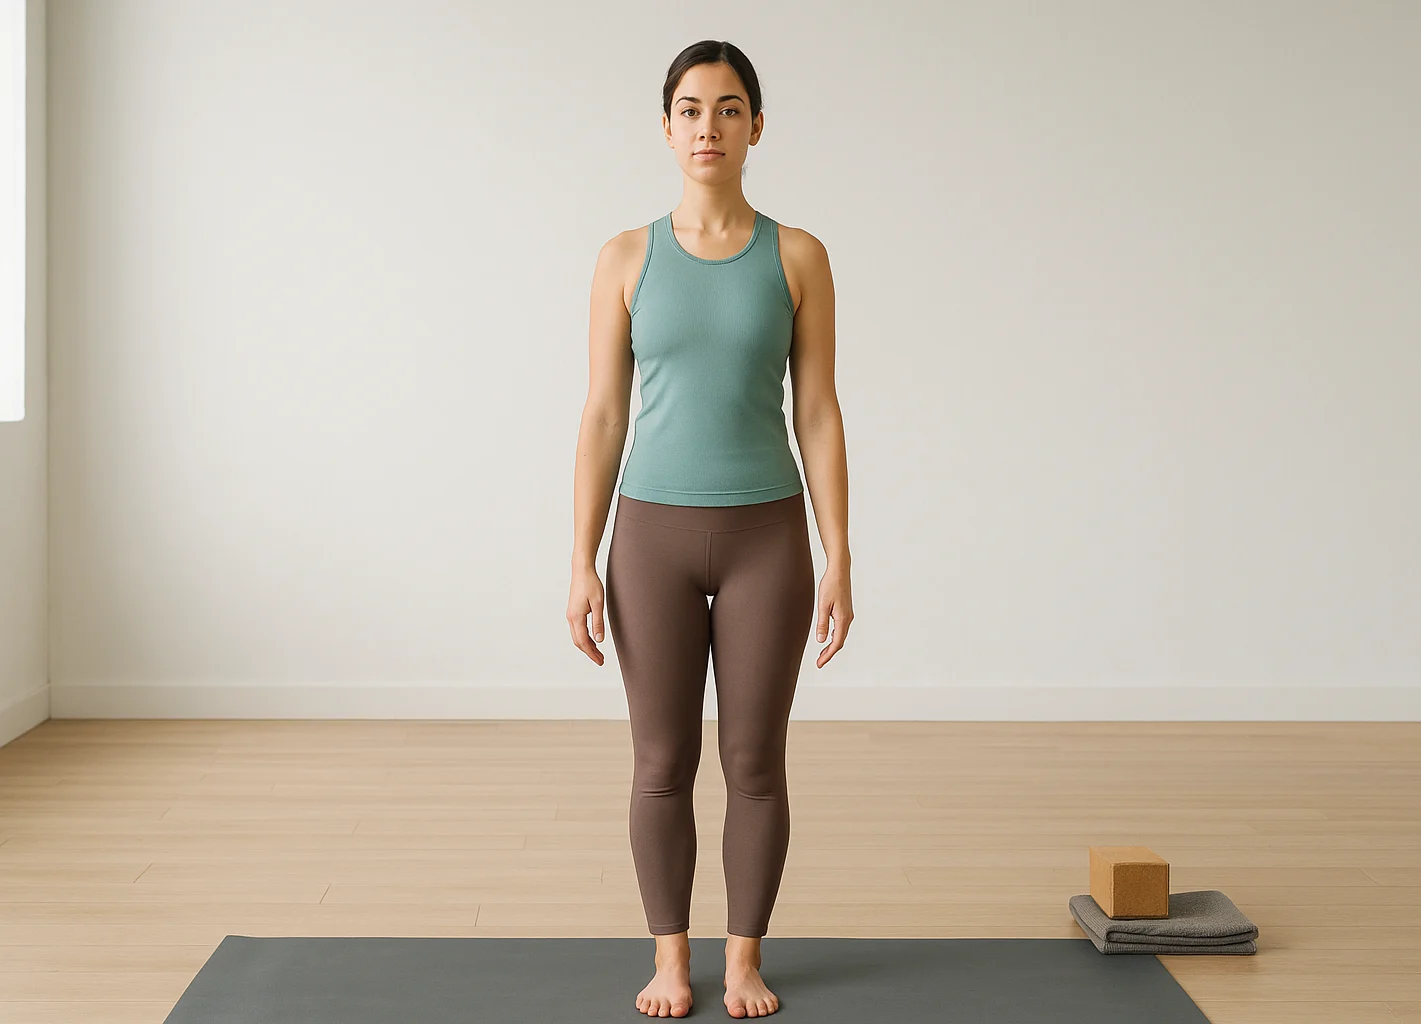
- Mountain Pose (Tadasana):
- How to: Stand with your feet at a comfortable width. Press evenly through the feet, use gentle leg and trunk engagement, and stop short of resting in knee hyperextension.
- Why it helps: Gives you a simple place to practice balance, joint position, and a controlled standing range.
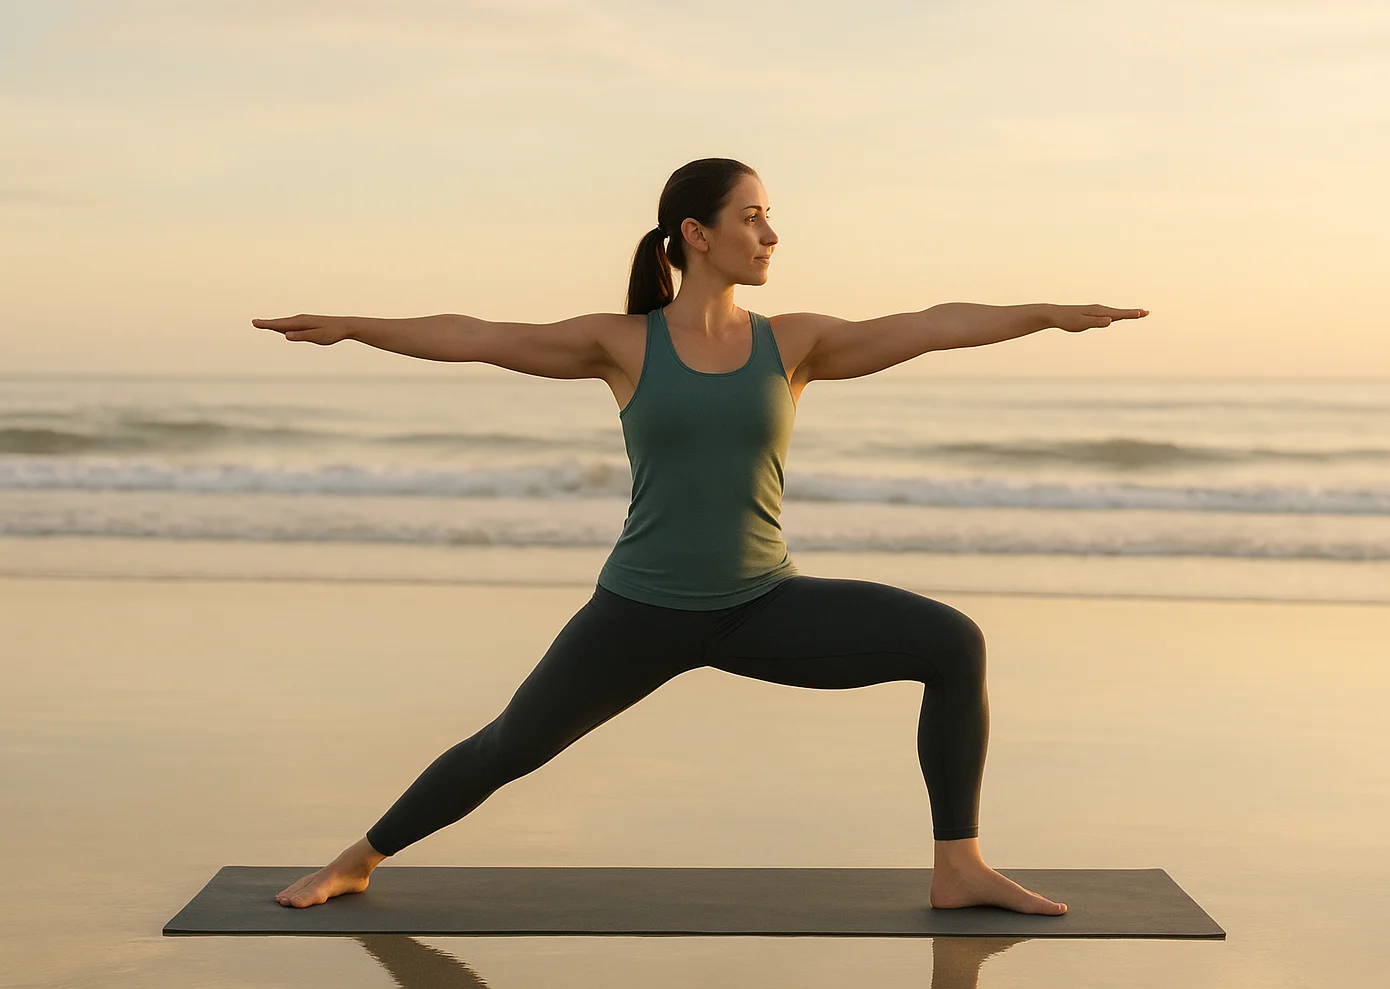
- Warrior II (Virabhadrasana II):
- How to: Step one foot back and turn it slightly out. Bend the front knee only as far as you can keep it comfortably tracking with the foot. Use the legs and hips to support the shape, and reach through the arms without forcing the shoulders into a fixed position.
- Why it helps: Lets you practice leg and hip strength while paying attention to knee and pelvic control.
- Tree Pose (Vrksasana):
- How to: From Mountain, shift onto one foot and use a wall or chair if balance is uncertain. Place the other foot at the ankle, calf, or thigh rather than directly on the knee, then use only enough pressure to feel steady.
- Why it helps: Challenges balance and joint-position awareness without needing a large range of motion.
Core & Abdominal Strengthening
Core-focused poses can add trunk-strength practice without asking you for more flexibility.
- Cat-Cow (Marjaryasana-Bitilasana):
- How to: Start on hands and knees with wrists and knees placed comfortably. Move through a small Cat-Cow range instead of seeking your deepest arch or round, and keep the tempo unhurried.
- Why it helps: Lets you practice controlled spinal movement while coordinating it with easy breathing.
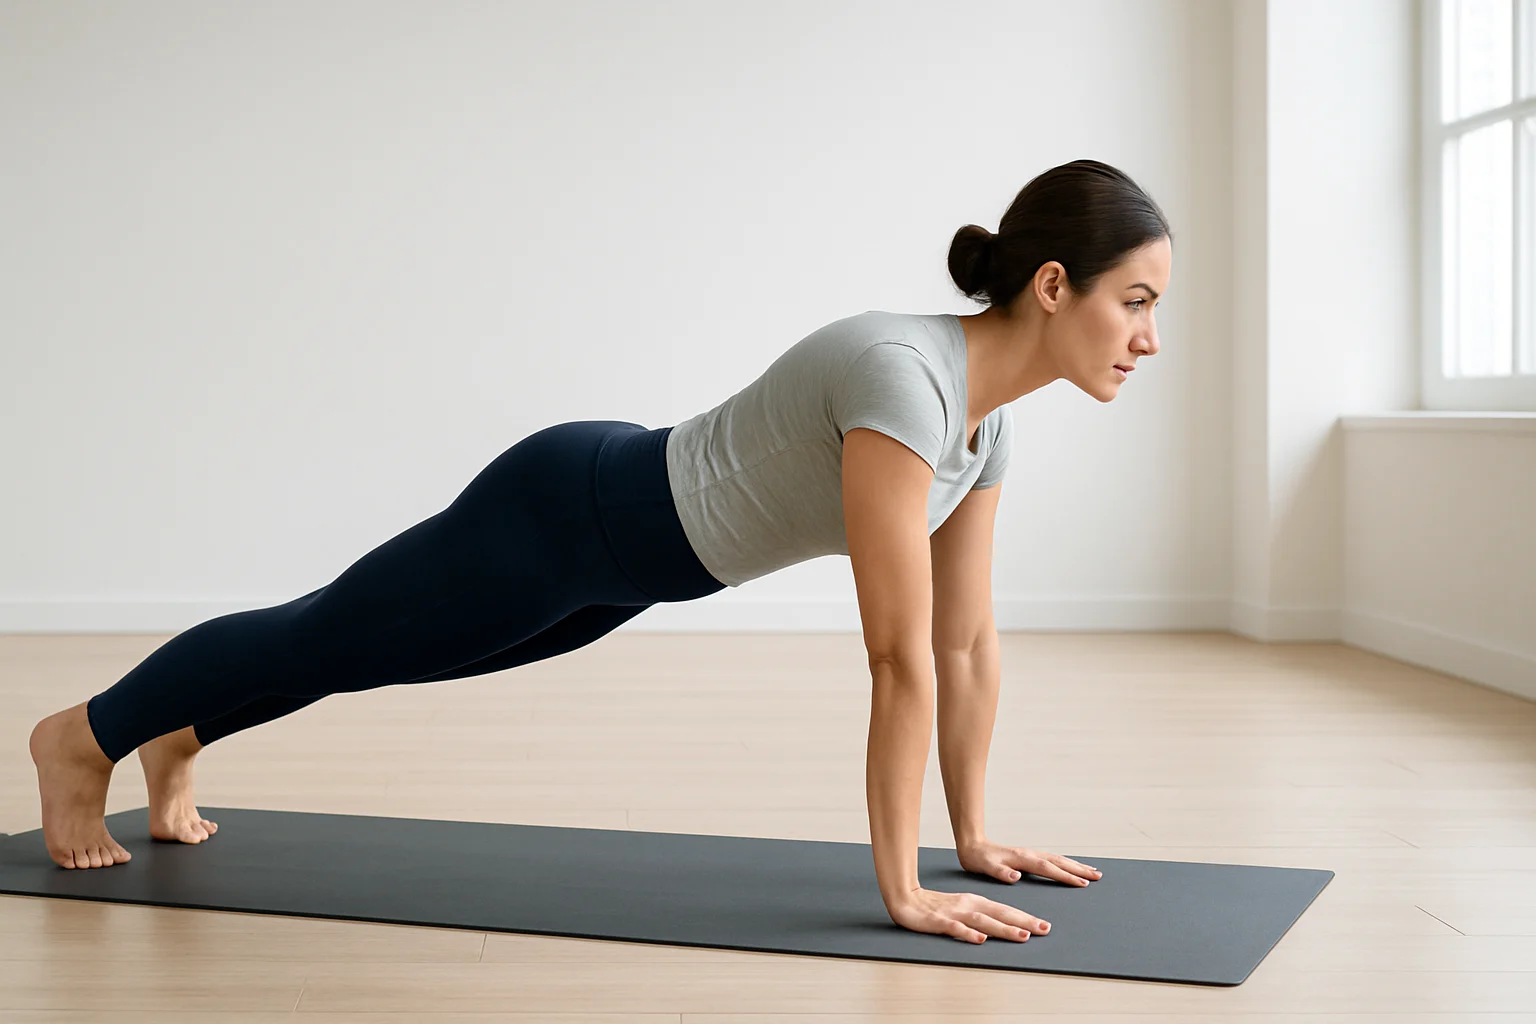
- Plank Pose (Phalakasana):
- How to: Use a wall, counter, knees-down plank, forearm plank, or full plank—whichever version lets your wrists, elbows, and shoulders stay controlled. Keep the trunk steady and avoid sinking into the joints.
- Why it helps: Builds whole-body strength while giving you several ways to reduce load when a joint feels unstable.
- Boat Pose (Paripurna Navasana):
- How to: Sit with knees bent and feet down. Tip back only as far as you can keep the spine comfortable and the trunk working. Keep the feet down, use fingertips for support, or float the feet if the lighter versions already feel steady.
- Why it helps: Gives you a scalable trunk-strength challenge without making the hardest version the goal.
Mindful Stretching Without Chasing More Range
With hypermobile joints, strength still leads, but light, active mobility can help when a muscle is genuinely tight. Keep the stretch gentle and avoid hanging in the joints.
- Reclined Hand-to-Big-Toe Pose with Strap (Supta Padangusthasana):
- How to: Lie back and loop a strap around one foot. Lift the leg only until you feel a mild hamstring stretch, keep the knee comfortably soft if needed, and use the strap as support rather than leverage to pull farther.
- Why it helps: Makes the amount of stretch easier to control while the rest of the body stays supported.
- Gentle Hip Flexor Stretch (Low Lunge):
- How to: In a low lunge, pad the back knee and keep the front foot far enough forward that the position feels steady. Use a small pelvic shift and light glute engagement; stop before the front of the hip feels pinched or unstable.
- Why it helps: Offers a controllable way to address hip-flexor stiffness without making a deep lunge the target.
Poses and Habits to Modify
You do not need a blacklist of yoga poses. The more useful question is whether a shape asks you to hang in end range, lose control, or push through symptoms. These are the patterns worth modifying:
- Deep passive stretches: Avoid using body weight to force already-flexible joints farther simply because the shape is available to you.
- Long or intense stretch holds: There is no universal safe hold time for hypermobility. Keep the stretch gentle, stay in control, and shorten or stop it if the joint feels unstable or symptoms increase.
- Weight-bearing on locked joints: Don’t “hang” passively in the elbows (Plank) or knees (standing). If you tend to hyperextend there, move toward a range you can support with muscular control.
- Aggressive Adjustments: Politely decline teacher adjustments that push you deeper.
- Hot Yoga: There is no universal ban, but heat can worsen dizziness, fatigue, or exercise intolerance for some people with hEDS/HSD and related autonomic symptoms. If a heated room makes it harder to stay steady or judge your range, choose a cooler class.
Finding the Right Yoga Class
Not all yoga classes suit hypermobile joints. If you’re looking for hypermobility yoga, judge the class by how well it supports control and modification:
- Hypermobility-aware teaching: Look for an instructor who can explain modifications, respects a smaller range, and is comfortable with you declining hands-on adjustments.
- Communicate needs: Let your teacher know you’re prioritizing stability work and clear form cues over depth.
- Room for feedback: A smaller class or private session can make it easier to ask questions and get individual modifications, but class size matters less than the teacher’s judgment.
- Judge the class, not just the style name: A slower, alignment-focused class may be easier to adapt, but teacher skill, pacing, and willingness to modify matter more than whether the schedule says Hatha, Iyengar, or Vinyasa.
How to Tell the Practice Is Working for You
Progress with hypermobility does not have to look like a deeper pose. A better check is whether you have more control over the range you already have and can make useful adjustments without fighting the shape.
- You can stop before passive lockout. The pose still feels complete even when the knee, elbow, shoulder, or hip is not at its maximum range.
- Your transitions look like part of the practice. You can enter and leave a pose with roughly the same control you use while holding it.
- You can tell muscle effort from joint strain. A working muscle may feel challenged; pinching, sharp pain, or a sense that the joint is slipping is a reason to change the position.
- You use props without treating them as a downgrade. A block, strap, wall, chair, or smaller range is simply another way to make the movement controllable.
- The practice is repeatable. If the same sequence repeatedly leaves you with new pain, more instability, or worse function, scale it back and get individualized guidance.
Frequently Asked Questions
Make Control the Goal, Not Depth
If yoga usually rewards you for going farther, give yourself a different scorecard: Can you stop where you mean to stop? Can you keep breathing? Can you come out of the pose with the same control you had going in? Use the five pillars, the quiz, and the pose modifications as ways to answer those questions—not as rules you have to perform perfectly.
For a hypermobile body, a smaller shape can be the more skilled choice. Keep the range you can support, change what does not feel steady, and get individualized help when pain, instability, or other symptoms keep getting in the way.
If you’d like a short chair-based practice to try for yourself, the free Stiff Mornings routine gives you a concrete 10-minute practice. It is a general chair-yoga resource rather than individualized hypermobility guidance, so keep using the same control-over-depth approach from this guide.
A Gentle Seated Routine for Mornings
Confirm to get the routine and yoga tips. Unsubscribe anytime.
Something went wrong. Please check your email address and try again.