If the floor feels one hand-length too far away, a block can bring the floor to you. It can make Triangle steadier, give your hips a little lift in a forward fold, support a restful pose, or become something to squeeze for strength. The useful question is not whether blocks are “for beginners”; it’s what job you need the block to do.
This guide starts with a quick Pose Finder, then shows how to choose a stable block height, work through seven block-supported poses, and decide between foam and cork. If you’re putting together the rest of your setup too, our full yoga gear guide covers mats, straps, and other props.
Find a Pose for Your GoalThis page contains Amazon affiliate links. As an Amazon Associate, I earn from qualifying purchases. Links marked with ‘#ad’ are affiliate links, meaning I may earn a commission at no extra cost to you. Learn more.
Table of Contents
- Yoga Block Pose Finder
- What a Block Changes in a Pose
- How Many Blocks, Which Height, and Where to Place Them
- 7 Yoga Block Exercises and Poses
- Foam vs. Cork Yoga Blocks
- Progressing Your Block Workouts
- Try a Chair-Based Practice
- Common Yoga Block Mistakes
- Frequently Asked Questions
- Let the Block Make the Pose Fit You
Yoga Block Pose Finder
Choose the goal you want to work on. You’ll get one block-supported pose to try and a direct jump to the instructions below.
What do you want to work on?
What a Yoga Block Changes in a Pose
A block changes the relationship between your body and the floor. Across yoga prop exercises that use one, it usually does one of four jobs: shorten a reach, support the body, create a steadier contact point, or add resistance.
Shorten the reach. Put the block under a hand when the floor is too far away to reach without collapsing the pose.
Support the body. Place it under the sacrum in Supported Bridge or under the forehead in Child’s Pose when the job is rest rather than effort.
Create a steadier contact point. A higher, more reachable surface can make it easier to organize the rest of the pose instead of chasing depth.
Add resistance. Squeeze a block between the thighs in Bridge or Plank when you want more muscular work without asking for more range.
None of those jobs is inherently “beginner” or “advanced.” The useful setup is the one that lets you breathe, stay in control, and understand the pose more clearly.
How to Use Yoga Blocks: Number, Height, and Placement
Start with more support than you think you need. A block is useful only if it lets you keep the pose steady enough to breathe; lowering the block is optional, not the goal.
How Many Blocks Do You Need?
One block is enough for many single-side setups, but a pair is a flexible starting point when both hands need the same height in lunges, folds, or standing poses. Two also let you test different heights without having to move one block back and forth.
If you also need a strap, our yoga prop set guide compares ready-made sets so you can decide whether a bundle is actually useful for you.
Use the Three Heights Deliberately
- Flat (Lowest): The broadest, steadiest base when you need only a little lift.
- Side (Medium): A middle height that works well under the hands in many standing poses and lunges.
- End (Tallest): The most height with the narrowest base; use it only when the block feels stable.
Move down a height only if you can keep the same control and easy breathing.
Match the Placement to the Job
- Under the hands: Shortens the reach in standing poses, lunges, and forward folds.
- Under the sacrum: Supports a restful Bridge setup; keep the block on the bony pelvis rather than the low back.
- Between the thighs: Gives you something to squeeze in strength-focused Bridge or Plank variations.
- Under the forehead: Can support Child’s Pose; avoid placing a hard edge directly under the neck.
Let Comfort Decide the Height
If a setup feels sharp, pinchy, numb, tingly, or unstable, change the height or come out of the pose. The block is there to make the shape fit you—not to prove that you can reach a lower setting.
7 Yoga Block Exercises and Poses to Try
Start with the block at the height that lets you keep the pose steady. Move slowly, keep breathing, and use an easier version whenever the setup starts to feel less controlled.
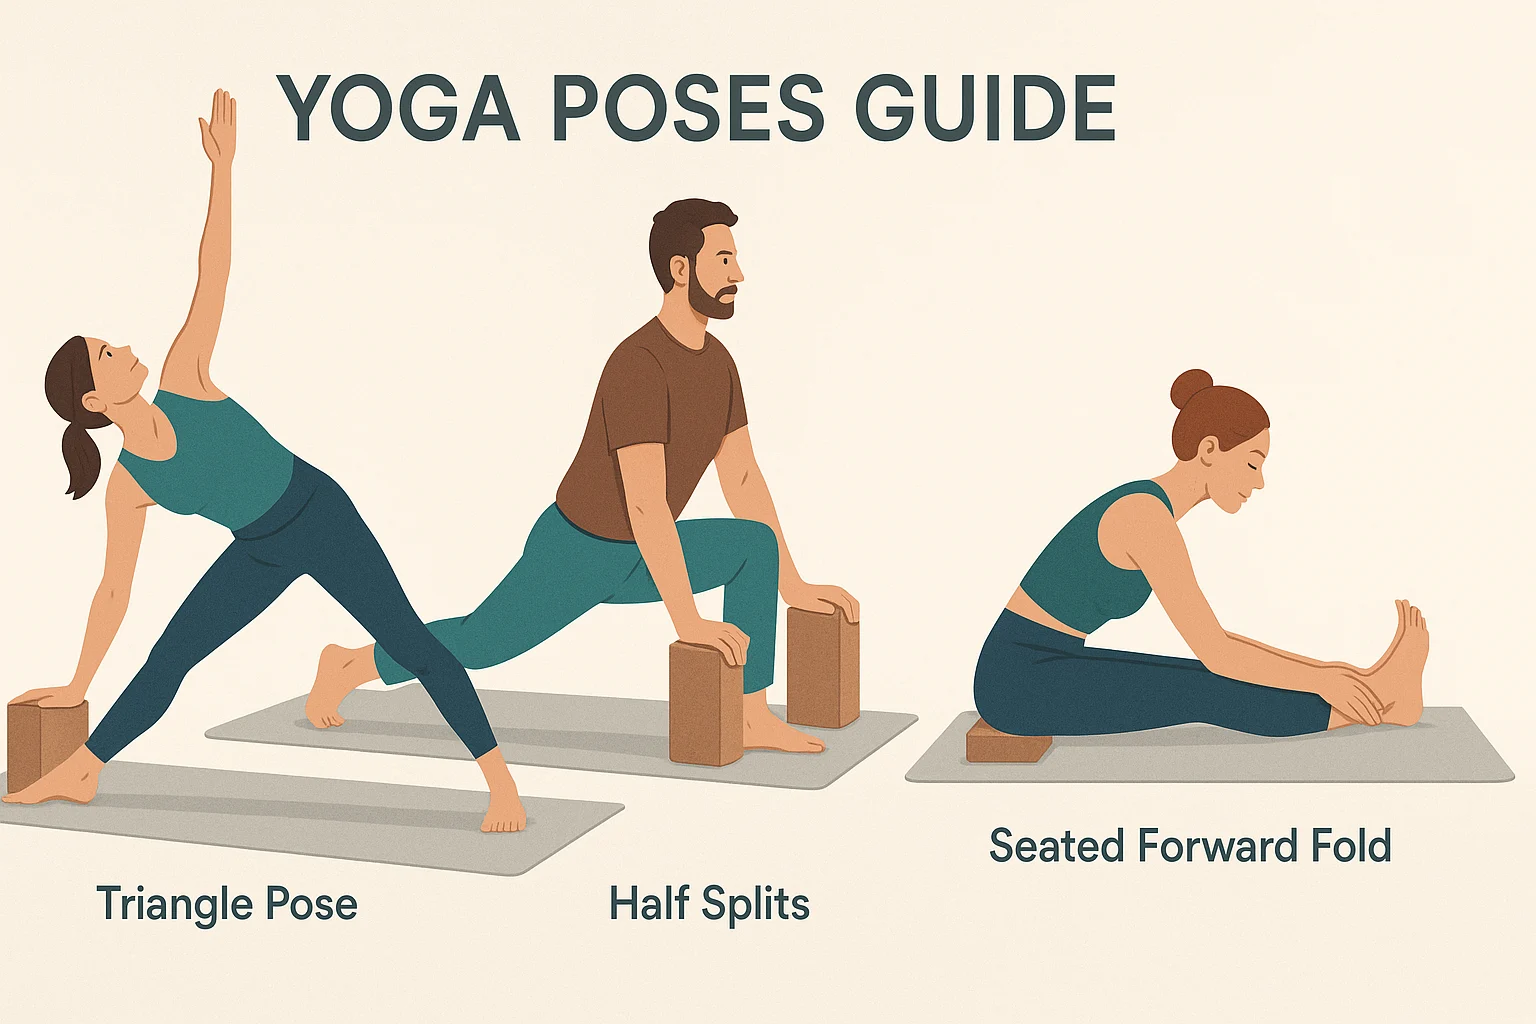
Triangle Pose (Trikonasana) with a Block
Triangle is a clear example of what a block does best: it raises the floor so your lower hand has somewhere reachable to land.
- Stand with your feet about 3–4 feet apart, turn your right foot out, and angle the left foot slightly in.
- Reach your right hand forward, then bring it down to a block inside or outside the right foot at a height you can reach without collapsing your torso.
- Reach the left arm up if that feels steady. Look forward, down, or up—choose the direction that lets your neck stay comfortable.
- Take 3–5 steady breaths, then switch sides.
Why use the block: It shortens the reach to the floor so you can focus on balance and length through the torso. Keep your hand on the block rather than pressing into the knee.
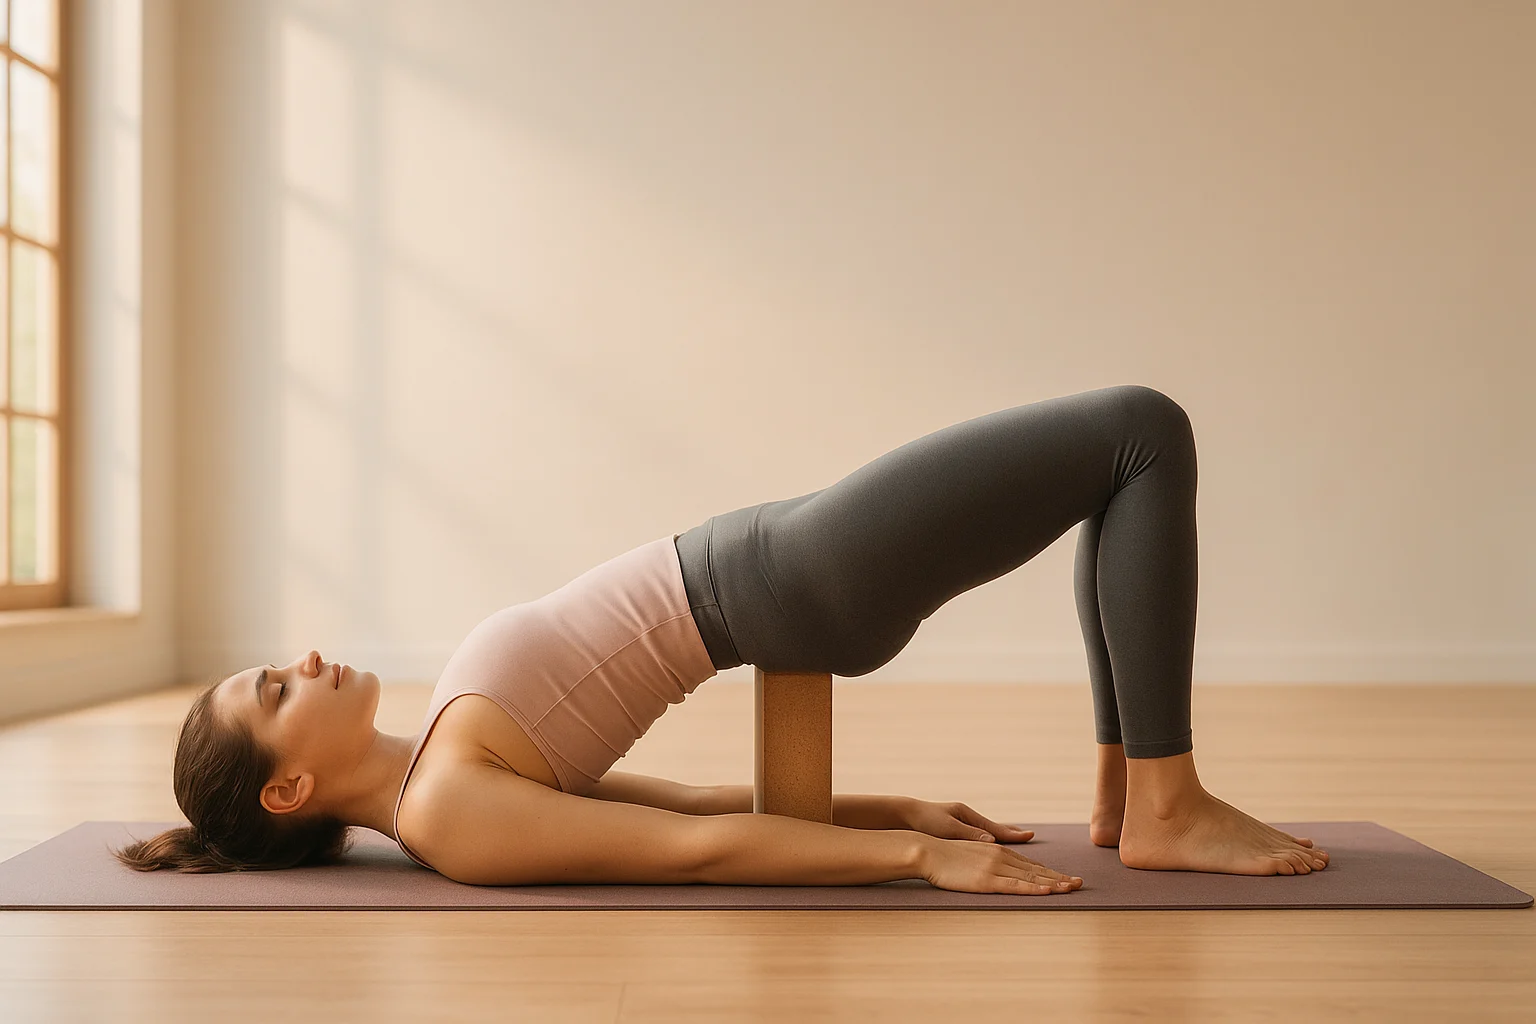
Supported Bridge Pose (Setu Bandhasana)
Supported Bridge turns an active backbend into a more passive setup by resting the pelvis on a block.
- Lie on your back with knees bent and feet about hip-width apart.
- Lift your hips and slide a block under the sacrum. Start on the low or medium height; use the tallest setting only if it feels stable and comfortable.
- Let your weight settle onto the block and rest your arms by your sides.
- Stay for several easy breaths while keeping the head and neck neutral.
- Lift the hips slightly, remove the block, and lower slowly.
Why use the block: It supports the pelvis so the pose can require less muscular effort. If you feel pressure in the low back or neck, lower the block or come out.
Half Splits (Ardha Hanumanasana)
Blocks give your hands a higher surface while you shift the hips back, which can make the hamstring stretch easier to control.
- From a Low Lunge with the right foot forward, place a block on each side of the foot.
- Shift your hips back and straighten the right leg only as far as is comfortable; keep a bend in the knee if you need it.
- Rest your hands on the blocks and hinge forward from the hips without forcing your chest toward the leg.
- Take 3–5 steady breaths, then switch sides.
Why use the block: It gives your hands support while you adjust how much stretch you take. A folded blanket under the back knee can make kneeling more comfortable. For a longer hamstring-focused practice, see our yoga hamstring stretches.
Seated Forward Fold (Paschimottanasana)
In a seated fold, a block can either lift your hips or shorten the reach to your hands.
- Sit with your legs extended. If your pelvis rolls backward, try sitting on a block.
- If your hands do not comfortably reach your legs or feet, place blocks beside your legs where your hands can rest without rounding to reach them.
- Inhale to lengthen your spine; exhale and hinge forward only as far as you can keep that length.
- Take a few steady breaths, keeping the knees softly bent if that feels better.
Why use the block: It changes the height of the starting position so you can work with your current range instead of pulling yourself deeper. If reaching your feet is the main problem, a yoga strap gives you an adjustable connection without asking you to fold farther.
Low Lunge (Anjaneyasana)
Blocks under the hands can give you more room to keep the torso lifted while you explore the front of the back hip.
- From tabletop, step your right foot forward and keep the front knee roughly over the ankle.
- Place a block under each hand on either side of the front foot.
- Slide the left knee back only as far as you can stay comfortable; place a folded blanket under that knee if the floor feels hard.
- Take 3–5 steady breaths, then switch sides.
Why use the block: It raises the floor to your hands so you do not have to drop the torso just to reach down.
Plank with Block Squeeze
This yoga blocks exercise uses the prop as resistance rather than support.
- Place a block between your inner thighs and come into Plank or a knee-down Plank.
- Gently squeeze the block while you press the floor away and keep the torso steady.
- Hold only while you can keep breathing and maintain the shape; rest before the squeeze turns into strain.
Why use the block: The squeeze gives you a clear inner-thigh cue while you work through the Plank variation that fits you. For a longer strength sequence, see our yoga sequence for core strength.
Child’s Pose (Balasana)
A block can bring the floor up to your forehead so the head has somewhere to rest.
- Kneel with your knees at a comfortable width and sit the hips back as far as they want to go.
- Place a block under the forehead at a stable height. Use foam, or add a folded layer of fabric, if a firm surface feels too hard.
- Rest your arms forward or by your sides and breathe until the position feels settled rather than forced.
Why use the block: It supports the head when the floor is too far away to rest comfortably.
Foam vs. Cork: Which Yoga Block Fits Your Practice?
Choose the material by the job the block will do most often. Cork gives you a firmer contact point for hand support in standing poses; foam is lighter and softer where the block rests against the body. The two examples below are also different thicknesses, so compare the dimensions as well as the material.
Foam vs. Cork Yoga Blocks
VSQuick pick: Choose cork for firmer standing support; choose foam for a lighter block and softer contact in restorative setups.
| Example | Gaiam Foam Yoga Blocks (2-Pack) |
Trideer Cork Yoga Blocks (2-Pack) |
|---|---|---|
|
Useful when you want softer contact in Supported Bridge, Child’s Pose, or restorative setups. |
Useful when you want a denser contact point in Triangle and other standing poses. |
|
| Form |
|
|
| Pack size |
|
|
| Consider |
|
|
| Shop |
How to Progress Yoga Block Workouts Without Forcing Range
Once the basic setup feels steady, change one variable at a time. A block can make a pose more challenging by giving you something to squeeze or by letting you reduce support gradually; it does not need to make a deep backbend or inversion more extreme.
- Lower support gradually: In Triangle or Half Splits, move from a taller setting to a lower one only if you can keep the same control and breathing.
- Add a squeeze: Use the block between the thighs in Bridge or Plank when you want more muscular work without chasing more range.
- Slow the transition: Move between Low Lunge and Half Splits with your hands on blocks and make the transition itself the challenge.
- Keep the easier setup when it works: More range is not the goal. If a lower block makes you collapse, wobble, or hold your breath, go back up.
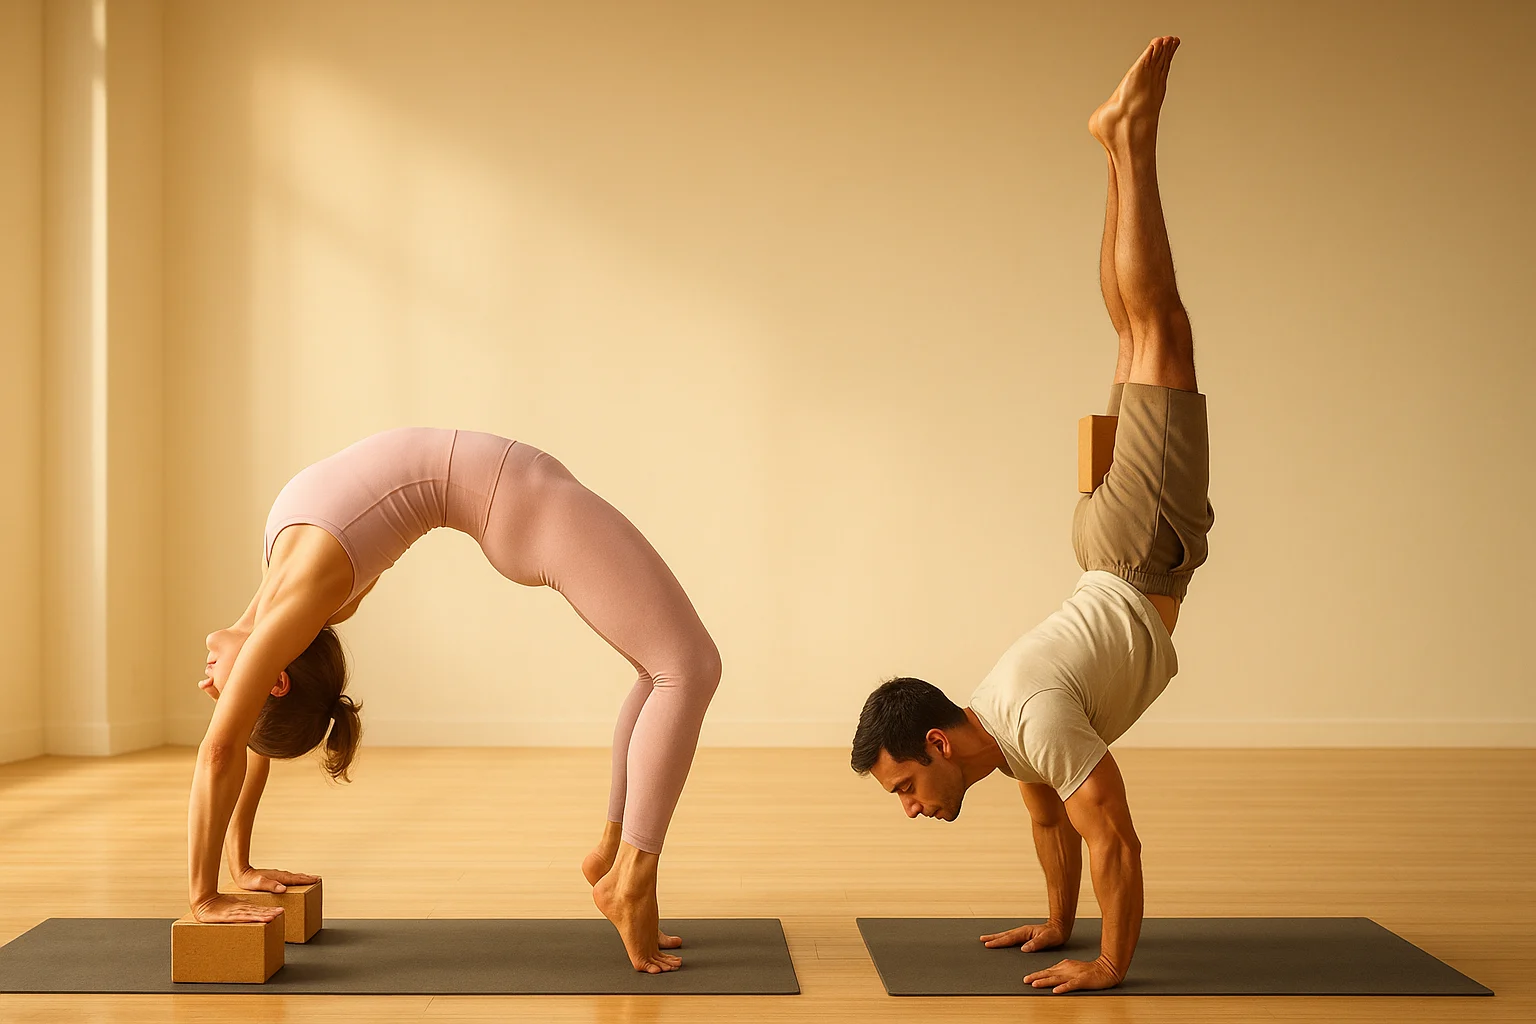
For advanced poses such as Wheel or Handstand, learn the block setup from a qualified teacher who can see your alignment rather than using a short list of instructions to self-progress the pose.
If stiff mornings are when you want the most support, try the same supported-practice idea from a chair.
Get the 10-Minute Chair Yoga Routine
Confirm to get the routine and yoga tips. Unsubscribe anytime.
Something went wrong. Please check your email address and try again.
Common Yoga Block Mistakes (and Quick Fixes)
Most block problems are setup problems, not flexibility problems. A small change in height or placement is often more useful than trying harder.
- The block is too low: If you have to collapse your torso or strain to reach it, raise the block.
- The tall setting wobbles: Rotate the block to the medium or flat side and rebuild the pose from a steadier base.
- You are chasing a deeper stretch: Back out until you can breathe normally and keep control of the shape.
- The material feels wrong at the contact point: Foam gives a softer surface; cork gives firmer support. Choose the feel that suits the job instead of treating one material as universally better.
Frequently Asked Questions
Let the Block Make the Pose Fit You
Start with the Pose Finder result or any one pose above, and choose the block height that lets you breathe and keep control. Change the height only if the pose still feels steady. If you remember one thing, let it be this: the block is there to change the pose for your body, not to prove how far your body can go.