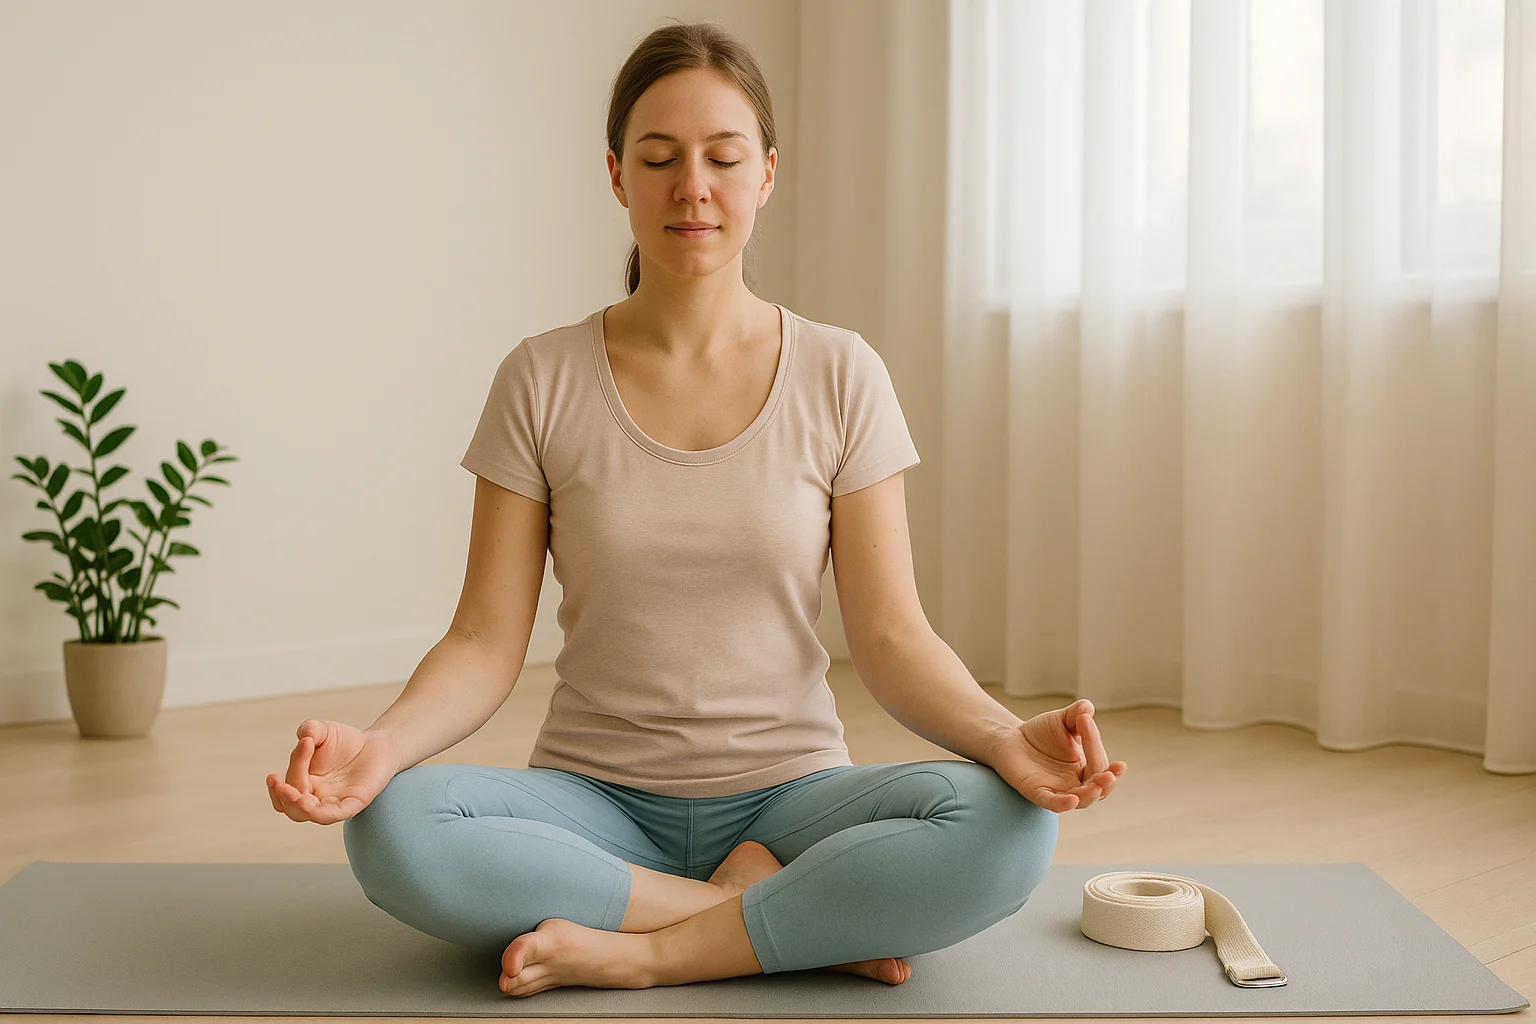
The strap should make the pose closer, not make you pull harder. A yoga strap for beginners extends your reach so you can work in a comfortable range instead of forcing your hands to your feet.
For a first strap, an 8-foot strap with a buckle you can adjust easily is a versatile default. If you want more slack for larger loops or restorative setups, a 10-foot strap can be easier to manage. If getting down to the floor is the bigger barrier, start with the chair variation below. For a broader look at useful props, see the yoga gear guide.
This page contains Amazon affiliate links. As an Amazon Associate, I earn from qualifying purchases at no extra cost to you. Learn more.
Table of Contents
- What a Yoga Strap Actually Does
- Three Rules Before You Stretch
- Choosing Your First Yoga Strap
- How to Hold and Loop a Yoga Strap
- Yoga Strap Exercises for Beginners
- Troubleshooting: What to Change First
- Common Strap Mistakes
- A Gentle Practice Ladder
- Yoga Strap FAQ
- Use the Strap to Bring the Pose Closer
What a Yoga Strap Actually Does
A strap is useful when part of a pose is just out of reach. Instead of making your body travel farther, the strap gives your hands more reach. That can make it easier to keep a position comfortable enough to notice what the rest of your body is doing.
- Shorten the distance: Hold the strap instead of reaching for the foot or the opposite hand.
- Choose the range: More slack makes the position smaller; less slack makes it more demanding.
- Support a shape: A strap can help you stay in a position without gripping or straining just to maintain contact.
Three Rules Before You Stretch
- Start with slack. Your shoulders, hands, and jaw should not have to brace just to hold the strap.
- Use sensation, not depth, as the guide. A mild stretch is enough. Stop if you feel sharp pain, pinching, numbness, tingling, or a symptom that is getting worse.
- Modify before you pull harder. Bend a knee, sit on a folded blanket, use a chair, or shorten the pose. If tight hamstrings are the main issue, the hamstring stretch guide gives you more ways to scale the position.
Choosing Your First Yoga Strap
You do not need a complicated strap. Look for enough length, webbing that feels comfortable in your hands, and a buckle that is easy for you to adjust.
Strap Length
| Length | A practical starting use | Trade-off |
|---|---|---|
| 6 feet (1.8 m) | Simple hand-to-foot work and smaller loops | Compact, but it leaves less spare length. |
| 8 feet (2.4 m) | Versatile seated, reclined, and shoulder work | A strong all-purpose default for many beginners. |
| 10 feet (3 m) | Larger loops, more slack, or restorative setups | More forgiving reach, with more tail to manage. |
Choose the shortest length that still gives you comfortable slack for the positions you plan to use. If you are unsure, 8 feet is a practical middle ground.
Material and Buckle
When choosing a beginner yoga strap, material matters less than comfort and control. Look for webbing that feels comfortable in your hands and a buckle you can thread, tighten, and loosen without a struggle.
D-rings are common, but they are not the only workable buckle. A secure interlocking metal buckle can serve the same job. The best buckle is one you can thread correctly, adjust without fighting it, and release after the pose.
For the 8-foot middle ground: Manduka Align Yoga Strap — 8 ft.
The 8-foot version uses cotton webbing and a secure metal buckle. Choose it if 8 feet gives you the slack you need; go shorter or longer if the table above points you elsewhere.
How to Hold and Loop a Yoga Strap
If you are learning how to use a yoga strap, start by deciding whether you need it open in your hands or closed into a loop. In either case, leave enough length that your shoulders can stay relaxed.
Using the Strap Open
- Hold one end in each hand and keep your grip light.
- Slide your hands farther from the foot or hand to make the position easier.
- Shorten the distance only until you can keep breathing and stay out of pain.
Creating a D-Ring Loop
- Thread the loose end through both D-rings.
- Fold the tail back and thread it through one ring.
- Pull the tail until the loop is the size you need, keeping the webbing flat rather than twisted.
Yoga Strap Exercises for Beginners
Start with positions where balance is not the main challenge. The strap is there to reduce the reach requirement, so use enough slack that the movement stays calm.
1. Reclined Hamstring Stretch (Supta Padangusthasana)
Start here if you feel very stiff. The floor supports your back, so you can focus on the leg rather than balancing.
- Lie on your back and bend one knee toward your chest.
- Place the strap around the ball of that foot and hold one end in each hand.
- Extend the leg upward only as far as you can without locking the knee or pulling the leg toward your face.
- Keep the other leg long, or bend that knee and place the foot on the floor if that is more comfortable.
- Stay for a few easy breaths, then lower the leg and switch sides.
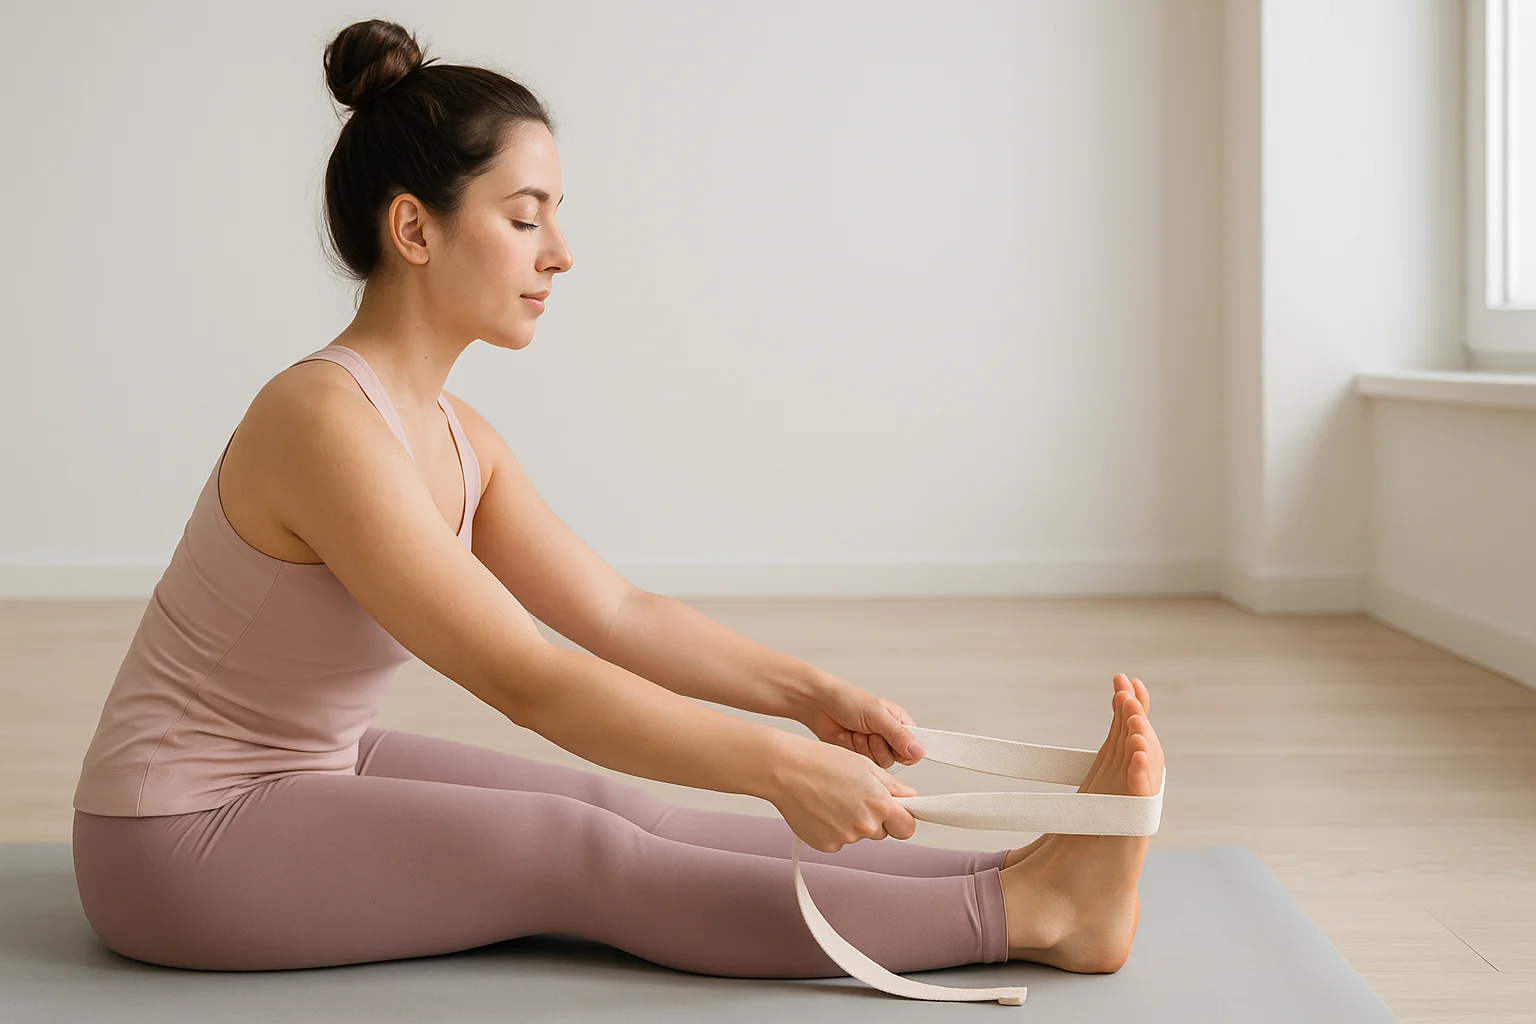
2. Seated Forward Fold (Paschimottanasana)
Use the strap to keep the reach easy. You do not need to move far forward to make the setup useful.
- Sit with your legs in front of you. Bend your knees if the backs of your legs feel tight.
- Loop the strap around the balls of both feet and hold the ends with your elbows soft.
- Sit taller first. If it feels comfortable, hinge forward a small amount from the hips.
- Keep enough slack that the strap is guiding your reach rather than pulling you into the fold.
- Come back upright if your back, hamstrings, or knees feel strained.
3. Chair Hamstring Reach
Use this when getting to the floor is the harder part. Place a sturdy chair against a wall or on a non-slip surface.
- Sit near the front of the chair with both feet on the floor.
- Extend one leg forward with the heel resting on the floor and the knee softly bent.
- Loop the strap around the ball of that foot and hold both ends.
- Stay upright, or hinge forward slightly if you want more sensation without rounding or straining.
- Switch sides after a few comfortable breaths.
4. Cow Face Arms (Gomukhasana Arms)
The strap fills the gap between your hands. The goal is not to make the hands meet.
- Sit or stand in a position that feels steady.
- Hold the strap in your right hand, reach that arm up, and let the strap hang behind your back.
- Reach the left hand behind you and take hold of the lower end of the strap.
- Keep your neck easy and your ribs relaxed. Walk the hands closer only if the shoulders feel comfortable.
- Switch sides after a few breaths.
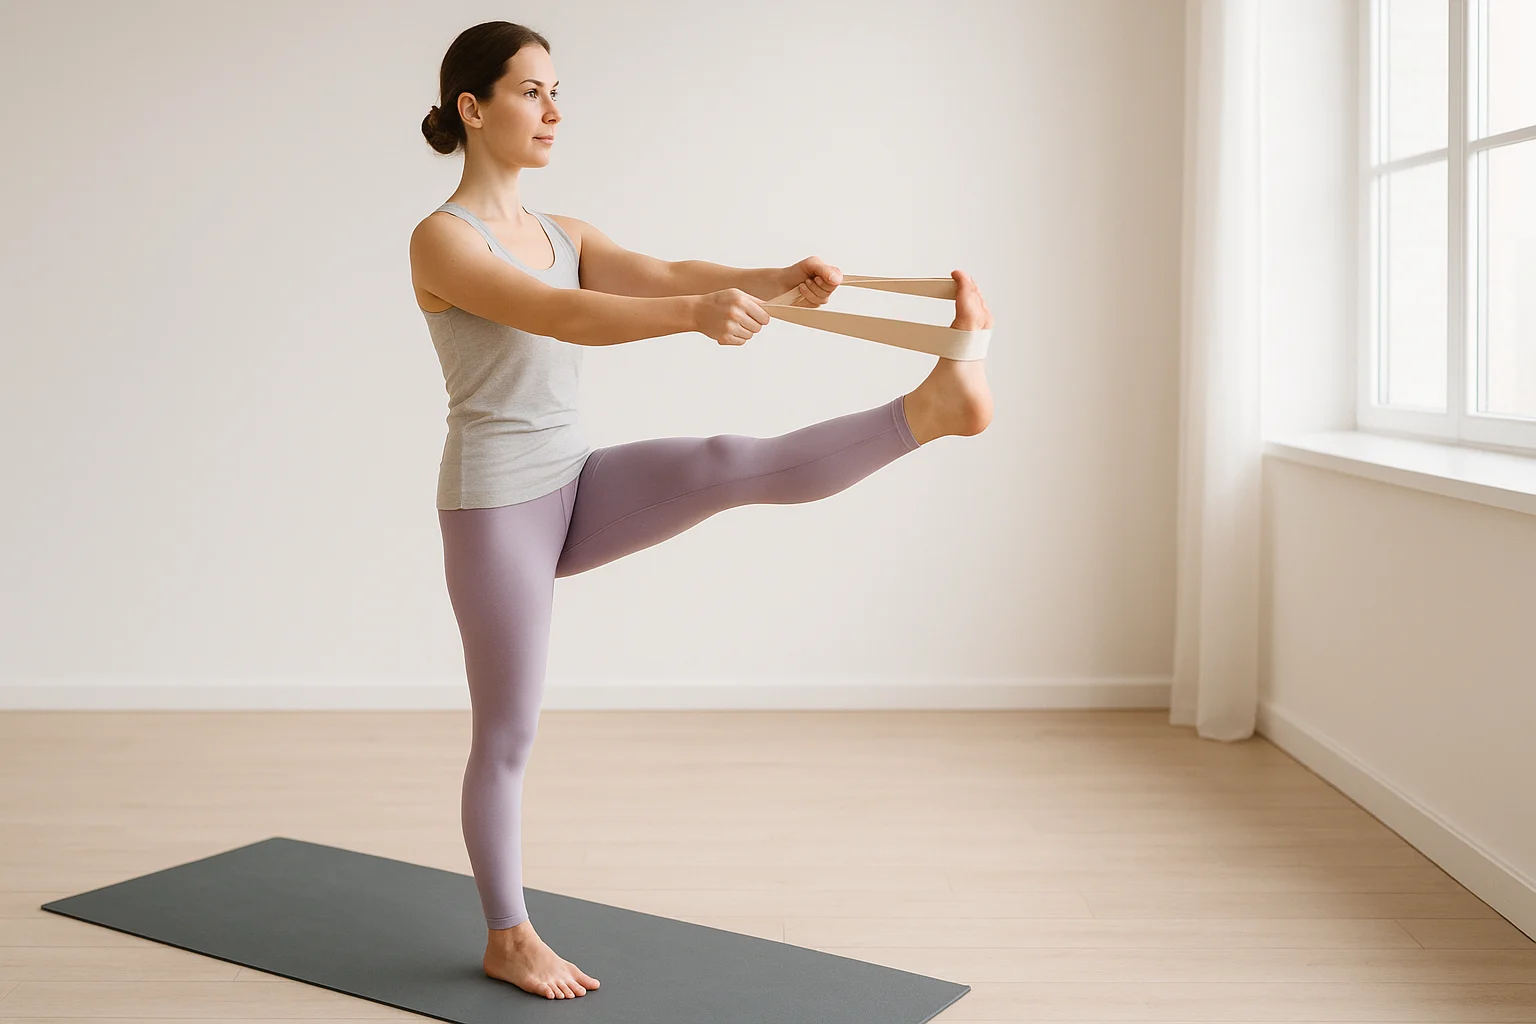
Optional Progression: Standing Hand-to-Big-Toe with Support
This is a balance exercise as much as a strap exercise. Try it only after the floor or chair versions feel straightforward.
- Stand beside a wall or sturdy chair and keep one hand on the support.
- Loop the strap around one foot and lift that knee while keeping the standing leg steady.
- Keep the lifted knee bent, or extend the leg only as far as balance stays comfortable.
- Press the foot gently into the strap rather than pulling the strap toward you.
- Lower the foot with control and switch sides.
If the chair version feels like the most realistic starting point, try a short chair sequence on a stiff morning and notice which movements feel workable.
Get the 10-Minute Chair Yoga Routine
Confirm to get the routine and yoga tips. Unsubscribe anytime.
Something went wrong. Please check your email address and try again.
Troubleshooting: What to Change First
If a strap setup feels awkward, change the setup before adding effort. Start with the problem you actually notice:
| What you notice | Change this first | What it changes |
|---|---|---|
| You cannot reach the foot without rounding or bracing. | Add strap length, bend the knee, or sit a little higher. | Reduces the reach demand. |
| Getting to or from the floor is the harder part. | Use the chair hamstring version. | Keeps the stretch accessible without a floor setup. |
| Your shoulders strain while reaching the hands behind you. | Leave more strap between the hands. | Lets the arms stay farther apart. |
| Balance takes over the standing exercise. | Use a wall or chair, or return to the reclined version. | Makes reach—not balance—the main task again. |
If the first change does not make the position feel more manageable, stop that version rather than pulling harder.
Common Strap Mistakes
- Pulling harder to go deeper: Add slack or make the pose smaller instead.
- Locking the knee or elbow: Keep a small amount of softness in the joint when that makes the position more comfortable.
- Letting the webbing twist: Flatten the strap before adding tension so it sits more comfortably.
- Starting with balance when reach is the real problem: Learn the reclined or chair version first.
- Treating pain as progress: Stop and change the setup when a pose becomes sharp, pinchy, numb, tingly, or increasingly painful.
A Gentle Practice Ladder
This is a progression in familiarity, not a schedule you have to keep. Stay at any step as long as it is useful, skip a movement, or return to an easier setup whenever you need to.
- Step 1: Learn the buckle or loop and practice the reclined hamstring stretch until the setup feels familiar.
- Step 2: Add either the seated forward fold or the chair hamstring reach—choose the setup that is easier to get into.
- Step 3: Add Cow Face Arms and notice whether one side needs more strap length than the other.
- Step 4: Build a 5–10 minute routine from two or three movements that actually help. Keep the standing balance optional.
Choose what feels true now, then take one realistic next step.
Yoga Strap FAQ
Use the Strap to Bring the Pose Closer
You do not need to “graduate” from a strap. If it lets you keep a position calmer, more comfortable, or easier to understand, it is doing its job. Start with one reclined or chair-supported movement, keep enough slack to avoid forcing, and build from there. If flexibility itself is what you want to work on next, continue with the yoga flexibility guide.