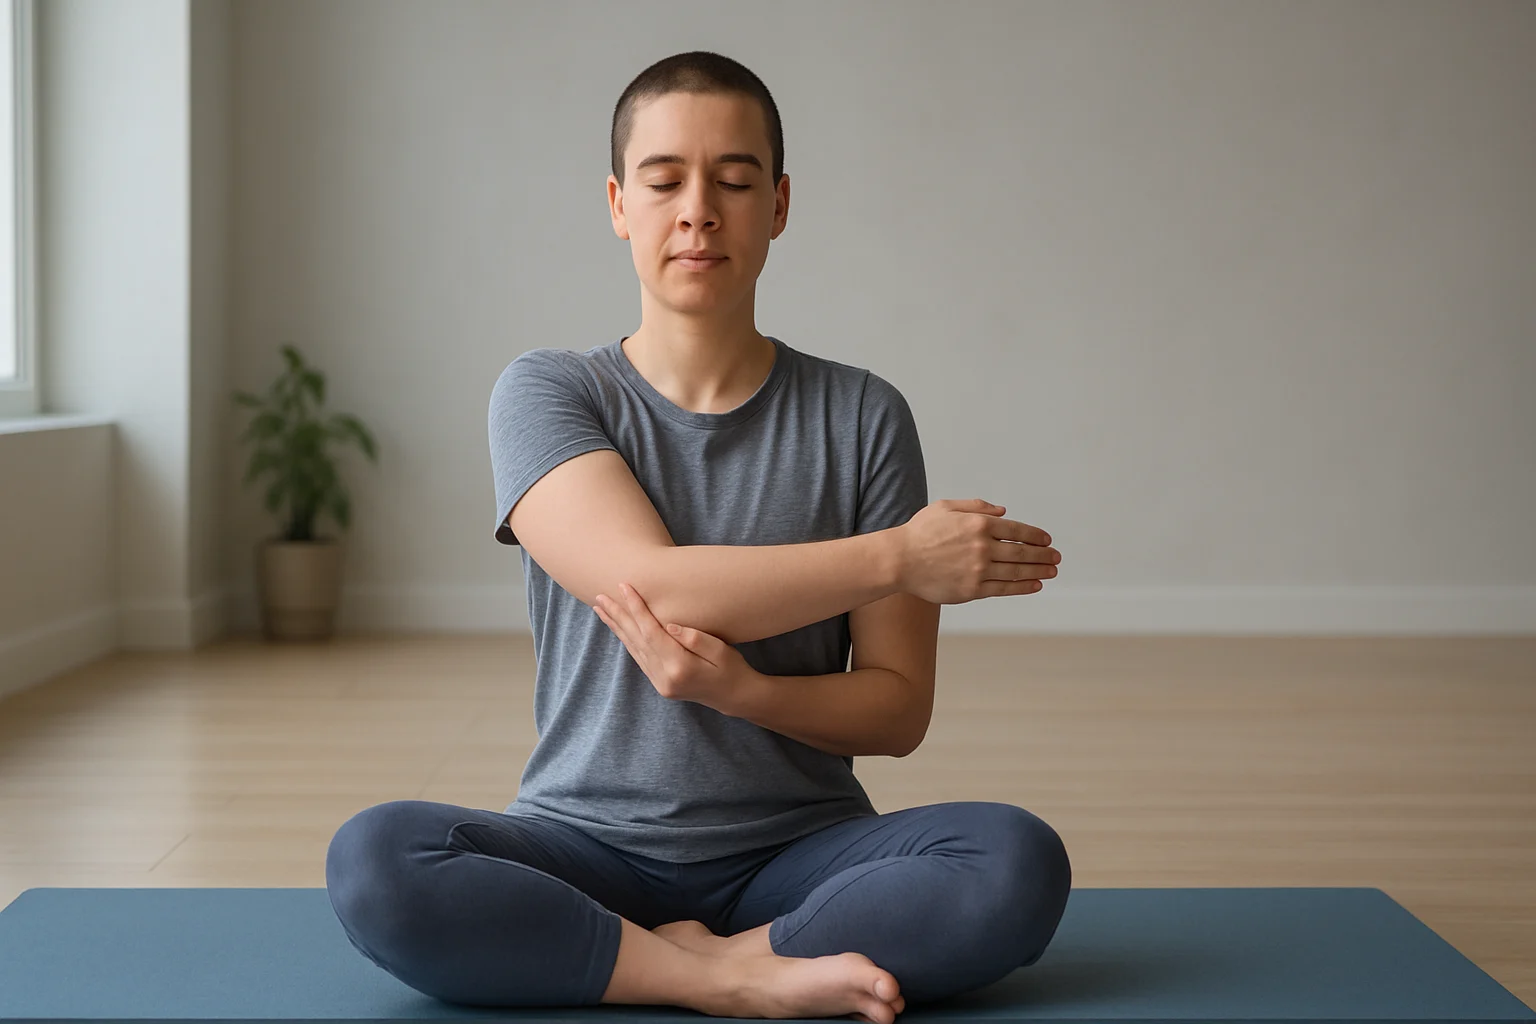
If Downward Dog, Chaturanga, or simply reaching an arm overhead suddenly feels like the wrong kind of challenge, do not start by hunting for one “healing” pose. The safest starting point is the plan your doctor or physical therapist has already given you. I’d use yoga as an accessory to that plan: breathing, lower-load shapes, and modifications that help you stay connected to practice without guessing at rehab.
If you’re returning to yoga after a rotator cuff injury—or adapting around an ongoing cuff problem—this guide helps you decide whether yoga belongs in today’s plan, which common poses usually need the most modification, and how to build a lower-load practice once you have been cleared. For other conditions that change how you practise, see our guide to yoga with specific health conditions.
Find a Shoulder-Friendly Starting PointTable of Contents
- When to Start Safely
- Understanding Your Rotator Cuff
- Where Yoga May Fit
- Shoulder-Safety Rules for Practice
- Choose Your Next Shoulder-Friendly Step
- Gentle Options After Clearance
- Higher-Load Poses to Modify or Pause
- Build a Shoulder-Friendly Practice
- Quick-Reference Pose Guide
- Free 10-Minute Chair Yoga Routine
- Frequently Asked Questions
- Keep Your Practice Inside Your Cleared Range
Safety First: When to Start Yoga With a Rotator Cuff Problem
Rotator cuff problems are not one diagnosis. Tendinopathy, partial-thickness tears, full-thickness tears, and a shoulder recovering from surgery can have very different loading rules. Current orthopedic guidance emphasizes that treatment and exercise decisions depend on the individual injury and patient, so use your diagnosis and clinician’s plan as the boundary for this article.
If you have been told to rest the shoulder, have not been cleared for active exercise, or have sharp, catching, or worsening pain, skip the shoulder-loading poses for now. If you are unsure what your diagnosis allows, AAOS’s rotator cuff tear overview is a useful general reference, but your own doctor or physical therapist should decide your exercise progression.
Once you are cleared, yoga can sit beside—not replace—prescribed rehab. Keep the yoga portion inside the same movement and loading limits you were given rather than treating a gentler-looking pose as automatically appropriate.
Not medical advice; use your doctor or physical therapist for diagnosis, exercise selection, loading, and progression.
Understanding Your Rotator Cuff: A Quick Overview
The rotator cuff is a group of four muscles—supraspinatus, infraspinatus, teres minor, and subscapularis—and their tendons. Together they help lift and rotate the arm while keeping the ball of the upper arm centered in the shoulder socket.
Rotator cuff problems can involve irritation or tendinopathy as well as partial- or full-thickness tears. Symptoms can include pain, weakness, and reduced movement, but the exact pattern varies. For a clinical overview of symptoms and causes, see Mayo Clinic’s rotator cuff guide.
Where Yoga May Fit During Rotator Cuff Recovery
Yoga is most useful here when it helps you keep some of the routine without turning the class into an improvised rehab session. Depending on what you have been cleared to do, that can mean:
- Breathing and pacing: using the breath to slow the practice and reduce the urge to push through a shape.
- Lower-load movement: choosing seated, supported, or wall-based versions instead of immediately returning to arm balances or repeated weight-bearing.
- Better symptom awareness: noticing when a movement becomes sharp, catching, or progressively worse and ending that part of the practice.
Those benefits do not mean yoga is repairing a tear or replacing physical therapy. Think of yoga during rotator cuff recovery as a modified practice that stays inside an existing treatment plan.
Shoulder-Safety Rules for Yoga Practice
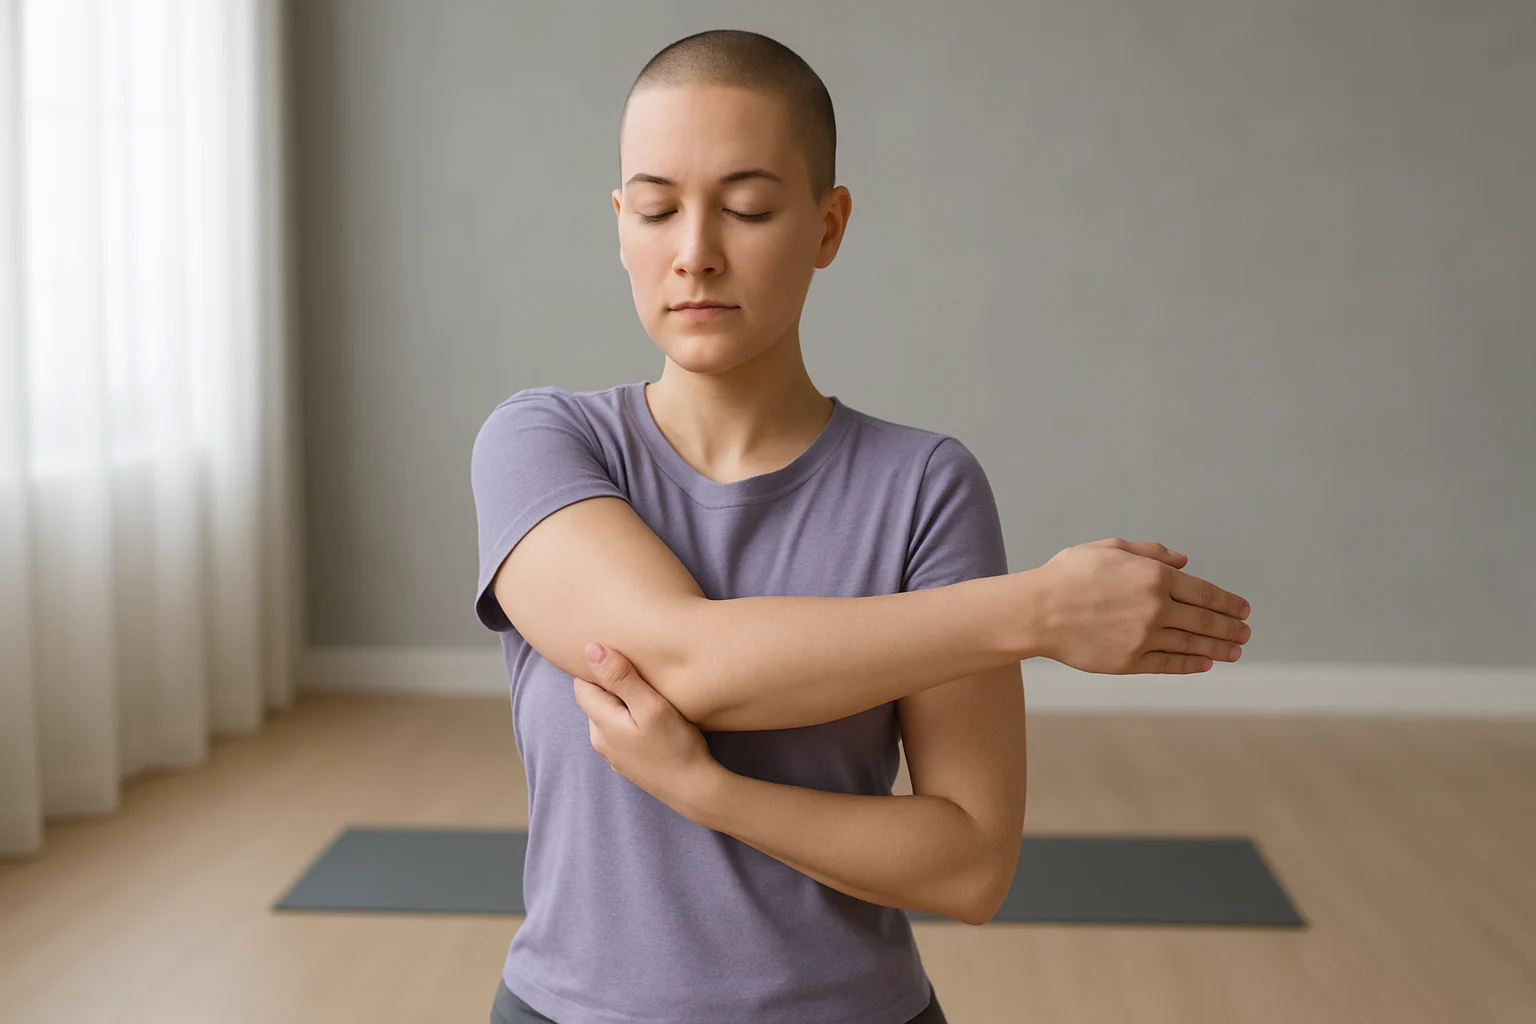
- Stay inside the range you were given. “I can get there” is not the same as “this is appropriate for this stage of recovery.”
- Reduce load before chasing range. A chair, wall, blocks, or arms resting by your sides can turn a shoulder-heavy shape into a much quieter one. Our essential yoga props guide has simple setup ideas.
- Stop on sharp, catching, or worsening symptoms. Do not use the breath to talk yourself through a shoulder warning sign.
- Keep movement controlled. Skip fast transitions and repeated Chaturanga-style loading until those patterns are actually part of your cleared progression.
- Let your treatment plan decide when to progress. Familiarity with a pose is not evidence that the recovering shoulder is ready for more load.
Choose Your Next Shoulder-Friendly Step
Use this as a routing guide, not a diagnosis or rehab prescription. It will point you to the most appropriate section of this article based on the guidance you already have and how the shoulder feels today.
Gentle Yoga Options After You’re Cleared
These are practice options, not a prescription. Choose only movements that fit the restrictions you were given, and use the clinician-prescribed version of any shoulder exercise that overlaps with rehab.
Lowest-Load Starting Options
- Diaphragmatic Breathing: Sit or lie in a comfortable position with the recovering arm supported. Let the breath slow down before deciding whether you need any shoulder movement at all.
- Seated Mountain: Sit tall with your feet supported and let both arms rest rather than forcing the shoulders “back and down.” Use the pose as an easy posture check, not a stretch.
- Seated Spinal Twist: Keep the recovering arm relaxed or supported and let the rotation come from the rib cage rather than pulling with the shoulder.
Supported Movement With Little Shoulder Load
- Chair Cat-Cow: Sit with hands resting lightly on your thighs and move the spine through a comfortable round-and-arch pattern. This keeps body weight off the arms.
- Gentle Neck Tilts: Keep the shoulders relaxed while you make a small side bend or chin-to-chest movement. Skip full neck circles and anything that creates shoulder symptoms.
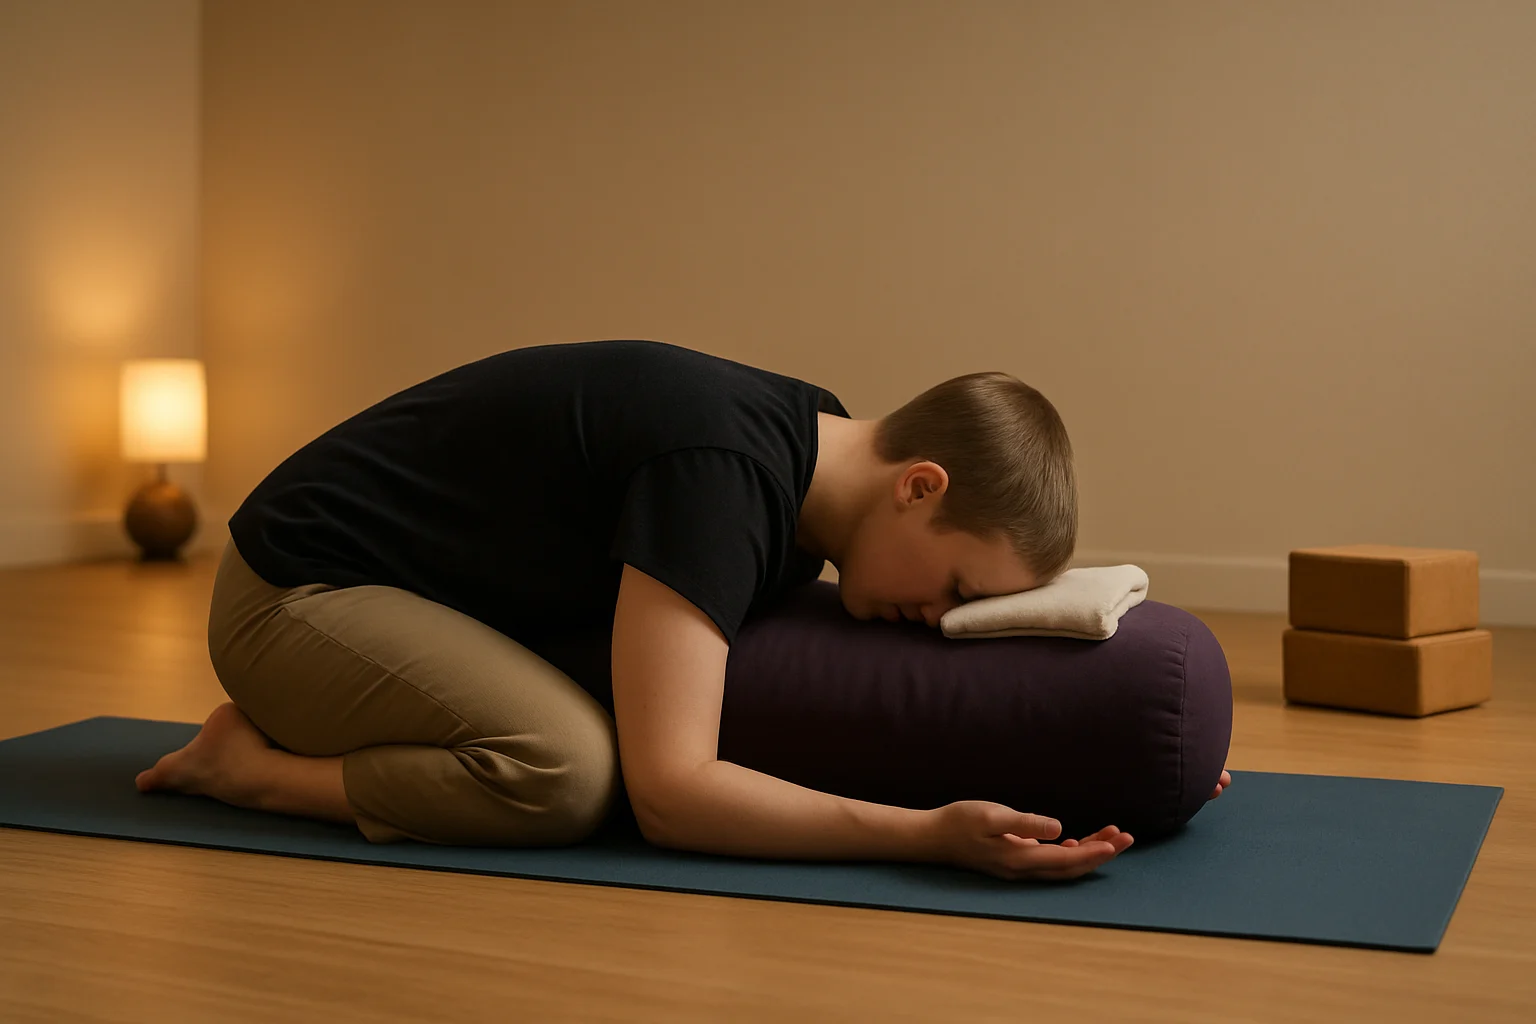
- Supported Child’s Pose: If kneeling is comfortable, use a bolster or pillows under the torso and keep the recovering arm by your side or supported rather than reaching it overhead.
Shoulder Motion Only If It Is Already Cleared
If your doctor or physical therapist has already included wall slides or another shoulder range-of-motion drill, you can place that familiar movement inside a yoga warm-up. Use their range, repetitions, and progression instead of copying a generic dose from the internet.
If You’ve Been Cleared for Shoulder Loading
Later-stage practice can gradually bring back more weight-bearing, but the exact version matters. A wall plank places less load through the arms than a floor plank; scapular-control work can be done at a wall or in tabletop; and Warrior II can keep the recovering arm on the hip instead of held at shoulder height. Use the variation your clinician has already approved rather than treating these as automatic next steps.
Cool-Down and Rest
Supported Savasana: Lie or recline with the recovering arm supported by a pillow so it does not hang or pull. Let the final position feel neutral rather than like another shoulder stretch.
Higher-Load Poses to Modify or Pause
These shapes are not permanently “bad,” but they often demand more shoulder load, overhead range, or end-range stretching than a painful or early-recovery shoulder needs:
- Arm-weight-bearing poses: full Plank, Chaturanga, Crow, Handstand, and floor Downward Dog.
- Repeated loading: fast sun salutations or flows that cycle through Plank and Chaturanga again and again.
- Overhead positions: long holds in Upward Salute or Warrior I when overhead range is restricted.
- Deep binds and passive shoulder stretches: Cow Face arms, Eagle arms, and intense binds when they pull the shoulder into an end range you have not been cleared to use.
A wall or chair version may reduce load, but modification does not automatically make a pose appropriate. If a shape conflicts with the restrictions you were given, skip it.
Build a Shoulder-Friendly Practice
Instead of aiming for a fixed number of minutes or sessions, use the frequency and progression rules your clinician has already given you. Keep the yoga part simple enough that you can tell what the shoulder is responding to. Practising seated keeps weight off the shoulder entirely while you rebuild.
A Simple Session Template
- Settle without loading the shoulder: begin with breathing, a supported rest position, or seated movement that keeps the recovering arm comfortable.
- Add only one cleared demand: if shoulder movement is already part of your plan, use that familiar range or load rather than increasing range, weight-bearing, speed, and duration at the same time.
- Finish and check the response: end in a supported position, then notice what felt normal during practice and what changed later before deciding whether to progress.
Use Mindfulness for Pacing, Not Pain Permission
Breathing can help you notice bracing, rushing, or the urge to push through a shape. Use it to slow the practice down—not to reinterpret sharp, catching, or worsening symptoms as something you should tolerate.
Track Your Own Recovery Signals
Keep a short record of what movements or loads were cleared, what you practiced, and how the shoulder felt during the session and later. If the response changes or the next step is unclear, take that information back to your doctor or physical therapist before adding more range, load, or repetitions.
Quick-Reference Pose Guide
| Option | Why it is lower load | Keep in mind |
|---|---|---|
| Diaphragmatic Breathing | No shoulder weight-bearing | Support the recovering arm in a comfortable position |
| Seated Mountain | Arms can rest completely | Do not force the shoulders back or down |
| Chair Cat-Cow | Keeps body weight off the hands | Let the movement come from the spine, not the shoulder |
| Supported Child’s Pose | Torso and recovering arm can be supported | Keep the arm by your side if reaching forward pulls |
| Wall-based shoulder movement | Can use less load than floor weight-bearing | Use only a version and range that has already been cleared |
If chair yoga already fits the limits you were given, a short chair-based routine can be a concrete way to experience that format for yourself. Screen each movement against your own plan.
Get the 10-Minute Chair Yoga Routine
Confirm to get the routine and yoga tips. Unsubscribe anytime.
Something went wrong. Please check your email address and try again.
Frequently Asked Questions About Yoga and Rotator Cuff Recovery
Keep Your Practice Inside Your Cleared Range
With a rotator cuff problem, I’d judge a yoga session by one question: did it stay inside the plan you were given? You do not need to “win back” Downward Dog today. If you are cleared to practice, start with breathing, seated or supported shapes, and only the shoulder-loading work your clinician has approved. If symptoms become sharp, catching, or worse, stop and check back with them.