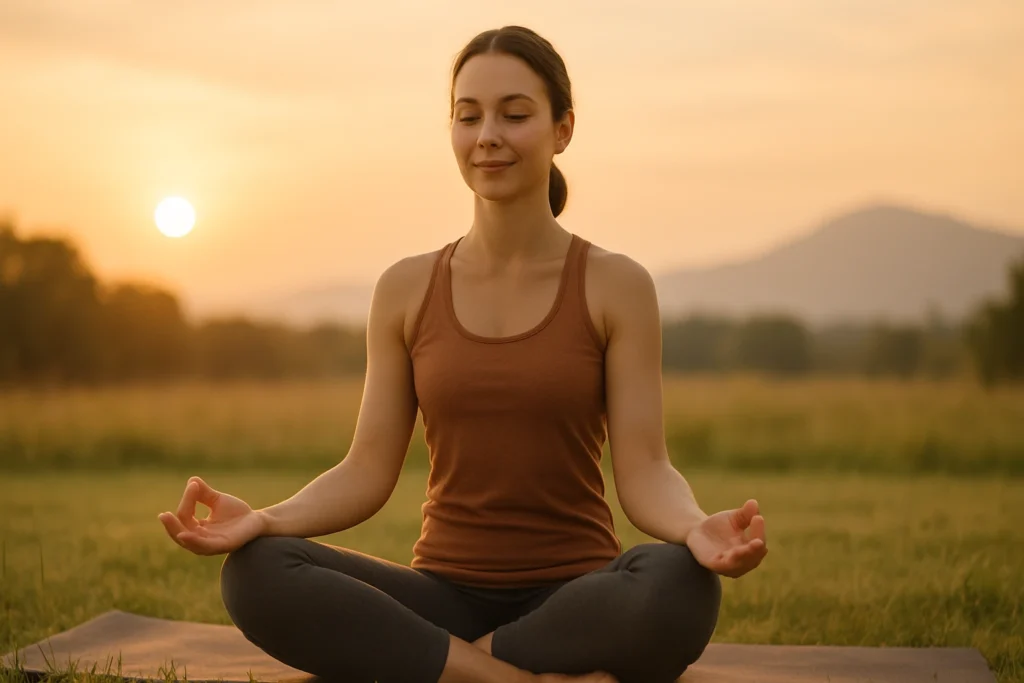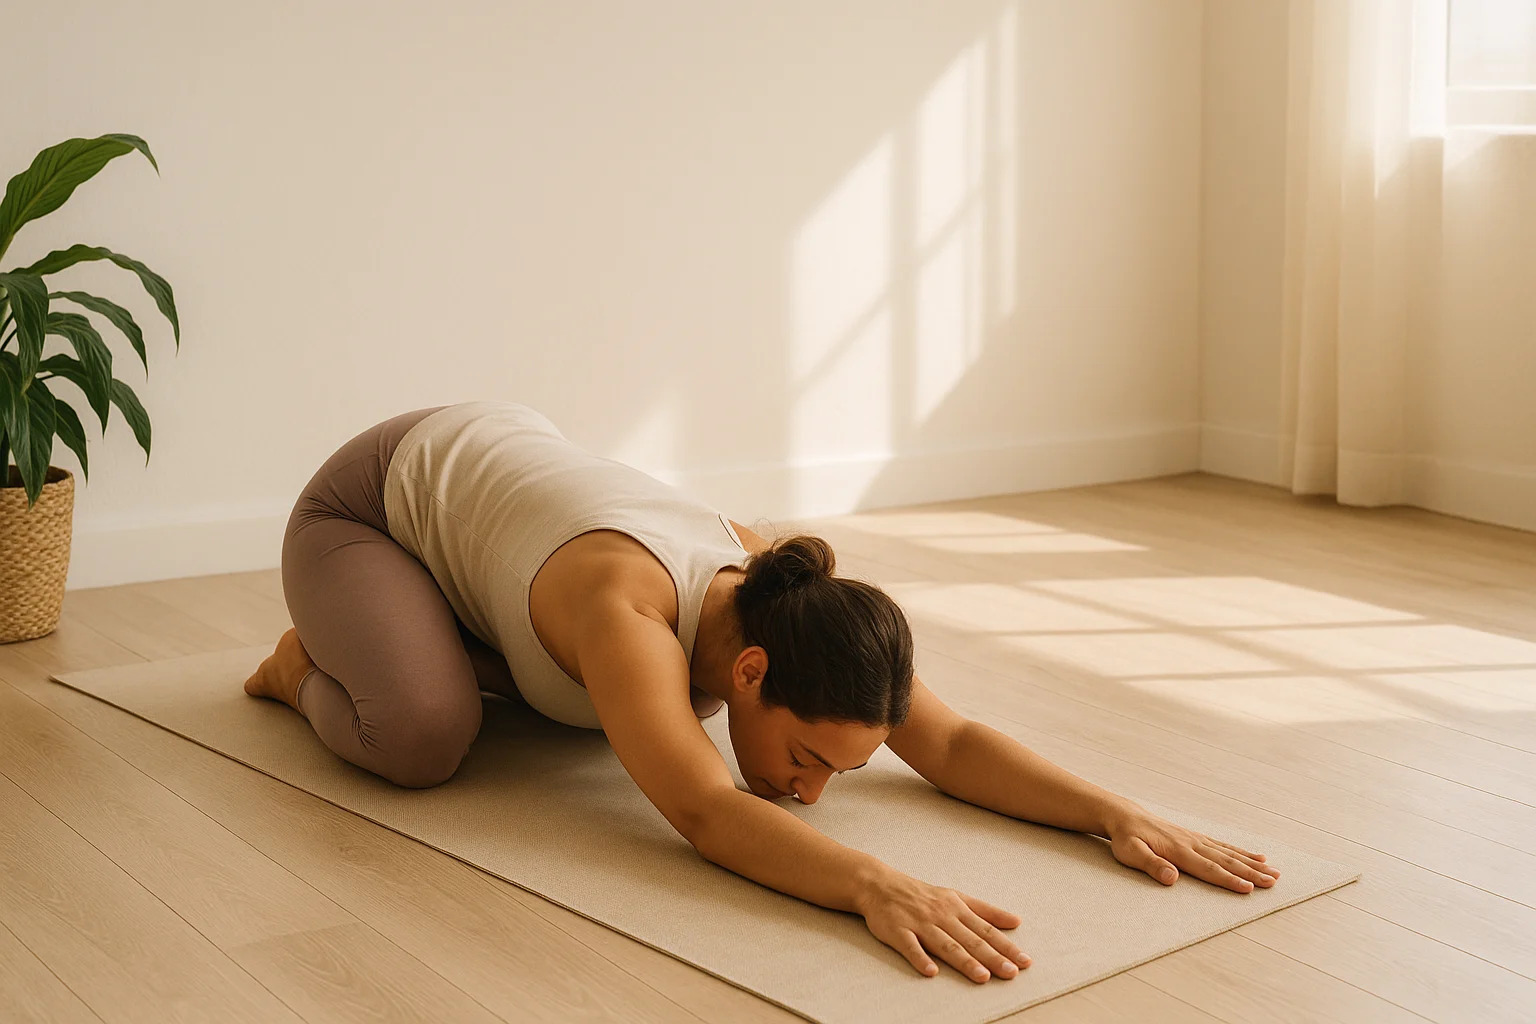
If your lower back and hips both feel tight, you don’t need to bend like a yoga video to get something useful from practice. The real question is which movement feels tolerable today. These yoga poses for low back and hip pain start with comfortable options, then help you turn the best ones into a simple 10-minute routine.
Use the selector if you want a quick starting point, or scroll straight to the seven poses. Yoga is one movement option—not a diagnosis or a cure. For a broader map of gentle practices for different aches, see my guide to yoga for pain relief.
Table of Contents
- Why Your Lower Back and Hips Can Feel Connected
- Safe Practice Tips Before You Start
- Find a Gentle Starting Point for Your Back and Hips
- 7 Gentle Yoga Poses for Low Back and Hip Pain
- A Simple 10-Minute Back-and-Hip Yoga Routine
- Get the 10-Minute Chair Yoga Routine for Stiff Mornings
- Frequently Asked Questions
- Start With the Easiest Version Today
Why Your Lower Back and Hips Can Feel Connected
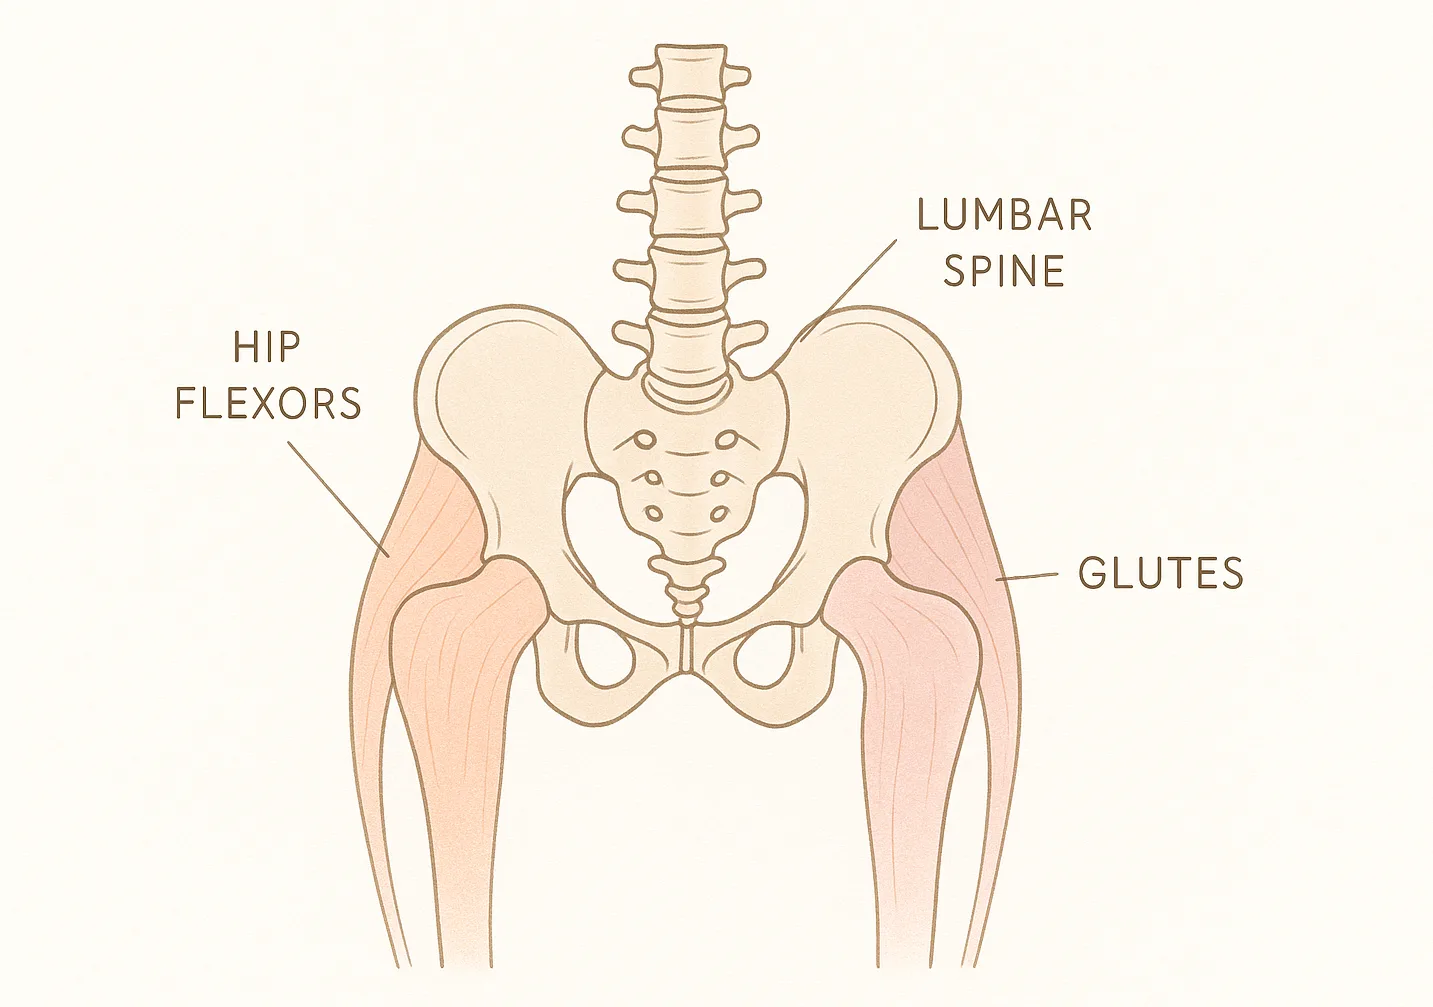
Your lower back, pelvis, and hips share movement every time you sit, stand, hinge, walk, or get up from a chair. When one area feels stiff, you may compensate somewhere else. That can make back-and-hip discomfort feel connected, but the same symptoms can come from many different causes.
That’s why I wouldn’t try to diagnose the “one tight muscle” from a blog post. A more useful practice question is: can you find a small, comfortable movement for the spine and hips that does not make symptoms worse?
NCCIH’s current overview of yoga research describes the average benefit for low-back pain as slight. I’d treat the poses below as a gentle movement option, not a promise of quick relief.
“If a pose feels like a test, make it smaller.”
Safe Practice Tips Before You Start
Comfort is the filter for this whole page. You do not need to finish every pose, reach a certain depth, or make today’s practice look like yesterday’s.
- Start smaller than you think: Use an easy range first and add movement only if your body stays comfortable.
- Stop when symptoms build: Ease out of sharp or worsening pain rather than stretching through it.
- Know the red flags: MedlinePlus advises prompt medical contact for back pain with numbness, loss of movement, weakness, or bowel or bladder changes.
- Make the floor optional: If hands-and-knees or getting down to the mat is the main barrier, use the seated Cat-Cow variation below and choose supported floor poses only when getting down and back up feels manageable.
- Use ordinary support: A pillow or folded blanket can reduce how far you have to move into a shape.
- Breathe normally: Let the breath stay comfortable; you do not need to force a deeper breath to force a deeper stretch.
- Keep the first round short: Two or three comfortable movements are enough. The 10-minute routine later on is a template, not a quota.
If your main symptom travels down a leg or includes tingling, numbness, or weakness, that is a different question from ordinary stiffness. Use the dedicated sciatica guide for context and get individualized medical guidance when symptoms are new, severe, or worsening.
Find a Gentle Starting Point for Your Back and Hips
Use this as a starting-point guide, not a diagnosis. First choose how gentle movement feels; if it feels okay, narrow the pose list by the area that feels most limited today.
Step 1 of 2
How does gentle movement feel today?
Step 2 of 2
Where do you feel most limited?
Start with Step 1. If gentle movement feels okay, you’ll choose an area next.
Your result is only a starting point. Read the setup and easier version below, or ignore the selector and browse the full list if that is more useful.
7 Gentle Yoga Poses for Low Back and Hip Pain
If you’re looking for low back yoga poses that also give tight hips some room, start here. The first six are easier to scale; Modified Pigeon stays last because it is a deeper option and may not be useful for everyone.
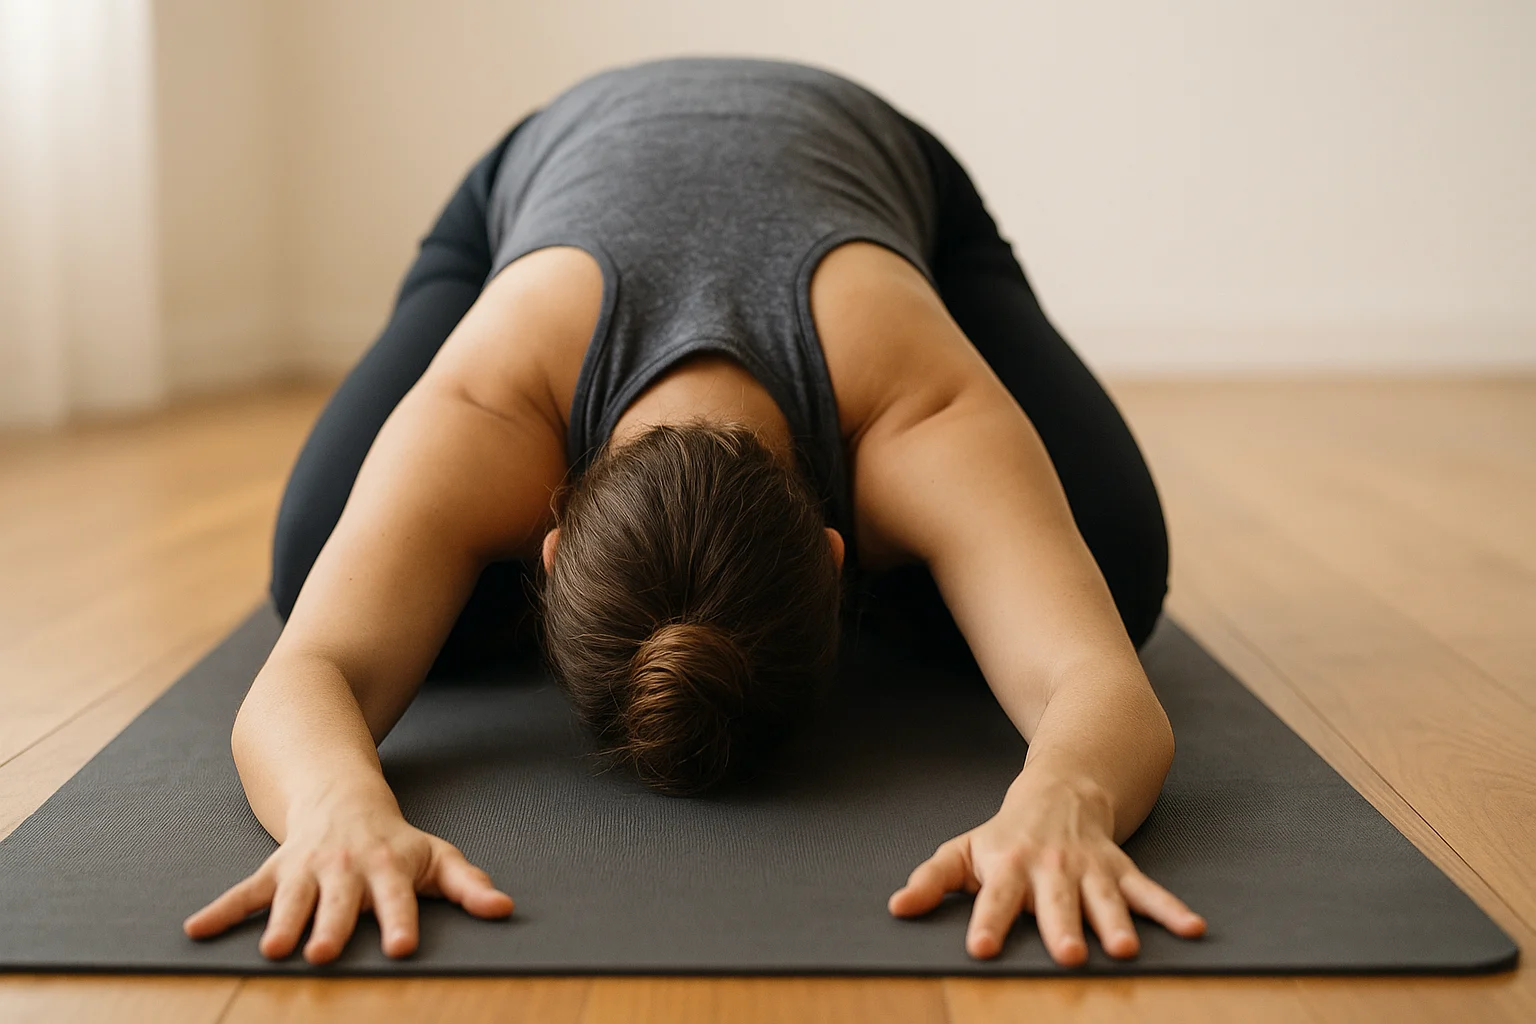
Child’s Pose (Balasana)
Child’s Pose is a resting shape for the lower back and hips. I like it as a pause between more active movements, but deep knee or hip flexion can make it a poor fit for some bodies.
- Start on hands and knees, then bring the hips back only as far as feels comfortable.
- Let the knees separate if that creates more room through the hips.
- Support the forehead on the mat or a pillow and stay for 3–5 easy breaths.
Make it easier: Pad the shins, place a pillow under the torso, or rest the arms by your sides. Skip the pose if pressure in the knees or hips builds instead of settling.
Cat-Cow Stretch (Marjaryasana-Bitilasana)
Cat-Cow is a low-load spinal movement rather than a stretch you hold, which makes it easy to adjust from one breath to the next.
- Begin in tabletop with hands under shoulders and knees under hips.
- On an inhale, let the chest and tailbone lift only as far as feels easy.
- On an exhale, round the spine gently and let the tailbone tuck.
- Repeat for 4–6 slow cycles.
Make it easier: Pad the knees, use fists or support under the hands, or sit toward the front of a chair with hands on thighs and make the same small rounding-and-lengthening motion.
Supine Spinal Twist (Supta Matsyendrasana)
This supported twist adds a small amount of rotation through the trunk and hips. The useful range is the one you can breathe in easily—not the one that gets your knees closest to the floor.
- Lie on your back with knees bent and feet on the floor.
- Bring the knees toward the chest, then let them move a little to one side.
- Keep the shoulders comfortable and stay for 3–5 breaths before switching sides.
Make it easier: Keep the knees closer to center, rest them on a pillow, and keep your gaze toward the ceiling if turning the head feels unnecessary.
Figure Four Stretch (Sucirandhrasana)
Figure Four works with the glutes and outer hip in a supported position. I prefer it before a deeper pigeon variation because it is easier to scale without loading the front knee.
- Lie on your back with both knees bent and feet on the floor.
- Place the right ankle across the left thigh.
- Stay there, or lift the left foot and hold behind the left thigh.
- Bring the legs toward you only until the right hip feels a tolerable stretch; stay 3–5 breaths, then switch.
Make it easier: Keep the lower foot on the floor, use a strap behind the thigh, or place a pillow under the head.
Happy Baby Pose (Ananda Balasana)
Happy Baby is an optional hip-opening shape if lying on your back feels comfortable. You do not need to reach your feet for it to be useful.
- Bring the knees toward the chest and let them move wider without forcing them toward the armpits.
- Hold the thighs, shins, ankles, or feet—whichever keeps the shoulders relaxed.
- Keep the sacrum heavy and stay for 3–5 breaths.
Make it easier: Hold behind the thighs, work with one leg at a time, or reduce how far the knees move toward the chest.
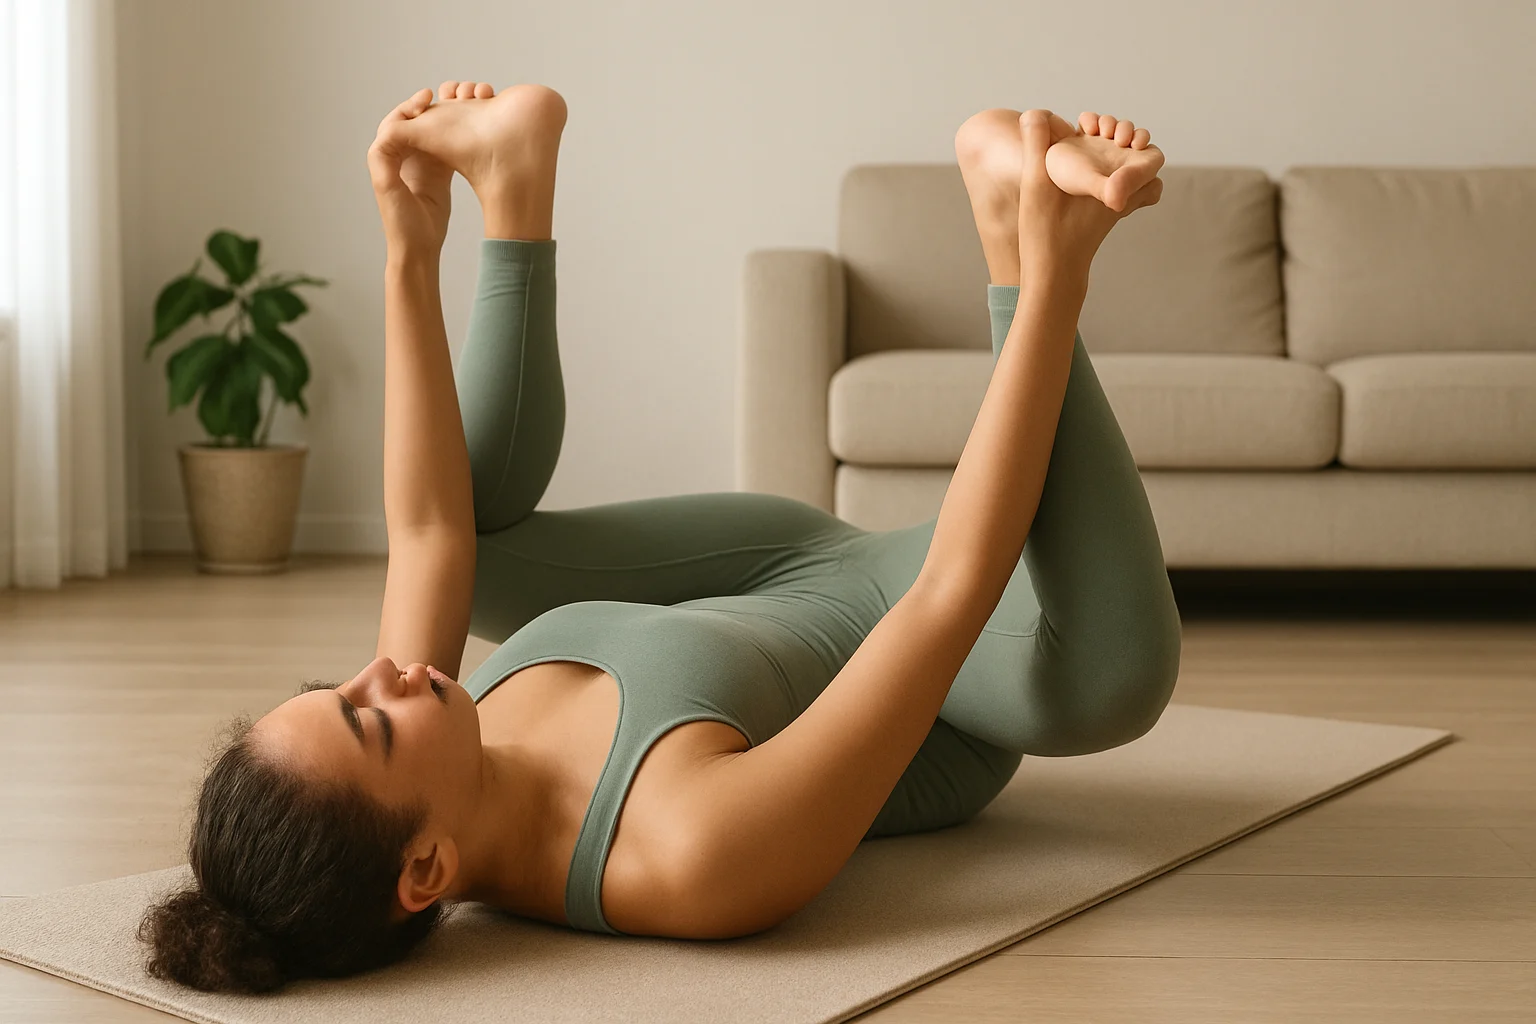
Knees-to-Chest Pose (Apanasana)
Knees-to-Chest is a simple floor option when you want a compact, supported shape. It is easy to make smaller by keeping one foot down or working one leg at a time.
- Lie on your back with knees bent.
- Bring one or both knees toward the chest and hold the shins or backs of the thighs.
- Keep the neck and shoulders relaxed for 3–5 breaths.
Make it easier: Keep one foot on the floor, use a strap behind the thighs, or add a pillow under the head.
Modified Pigeon Pose — Optional Deeper Hip Stretch
Treat this as optional. If Figure Four already gives you enough sensation through the outer hip, there is no prize for moving into a deeper shape.
- Start in tabletop and bring the right knee forward with the shin angled.
- Slide the left leg back only as far as you can keep the front knee comfortable.
- Support the right hip with a folded blanket or pillow and stay upright or fold onto support.
- Stay for 3–5 breaths, then switch sides.
Make it easier: Keep the shin angled, add support under the hip, or go back to Figure Four if this feels harder to control or less comfortable.
A Simple 10-Minute Back-and-Hip Yoga Routine
You do not need all seven poses in one session. This hip and back yoga routine uses one gentle spinal movement, one resting shape, two supported stretches, and one minute to notice how you feel before you stand up.
- 0:00–1:30 — Cat-Cow: Use 4–6 slow cycles. Choose seated Cat-Cow if wrists, knees, or the floor are not a good fit today.
- 1:30–3:00 — Child’s Pose: Stay supported, or substitute Knees-to-Chest if kneeling is uncomfortable.
- 3:00–5:00 — Figure Four: About 1 minute per side, keeping the lower foot down when you want less intensity.
- 5:00–7:00 — Supine Twist: About 1 minute per side with support under the knees if useful.
- 7:00–9:00 — Happy Baby or Knees-to-Chest: Choose the one that feels simpler today rather than doing both.
- 9:00–10:00 — Quiet rest: Lie or sit comfortably and notice whether you feel the same, easier, or worse than when you started.
The goal is not to feel a bigger stretch at minute 10. The goal is to finish without having to fight your body. If a movement makes symptoms worse, take it out of the routine rather than trying to “work through” it.
If a chair-based routine sounds more useful on stiff mornings, I made a printable version you can keep nearby.
Get the 10-Minute Chair Yoga Routine for Stiff Mornings
Confirm to get the routine and yoga tips. Unsubscribe anytime.
Something went wrong. Please check your email address and try again.
Frequently Asked Questions
Start With the Easiest Version Today
Pick one starting movement from the selector and try 3–5 slow cycles or breaths. Then ask one useful question: did this feel the same, easier, or worse? If it felt the same or easier, add one second pose. If it felt worse, stop.
A useful practice does not have to look impressive. The best version today is the one you can do without forcing your body—and still feel comfortable enough to move afterward.