
You do not need to get out of your chair to have a real yoga practice. This guide teaches five gentle seated movements you can do from a stable chair or wheelchair, with options for limited reach, shoulder range, trunk movement, and the support your chair already gives you.
If a pose asks for more range than you have today, make it smaller, keep the backrest or armrest support you need, or skip it. The goal is a movement you can control—not a perfect shape. If you want more gentle options for arthritis, limited mobility, or other situations that need adaptation, see our guide to specialized yoga for health needs.
This post contains affiliate links. If you purchase through them, we may earn a commission at no extra cost to you. As an Amazon Associate, I earn from qualifying purchases. Learn more.
Table of Contents
- Why Wheelchair Yoga Can Be Useful
- Set Up Your Chair or Wheelchair
- 5 Wheelchair-Friendly Chair Yoga Poses
- Build a Routine You Can Repeat
- Free 10-Minute Chair Yoga Routine
- FAQs: Chair & Wheelchair-Friendly Yoga
- Start With the Version You Can Control
Why Wheelchair Yoga Can Be Useful
Wheelchair yoga is not a separate set of “lesser” poses. It is a way of adapting the job of a pose to the body and chair you have. The National Center on Health, Physical Activity and Disability notes that yoga poses can be modified and performed while seated in a chair or wheelchair.
There is some research on chair yoga in older adults, but it should not be overstated. In a small randomized chair-yoga trial, older adults with lower-extremity osteoarthritis had reduced pain interference and improved gait speed after an 8-week program. That study supports chair yoga as a practice worth exploring; it does not prove the same outcome for every wheelchair user.
What a Seated Practice Can Realistically Offer
- Movement without a floor transfer: You can work with the spine, shoulders, side body, and breath while remaining seated.
- A range you can scale: A pose can become smaller, more supported, or breath-only without becoming a failed version of the pose.
- A low-pressure way to practice attention: Slower movement and easy breathing can give you a clear place to notice effort, tension, and comfort.
Adapting Wheelchair Yoga for Arthritis
If arthritis is part of your picture, treat range of motion as adjustable rather than something to push. The NCCIH says evidence for yoga and knee osteoarthritis is promising but limited, and the Arthritis Foundation advises that stretching should feel gentle rather than painful and should be smooth, not bounced. On a more sensitive day, a smaller version—or breath awareness alone—may be the better practice. For a fuller arthritis-focused routine, see our yoga for arthritis guide.
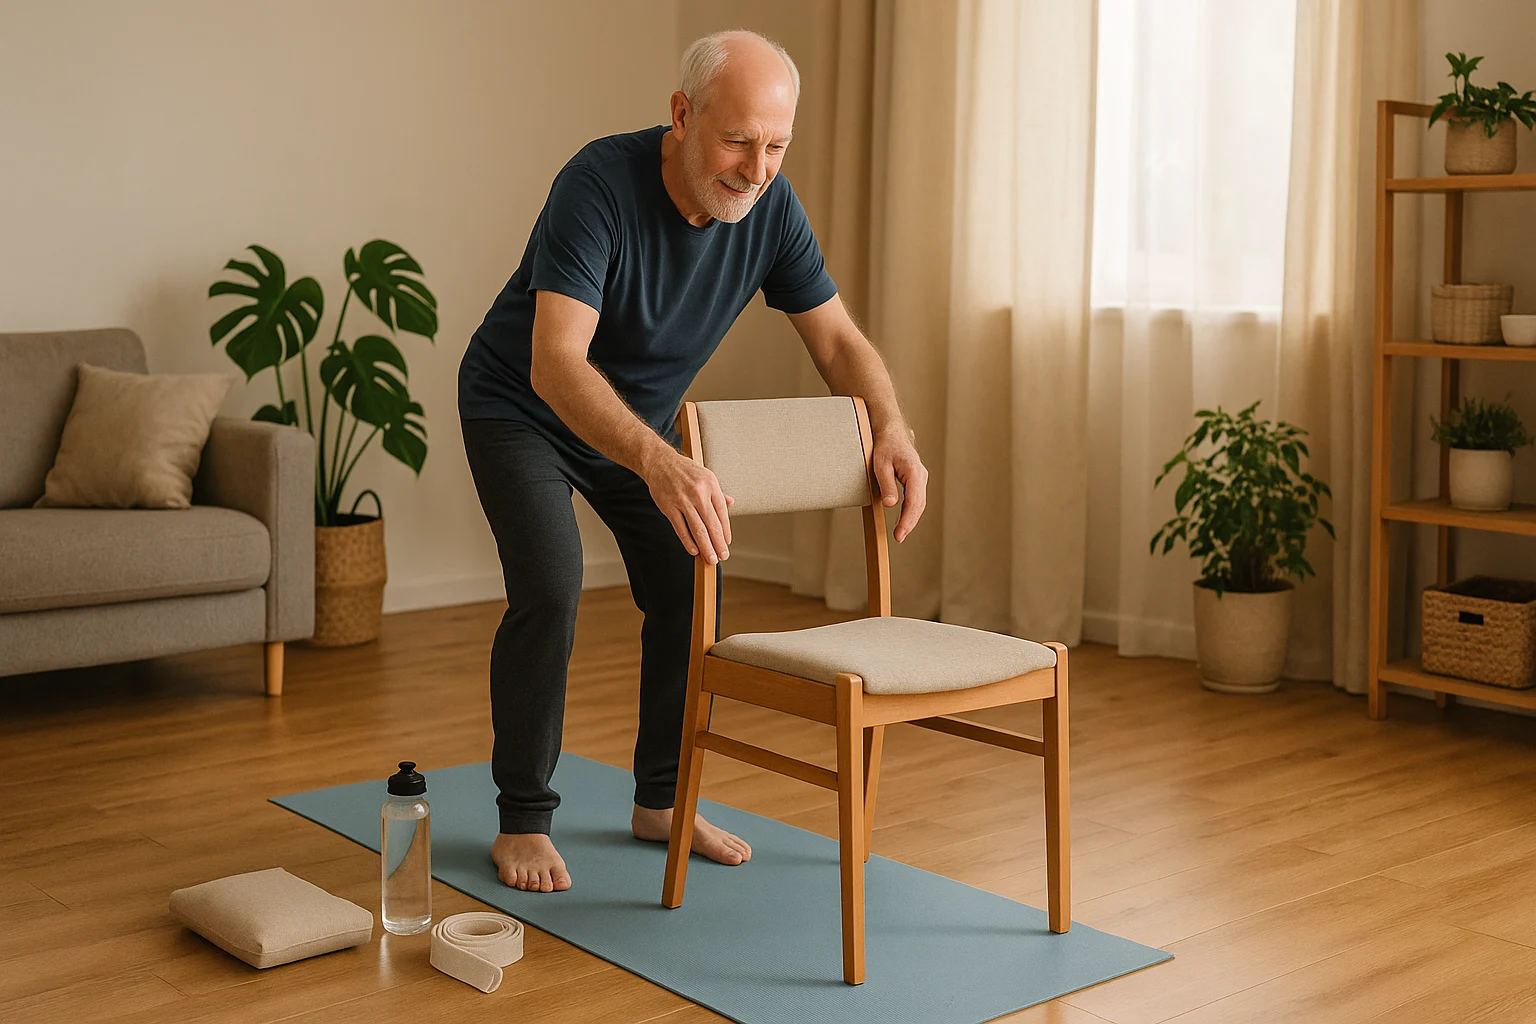
Set Up Your Chair or Wheelchair for Yoga
Stability matters more than looking perfectly upright. Use the support that lets you move with control, even if that means staying against the backrest or keeping one or both hands on an armrest.
- Make the chair stationary: Use a sturdy chair without wheels, or make sure your wheelchair is secure before you move.
- Keep the support you need: A backrest, armrest, cushion, or usual positioning support can stay in place.
- Support your legs as they normally sit: Feet can stay on the floor or on footrests; there is no need to force a “feet flat” position.
- Clear your reach zone: Move tables, cords, and other objects out of the path of your hands and arms.
- Choose a stop signal: Pain, pinching, dizziness, or a sudden sense that you are losing control of the movement is a reason to stop and reset.
How to Use Your Chair or Wheelchair for Yoga
You do not need a specialized yoga chair for this sequence. If you searched how to use a yoga chair, the chair here is simply the stable seat or wheelchair you already practice from.
- Use the backrest: Stay supported between movements or throughout the pose if sitting away from the backrest costs too much effort.
- Use the armrests: They can steady a side bend or twist, and your hands can stay low when reaching overhead is not comfortable.
- Use a strap only when it solves a reach problem: A towel or belt you already own may be enough. A yoga strap is optional.
Some of these poses ask you to reach further than feels comfortable from a seated position.
5 Wheelchair-Friendly Chair Yoga Poses
These chair yoga stretches and breathing practices are meant to be mixed and matched, one pose at a time. Two or three easy breaths is enough to test a movement. Stay within a range where you can breathe normally and return to your starting position with control.
Wheelchair Yoga Pose Finder
Choose the goal that matters most today — you will get one of the five poses below.
Choose a goal to get a starting pose and one optional next pose.
Pose 1: Seated Cat–Cow Flow
| How to Do It |
|
|---|---|
| What It Does | Explores gentle spinal flexion and extension while pairing movement with breath. |
| Wheelchair Adaptation | If trunk movement is limited, make this mostly a small pelvic tilt or chest lift and return to the support of the chair between rounds. |
| Change or Skip | Keep the neck neutral if looking up is uncomfortable. Stop if the movement causes pain. |
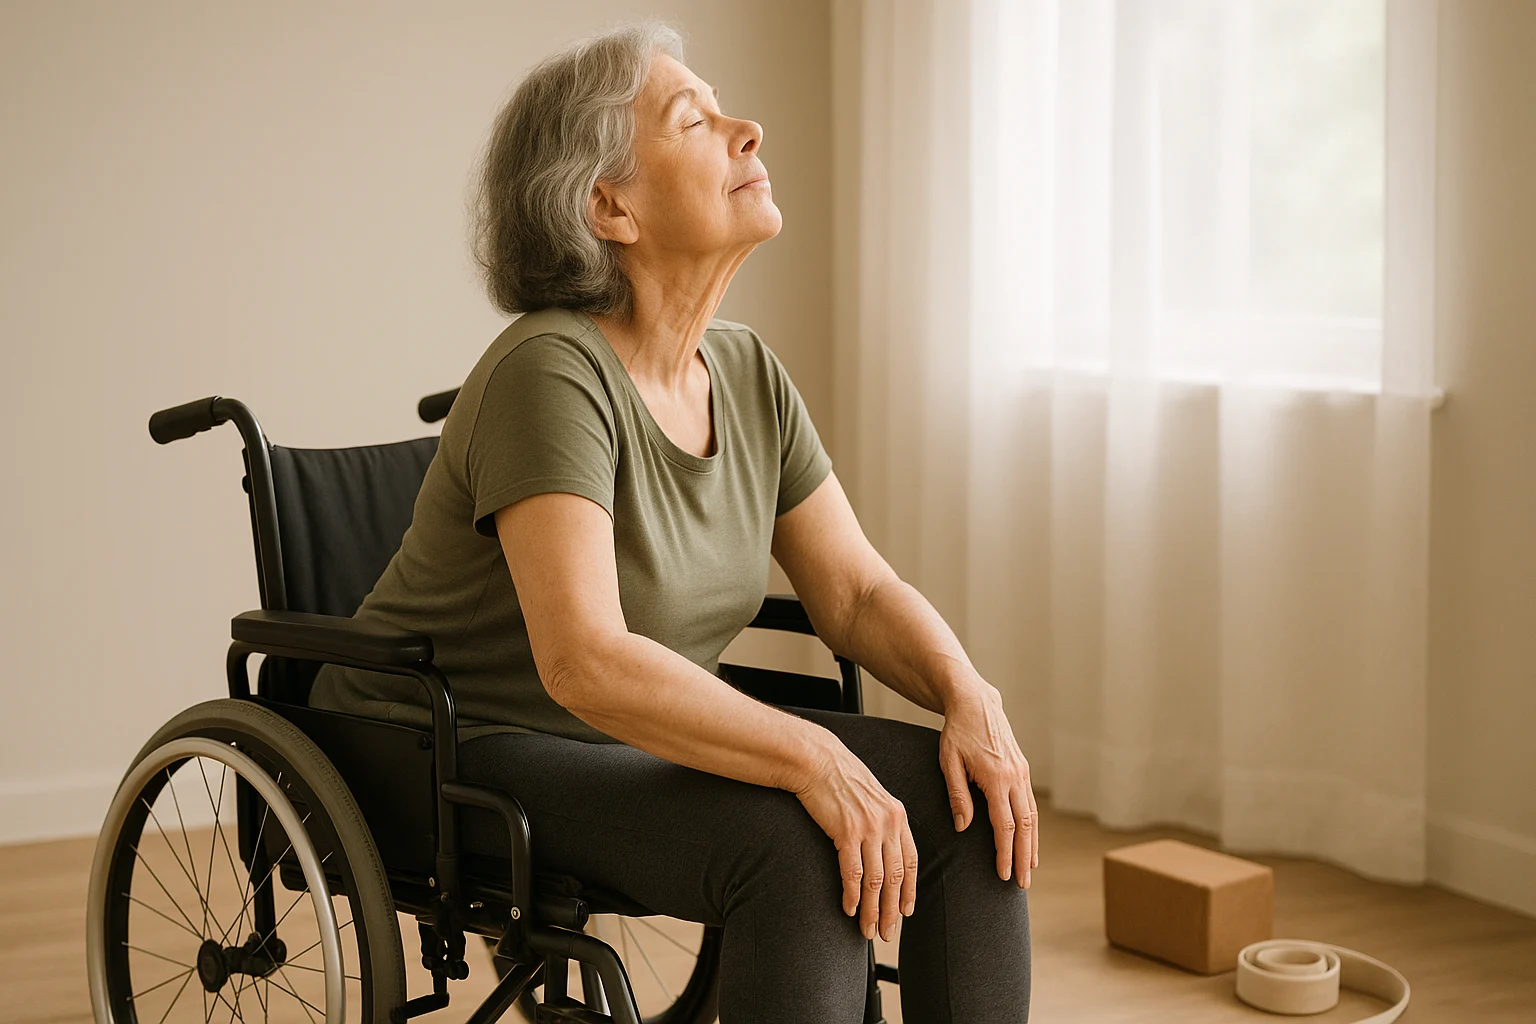
Pose 2: Gentle Neck Tilts and Shoulder Rolls
| How to Do It |
|
|---|---|
| What It Does | Gives the neck and shoulders a gentle movement break without requiring a large range. |
| Wheelchair Adaptation | Shoulder rolls can stand on their own if neck movement is not comfortable. Keep your head supported in the position that works for you. |
| Change or Skip | Do not force a full neck circle. Stop the neck movement if it causes pain, tingling, or dizziness. |
Pose 3: Seated Side Bend
| How to Do It |
|
|---|---|
| What It Does | Creates a gentle stretch through the side of the torso. |
| Wheelchair Adaptation | If lifting an arm changes your balance, keep both hands low and make the bend smaller. |
| Change or Skip | Do not reach so far that you lose the seat or back support you need. |
Pose 4: Seated Spinal Twist
| How to Do It |
|
|---|---|
| What It Does | Explores gentle rotation through the trunk. |
| Wheelchair Adaptation | Your feet can stay on footrests, and both hands can stay low if reaching across the body is not comfortable. |
| Change or Skip | Skip the twist if rotation is painful or if your chair and support needs make the position feel unstable. |
Pose 5: Seated Breath Awareness
| How to Do It |
|
|---|---|
| What It Does | Offers a low-movement pause for noticing breath, effort, and tension. |
| Wheelchair Adaptation | No posture change is required. Keep your usual support and keep your eyes open if that feels steadier. |
| Change or Skip | If deliberately slowing or deepening the breath feels uncomfortable or light-headed, return to your normal breathing pattern. |
Build a Seated Yoga Routine You Can Repeat
A useful routine does not need to include all five poses. Start with the movement that felt most controllable, then repeat that same version before adding more range or another pose. If you would rather follow something already laid out, our printable chair yoga poses give you a set sequence to work from.
A Simple Seated Yoga Sequence
If you want to use all five poses in one practice, this order gives you a simple starting sequence rather than another rule you have to complete:
- Seated Breath Awareness: Notice 2–3 natural breaths without trying to make them deeper.
- Seated Cat–Cow: Move through 3 slow rounds, using as much back support as you need.
- Neck Tilts and Shoulder Rolls: Make one easy pass in each direction; use shoulder rolls alone if neck movement does not feel comfortable.
- Seated Side Bend: Take 1–2 easy breaths on each side, keeping the reaching arm as low as you need.
- Seated Spinal Twist: Take 1–2 easy breaths on each side only if rotation feels comfortable and controlled.
Skip any step that does not suit you today. If you want a quieter finish, return your hands to a comfortable resting position and notice your normal breathing for another breath or two.
- Repeat what worked: Familiar movement is easier to judge than changing the whole routine every time.
- Change one thing at a time: Add a breath, a little range, or one extra pose—not all three at once.
- Keep your supports: A cushion, backrest, armrest, footrest, or strap does not make the practice less valid.
- Use breath-only days: If movement does not feel right today, Seated Breath Awareness can be the whole practice.
Mindfulness can stay practical: notice your jaw, shoulders, breath, and how hard you are working between poses. That small check-in helps you decide whether to continue, make the movement smaller, or stop. For more on that approach, see our guide to mindful movement yoga.
The sequence above gives you one flexible way to practice. If stiff mornings are when you most want a little structure, you can also get a separate 10-minute chair-yoga routine below.
A Seated Routine for Stiff Mornings
Confirm to get the routine and yoga tips. Unsubscribe anytime.
Something went wrong. Please check your email address and try again.
FAQs: Chair & Wheelchair-Friendly Yoga
Start With the Version You Can Control
The chair should help the pose adapt to you—not the other way around. Pick the movement you could do with the least strain and use that as your starting practice. If today that is only breath awareness, that still counts. The goal is a repeatable movement you can control, not completing all five poses.