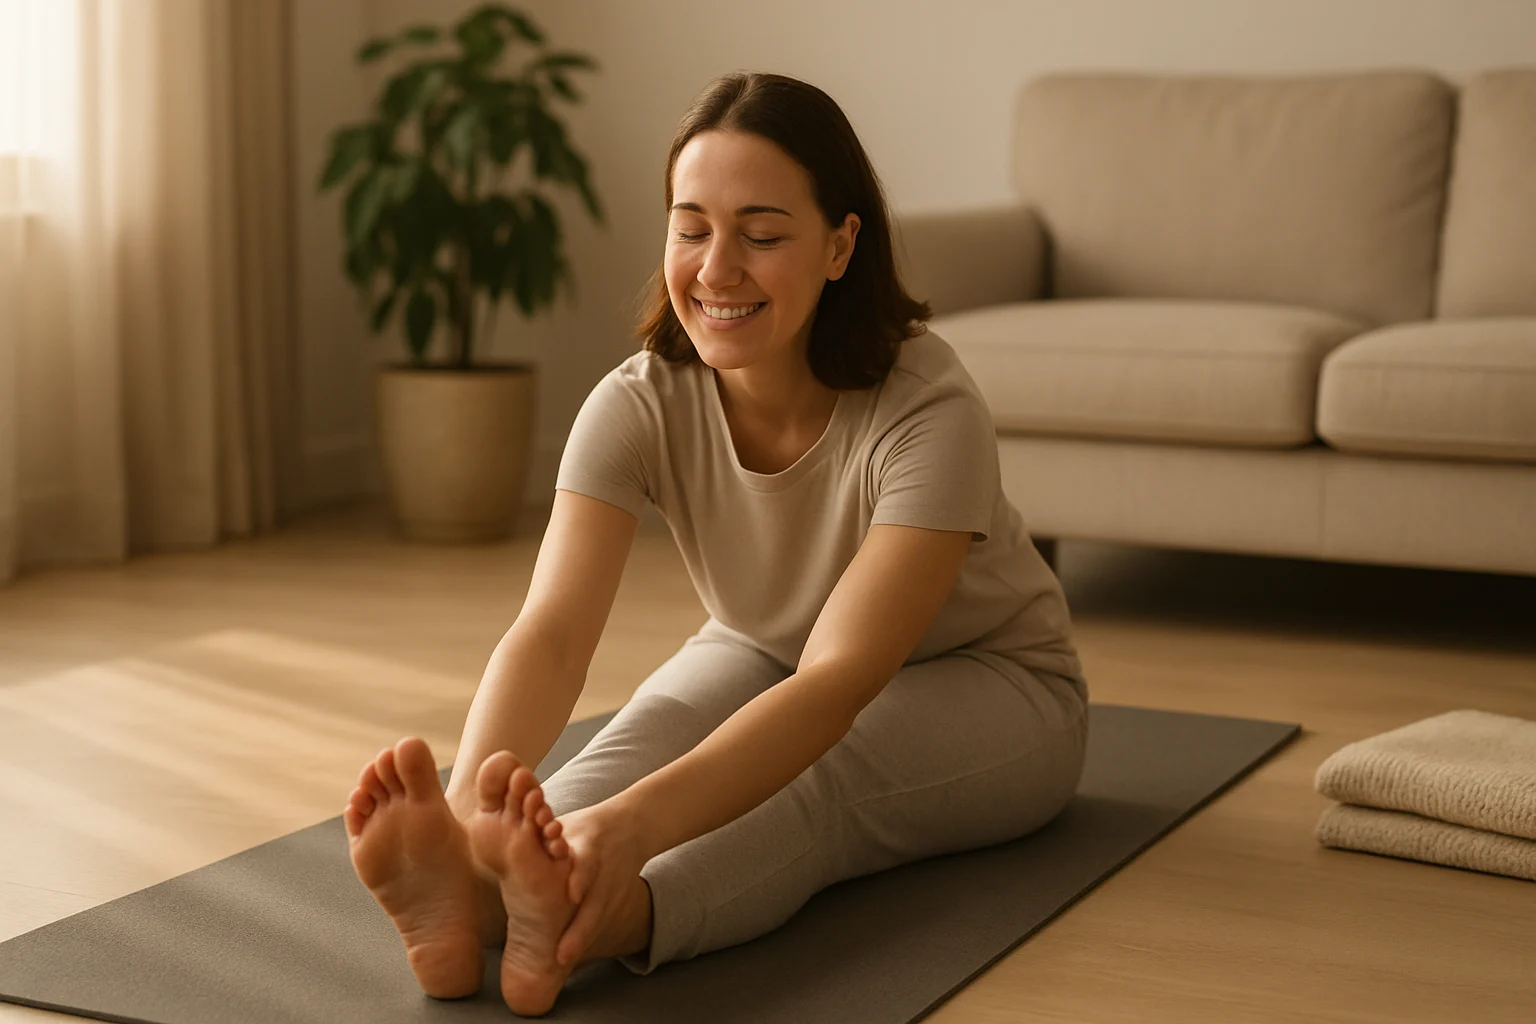
If you’re new to yoga and your lower back hurts, the first question is not how far you can stretch. The useful move is to start smaller than you think: decide whether gentle movement feels appropriate today, and whether you want to begin on the floor or stay seated or standing.
This guide to yoga for lower back pain for beginners gives you both routes, six movements to learn, a routine builder, and a simple two-week progression. If your pain is severe, follows major trauma, comes with new bowel or bladder changes or fever, travels down a leg, or includes new weakness, numbness, or tingling, skip the routine and go to when to be cautious. For a broader view beyond the lower back, see the yoga for pain relief guide.
This post contains affiliate links. If you purchase through them, we may earn a commission at no extra cost to you. As an Amazon Associate, I earn from qualifying purchases. Learn more.
Table of Contents
- Start Here: Make Today Small
- What Yoga Can—and Can’t—Promise
- Choose Your Setup: Floor or No-Floor
- Six Gentle Movements to Learn
- Choose a Gentle Routine for Today
- Your First Two Weeks
- When to Be Cautious with Yoga
- Frequently Asked Questions
- What a Good Start Looks Like
Start Here: Make Today Small
Your first session only needs to answer two questions: can you move gently without making symptoms worse, and is the floor practical today? You do not need to complete every pose in this guide. If you’re looking for easy back pain yoga, think easy to adjust rather than something you should push through.
Three Rules Before You Start
- Warning signs or uncertainty? Do not use yoga as a test. Use the caution section first.
- Floor work is not practical? Choose the seated or supported route in the routine builder. That is a full starting option, not a lesser version of the practice.
- Floor work feels manageable? Learn one or two movements below, then use the builder to choose a short sequence.
A useful first session should leave you feeling that you could repeat it—not that you proved how flexible or tough you are.
What Yoga Can—and Can’t—Promise for a Sore Lower Back
Yoga combines movement, breathing, and attention. NCCIH describes the average benefit for low-back pain as slight, while Mayo Clinic notes that yoga can stretch and strengthen muscles and improve posture—and that poses may need to be adjusted when they make symptoms worse.
In gentle beginner yoga, adjustability matters more than any promise of fast relief. Shorten the range, use support, choose a seated version, or skip a movement that does not agree with your back.
Choose Your Setup: Floor or No-Floor
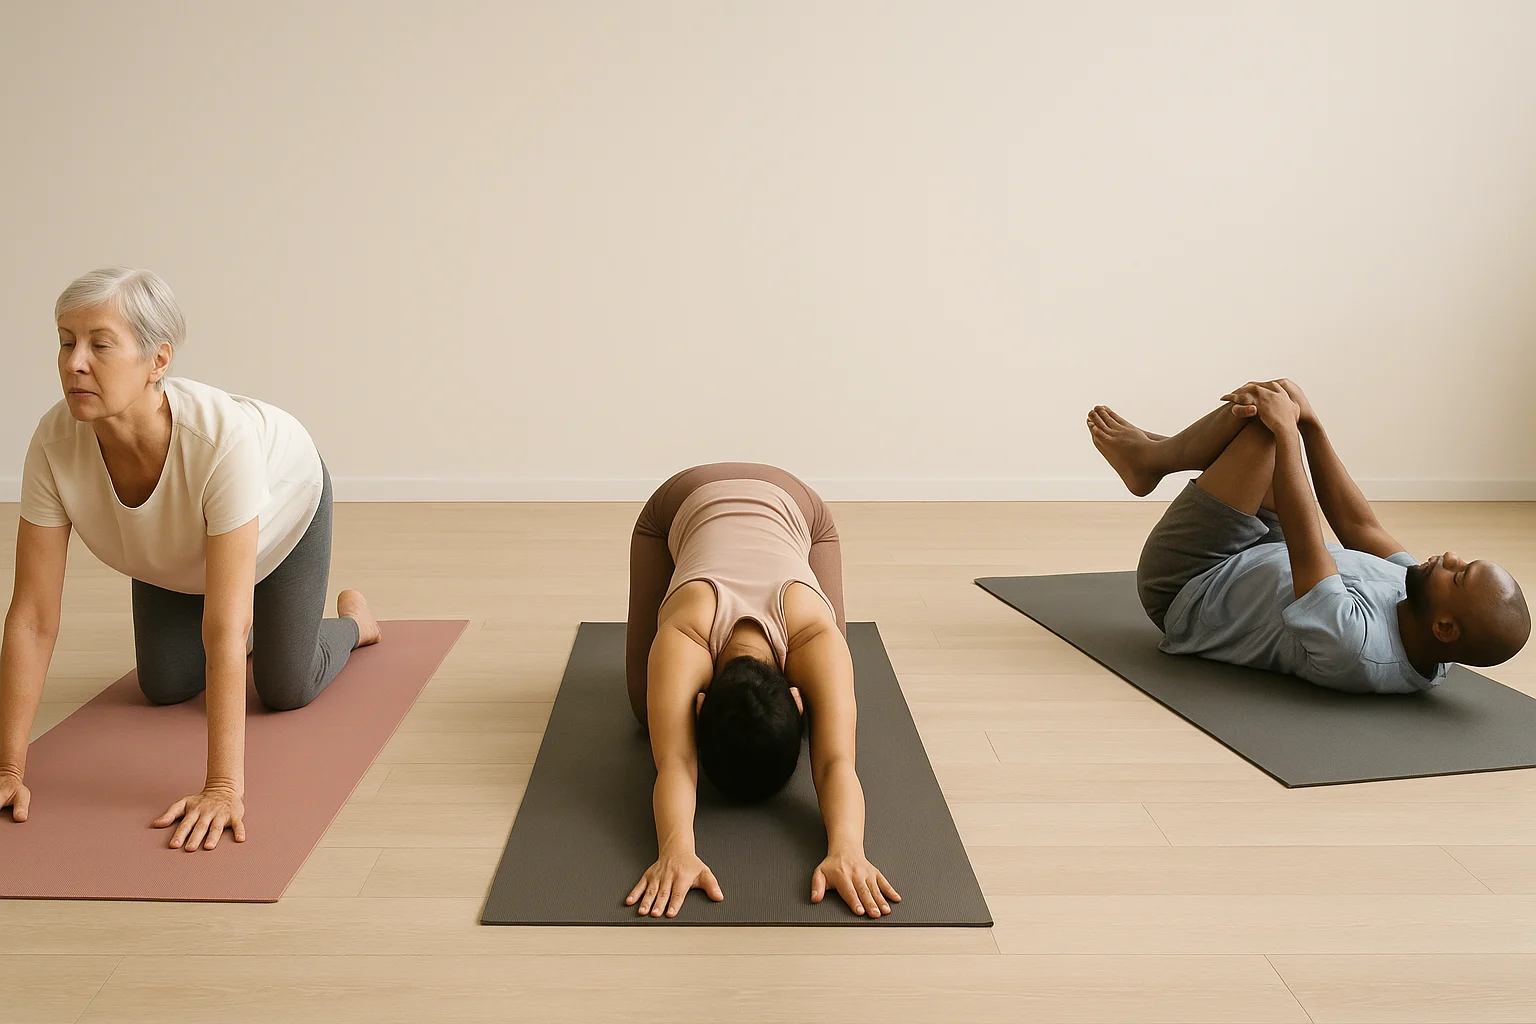
You do not need a studio setup to begin. A carpet, towel, blanket, pillow, sturdy chair, or clear patch of floor may be enough; the no-equipment yoga guide has more ideas for practicing with what you already own.
Floor setup
- Surface: Use carpet, a folded blanket, or a yoga mat if you want more grip or cushioning.
- Support: Keep a pillow or folded blanket nearby for your head, knees, or hips.
- Clothes: Choose something that lets you bend and breathe without feeling restricted.
If a hard floor is the main thing making floor poses uncomfortable, a thicker mat can add cushioning without turning this into a gear-heavy practice.
No-floor setup
If getting down to the mat is the hardest part, stay seated or standing. A sturdy chair or wall gives you a stable reference point for seated pelvic tilts, seated Cat–Cow, gentle side bends, and supported weight shifts. The chair-yoga guide gives you a broader seated route when that is the better fit.
Six Gentle Movements to Learn — Not a Checklist
The movements below are options, not a prescription. Learn the ones that match your starting position, and skip anything that clearly increases your symptoms. If you are using the no-floor route, you do not need to work through the floor-only movements first.
| Movement | Starting position | Easier route |
|---|---|---|
| Pelvic Tilts | On your back | Seated pelvic tilts |
| Cat–Cow | Hands and knees | Seated Cat–Cow |
| Child’s Pose | Kneeling | Neutral seated rest |
| One-Knee-to-Chest | On your back | Skip on no-floor days |
| Supine Spinal Twist | On your back | Keep the range small or skip |
| Modified Bridge | On your back | Supported standing weight shifts |
1. Pelvic Tilts
A small pelvic tilt is a low-effort way to explore comfortable motion while lightly engaging your abdominal muscles.
- Lie on your back with knees bent and feet flat, or sit tall in a sturdy chair.
- Gently tip the pelvis so the low back flattens a little, then return toward neutral.
- Keep the movement small and breathe normally for a few slow repetitions.
2. Cat–Cow
Cat–Cow moves the spine through gentle flexion and extension while pairing motion with breathing. Mayo Clinic demonstrates the basic movement.
- Start on hands and knees if that position is comfortable, with hands under shoulders and knees under hips.
- Inhale as you gently lift the chest and tailbone; exhale as you gently round the spine.
- Move through a comfortable range for several breaths. For a no-floor version, make the same small spinal motion while seated.
3. Child’s Pose
Child’s Pose can feel like a comfortable rest or back-and-hip stretch for some people. See Mayo Clinic’s basic Child’s Pose setup.
- From hands and knees, bring the hips back toward the heels only as far as feels comfortable.
- Rest your forehead on the mat, a folded blanket, or a pillow.
- If kneeling or deep flexion is uncomfortable, use a neutral seated rest instead.
4. One-Knee-to-Chest
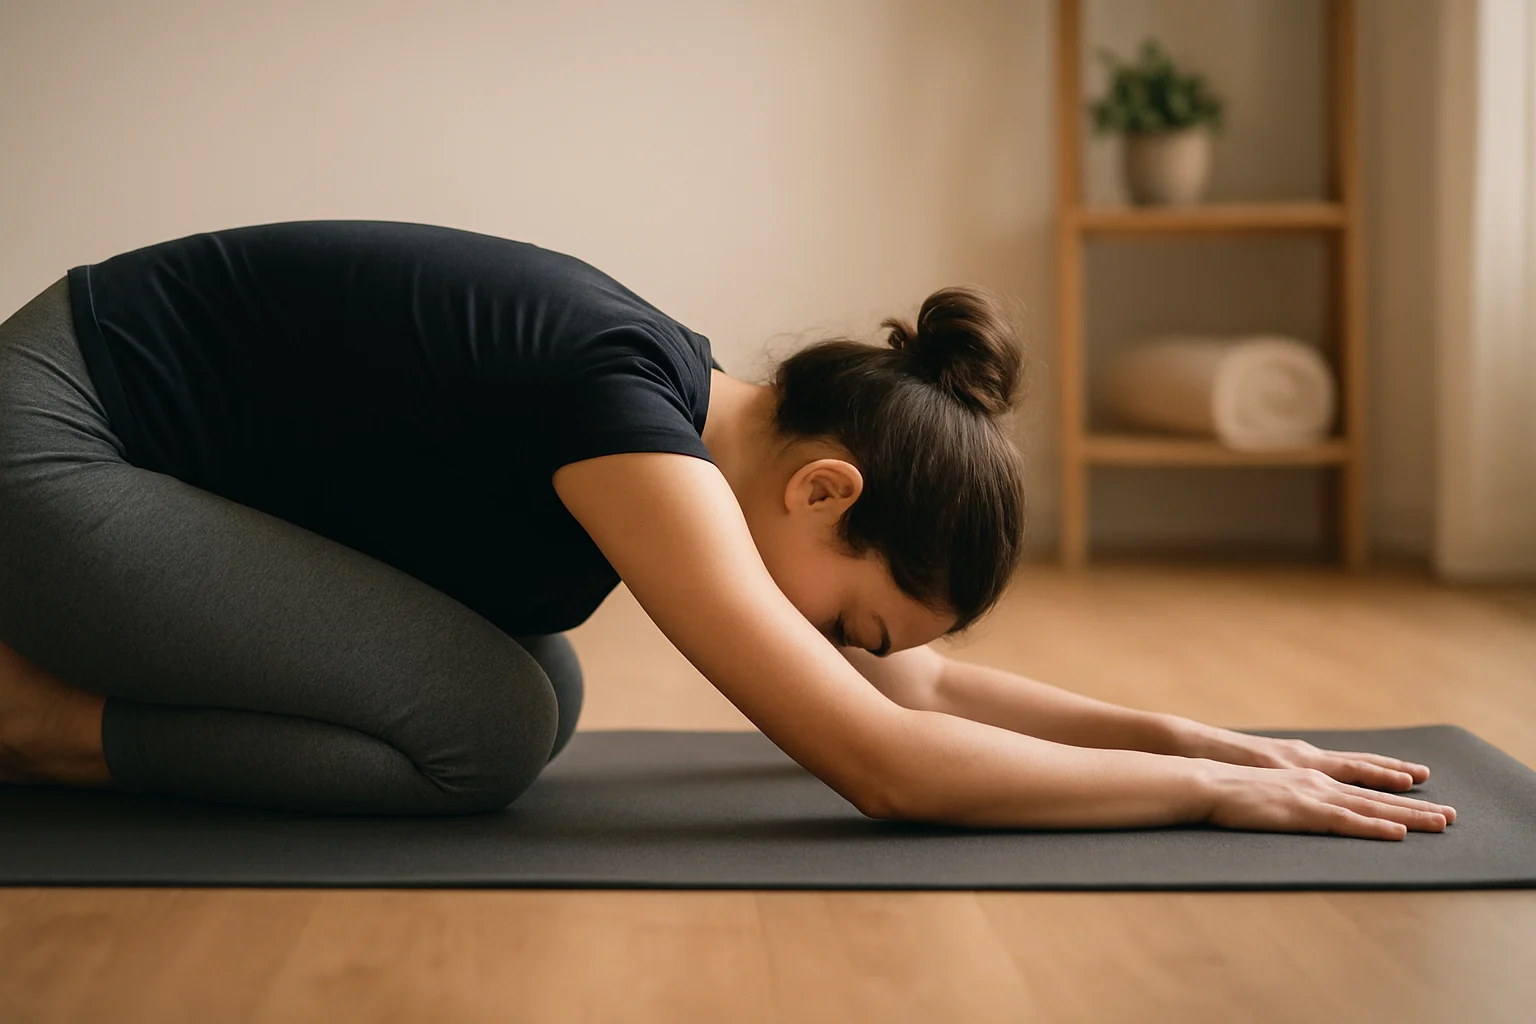
This gives you a gentle way to move one hip and stretch the glute area while lying down.
- Lie on your back with both knees bent.
- Bring one knee toward your chest and hold behind the thigh or over the shin without forcing it closer.
- Take a few comfortable breaths, release, and switch sides.
5. Supine Spinal Twist
This position introduces gentle trunk rotation. Keep the range small and skip it if twisting increases your symptoms.
- Lie on your back with knees bent and feet flat.
- Let both knees drift a small distance to one side while your shoulders stay comfortable.
- Return to center and try the other side only if the first side felt fine.
6. Modified Bridge
A small Bridge variation works the glutes and hamstrings without requiring a deep backbend.
- Lie on your back with knees bent and feet about hip-width apart.
- Press through the feet and lift the hips only as high as feels comfortable.
- Lower slowly. A few controlled repetitions are enough for a first try.
You do not need to do every movement above. Use the routine builder to choose a starting path without guessing how much to do.
Choose a Gentle Routine for Today
Start with the safety check. If gentle movement feels okay, choose whether floor work is practical today and how much time you have. This builder does not diagnose back pain.
Step 1 of 3: Choose the description that best matches today.
Your First Two Weeks: Build One Step at a Time
The goal of the first two weeks is not a streak, a flexibility milestone, or a promise that your pain will be gone. It is to learn which starting position and movements you can repeat without symptoms trending worse.
Week 1 — Find Your Baseline
- Choose floor or no-floor based on what is practical that day.
- Use the 5-minute builder result, or practice one or two movements you already understand.
- Keep the range comfortable and notice how your back feels later that day and the next morning.
Use what you notice to choose the next session: repeat the same short practice when it stays manageable; reduce the time, range, or one movement if it clearly aggravates your symptoms; stop and use the caution section if new warning signs appear.
Week 2 — Change One Thing
If Week 1 feels manageable, progress by changing one variable at a time: add a few minutes, add one movement, or add a few comfortable repetitions. Do not increase time, range, and difficulty all at once.
How Often Should You Repeat It?
There is no daily quota in this guide. Repeat a short practice when it feels manageable, take rest days when you want them, and let your response—not a calendar—decide whether to add more.
No Tool Needed: A 10-Minute Floor Fallback
If you prefer a fixed sequence instead of the builder, use this as a simple floor-only option:
- Pelvic Tilts — 2 minutes.
- Gentle Cat–Cow — 2 minutes.
- One-Knee-to-Chest — about 2 minutes total.
- Child’s Pose or a neutral rest position — 2 minutes.
- Repeat the movement that felt easiest — 2 minutes.
If floor work is not practical, use the no-floor branch in the routine builder or continue to the chair-yoga guide for a fully seated route.
When to Be Cautious with Yoga
Yoga is generally considered safe when it is practiced appropriately, but back pain has situations where a routine builder should not be the next step. Mayo Clinic’s back-pain guidance separates emergency warning signs from symptoms that should be assessed by a healthcare professional.
- Seek emergency care: Back pain after major trauma, new bowel or bladder control problems, or back pain with a fever.
- Arrange medical evaluation: Constant or intense pain, pain spreading down one or both legs, new weakness, numbness or tingling, or unexplained weight loss.
- During practice: If a pose clearly makes symptoms worse, reduce the range, change the position, or stop. For sciatica-specific context, see yoga for sciatica relief.
If chair-based practice is the route you’re most likely to use, keep a ready-made morning option handy.
Get the 10-Minute Chair Yoga Routine for Stiff Mornings
Confirm your email to get the routine. Unsubscribe anytime.
Something went wrong. Please check your email address and try again.
Frequently Asked Questions About Beginner Lower-Back Yoga
What a Good Start Looks Like After Two Weeks
A useful first two weeks is not measured by how deep you can stretch. It means you know whether floor or no-floor practice works better for you, you have a few movements you can repeat without symptoms trending worse, and you know when to stop instead of pushing through.
If you want a larger pose library once that starting routine feels familiar, continue with the beginner-friendly yoga positions for lower back pain. If you are still figuring out what feels safe, staying with the shorter route is a perfectly valid next step.