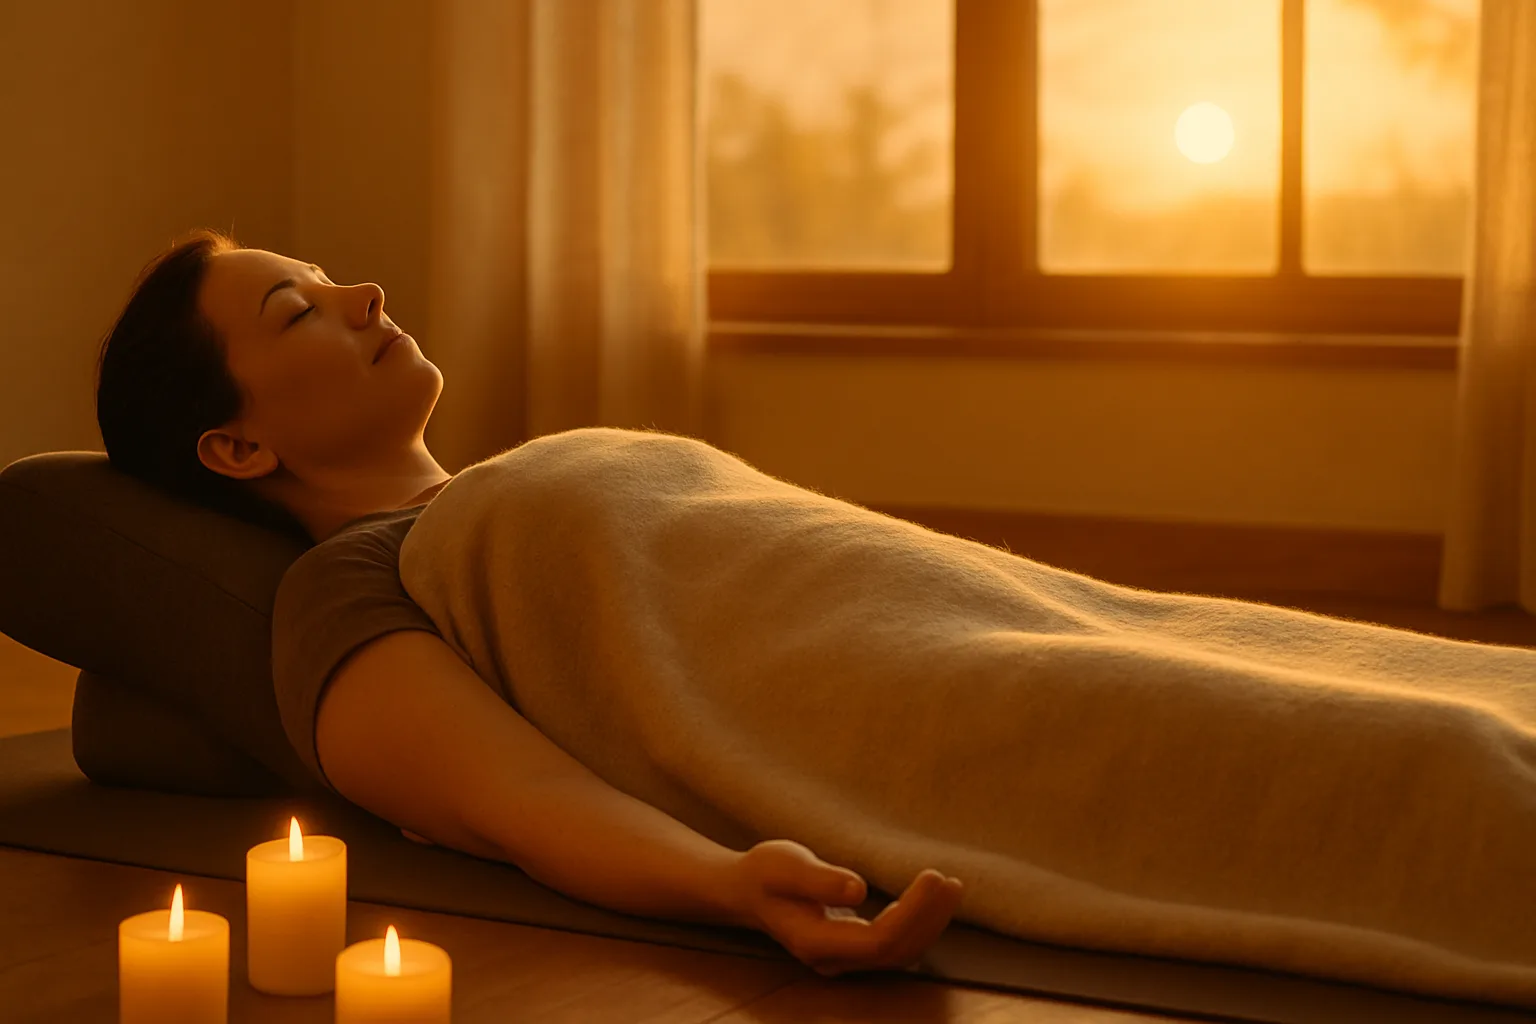
Some days, even a gentle yoga session can feel like one more workout. Recovery yoga should feel like less work, not more. This guide gives you 10 prop-supported restorative positions and a quick selector to help you choose one or two for ordinary soreness, fatigue, or stress.
If pain is sharp, new, worsening, or tied to a recent injury, use the safety guidance instead of treating this article as rehabilitation advice. In that situation, the selector will not suggest a pose. For broader guidance beyond this recovery routine, see our guide to yoga for specialized health.
This post contains affiliate links. If you purchase through them, we may earn a commission at no extra cost to you. As an Amazon Associate, I earn from qualifying purchases. Learn more.
Table of Contents
- What Is Recovery Yoga?
- Safety Tips When Injury Is Part of the Picture
- Choose Your Recovery Yoga Focus
- 10 Restorative Poses to Try
- What Recovery Yoga May Help With
- Frequently Asked Questions About Recovery Yoga
- Start With One Comfortable Pose
What Is Recovery Yoga?
On this page, I use “recovery yoga” as a practical label for a slow, prop-supported practice built around rest, easy breathing, and comfortable range. For this guide, think of it as closer to restorative yoga on a rest or recovery day than to a workout-style active-recovery flow. Blankets, bolsters, and blocks can reduce how much effort you need to use to stay in position. That can make the practice approachable when you are tired, stressed, or easing back after ordinary activity.
Safety Tips When Injury Is Part of the Picture
If an injury is part of why you are here, use more caution than you would for ordinary post-workout soreness:
- Listen to Your Body: Move out of a pose if pain becomes sharp, increases, or feels unfamiliar. Do not use a stretch to test whether an injury is “ready.”
- Get Individual Guidance: If you have a recent or worsening injury, a health condition, or you are not sure whether a pose is appropriate, talk with a healthcare provider before using yoga as part of recovery. NCCIH yoga safety guidance notes that some people may need to modify or avoid poses.
- Lean on Props: Blankets, bolsters, and blocks can make a position easier to adapt. For a broader approach to moving without forcing, see these mindful movement tips.
- Take It Slow: Ease into positions and stay well inside a comfortable range. If you’re considering yoga for injury recovery, let your clinician or therapist set the boundaries for what movements belong in your plan.
- Breathe Comfortably: A pose should leave enough room for slow, unforced breathing. If your breath gets strained, back out or add support.
Recovery yoga can sit beside an individualized recovery plan; it should not replace one when an injury needs diagnosis, treatment, or rehabilitation.
Not sure where to begin? Use the selector to narrow the 10 poses to a gentler starting point based on your focus and how you feel today. It does not assess an injury.
Choose Your Recovery Yoga Focus
Choose a focus, then choose how it feels today. Your result will link you to specific instructions below.
Step 1 of 2
What do you want support with?
Step 2 of 2
How does it feel today?
Choose both answers to see a starting point.
10 Restorative Poses to Try
Use your selector result as a starting point, or browse all 10 restorative poses below. Keep the first round easy and supported rather than forcing a stretch. Treat the hold times as optional ranges, not targets; come out sooner if comfort or breathing changes.
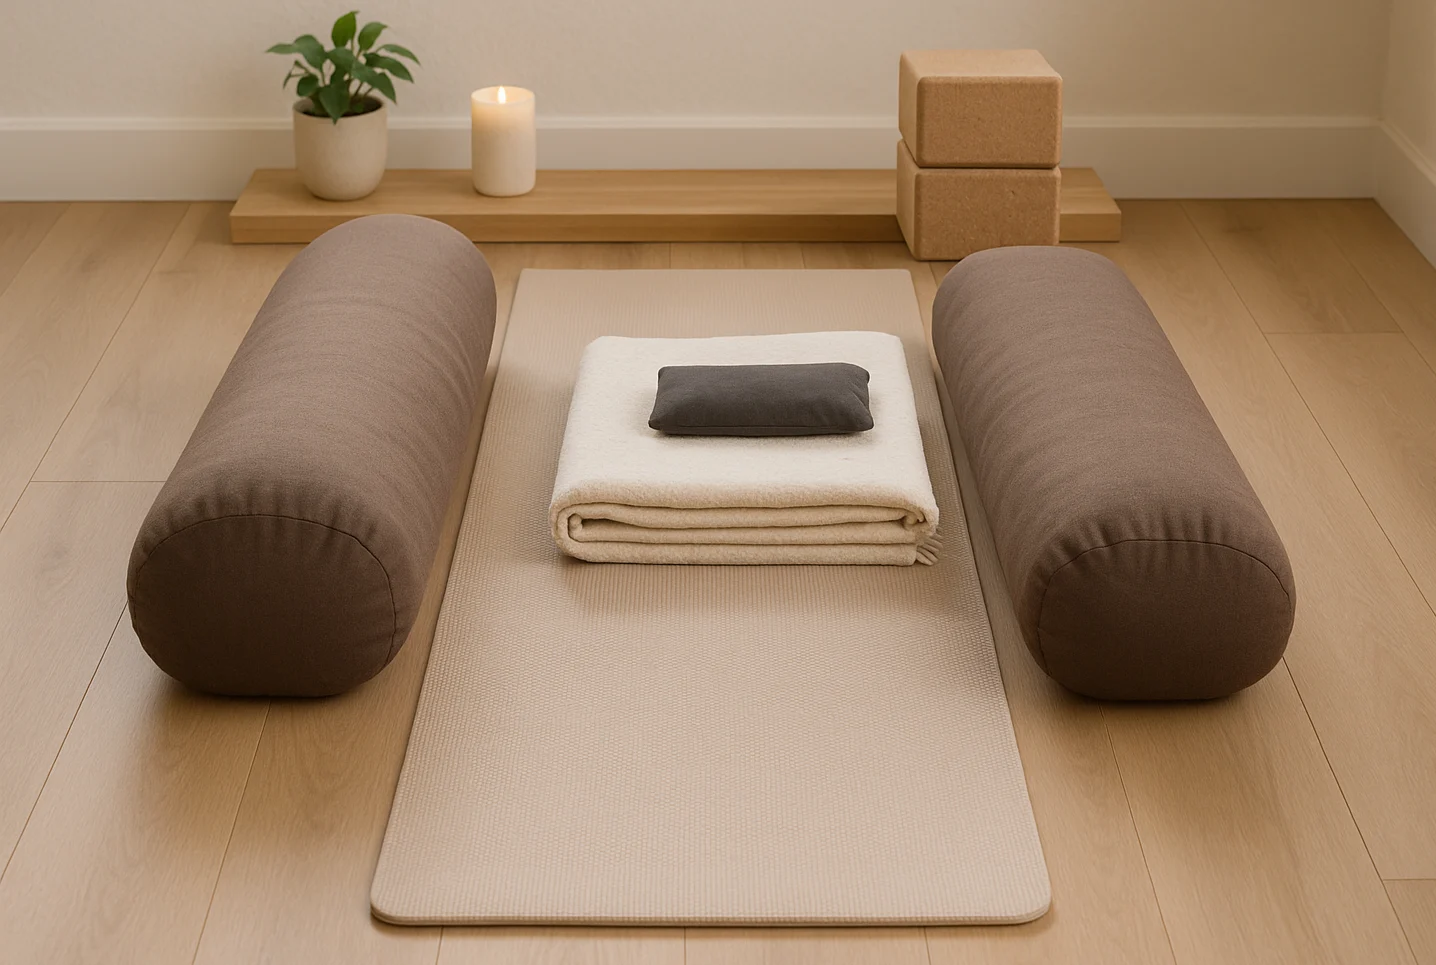
Set Up Your Props First
Grab a blanket or two and a block if you have one. Pad the spots that talk to you—under knees, behind the low back, or beneath the head—so the pose meets your body. If your shoulders creep up or your breath gets tight, add a little height and try again.
You can do all of this with household pillows and folded blankets.
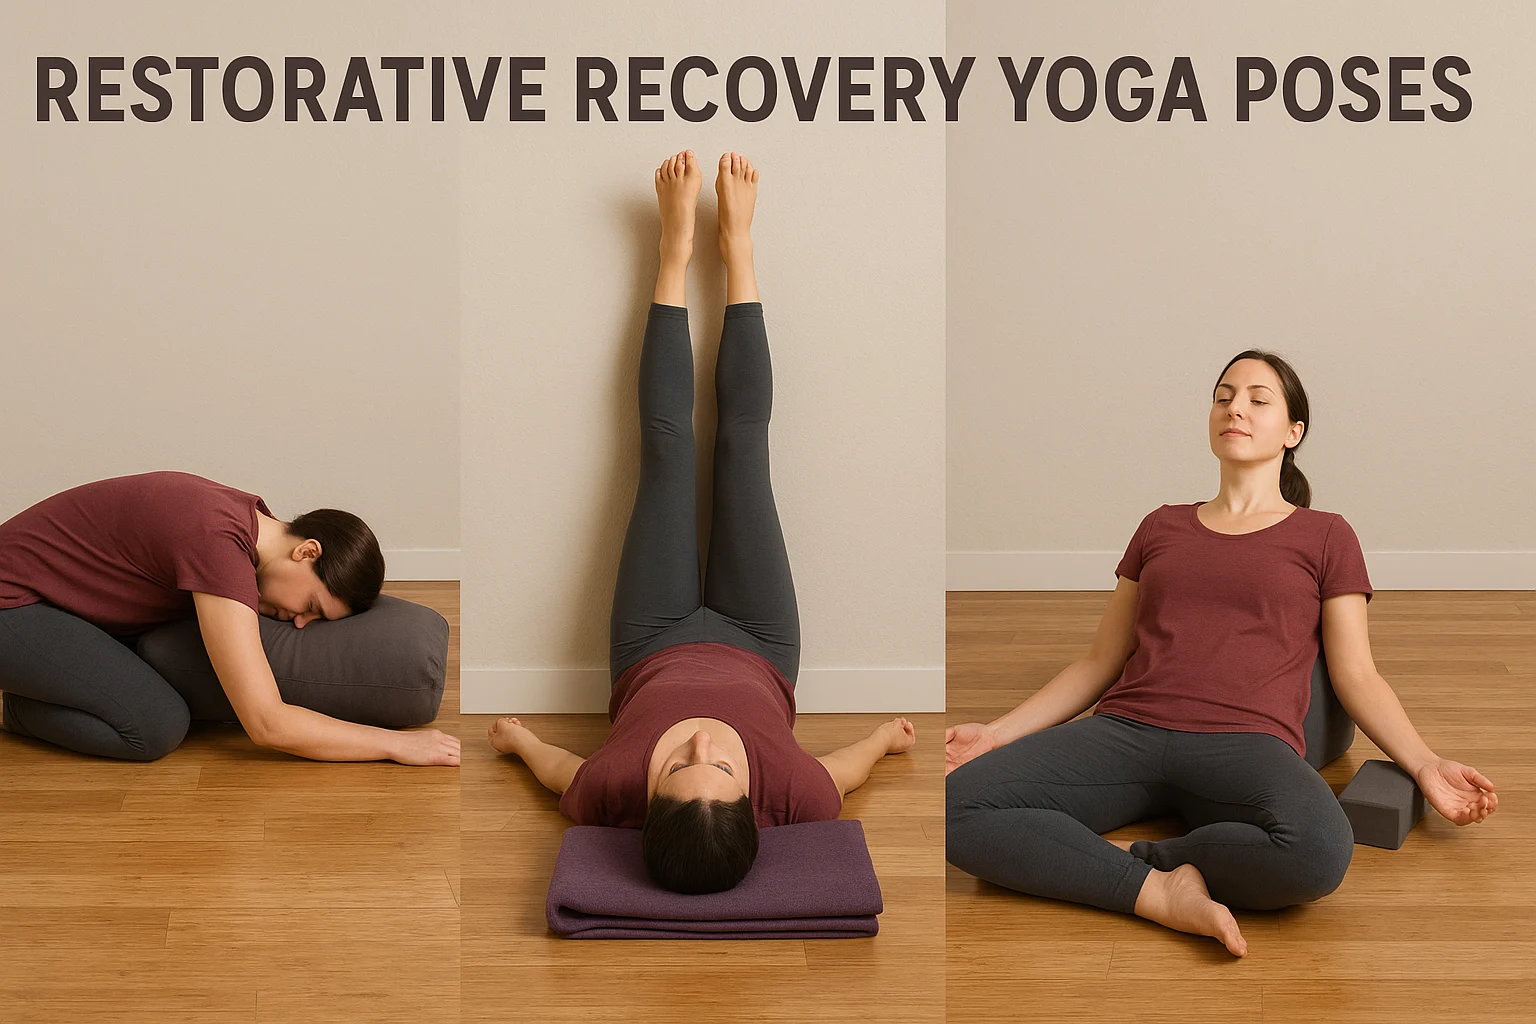
Child’s Pose (Balasana)
Give your hips somewhere to land. If knees feel tight, widen them and slide a pillow under your chest. Rest your forehead on the mat or stacked fists—aim for easy breathing and a soft lower back.
- How to do it: Start on hands and knees. Bring big toes together, adjust knee width, and sit hips back toward heels. Reach arms forward, resting forehead on the mat or stacked fists. Add a pillow under your chest for comfort.
- Hold time: 3–5 minutes.
- Props needed: Blanket or pillow under forehead or chest.
- Benefits: Gently stretches the hips, thighs, and ankles and can provide a quiet resting position when it feels comfortable.
- Tips: Place a blanket between hips and heels if needed.
Legs-Up-the-Wall (Viparita Karani)
A quiet, supported position that can feel restful when your legs are tired.
- How to do it: Sit with one hip against a wall, swing legs up, and lie back, forming an L-shape. Place a blanket under your hips. Rest arms by sides, palms up.
- Hold time: 5–15 minutes.
- Props needed: Folded blanket or bolster under hips.
- Benefits: May ease the feeling of tired legs, lightly stretch the hamstrings, and provide a restful position.
- Tips: Move a bit away from the wall if hamstrings feel tight.
Supine Bound Angle Pose (Supta Baddha Konasana)
A supported hip-opening shape that lets the knees rest on props instead of hanging in space.
- How to do it: Lie on your back, bring soles together, and let knees fall outward. Support knees with pillows. Rest hands on belly or by sides.
- Hold time: 5–10 minutes.
- Props needed: Pillows under each knee.
- Benefits: Gently stretches the inner thighs and can feel relaxing when the knees are well supported.
- Tips: Add more support under knees as needed.
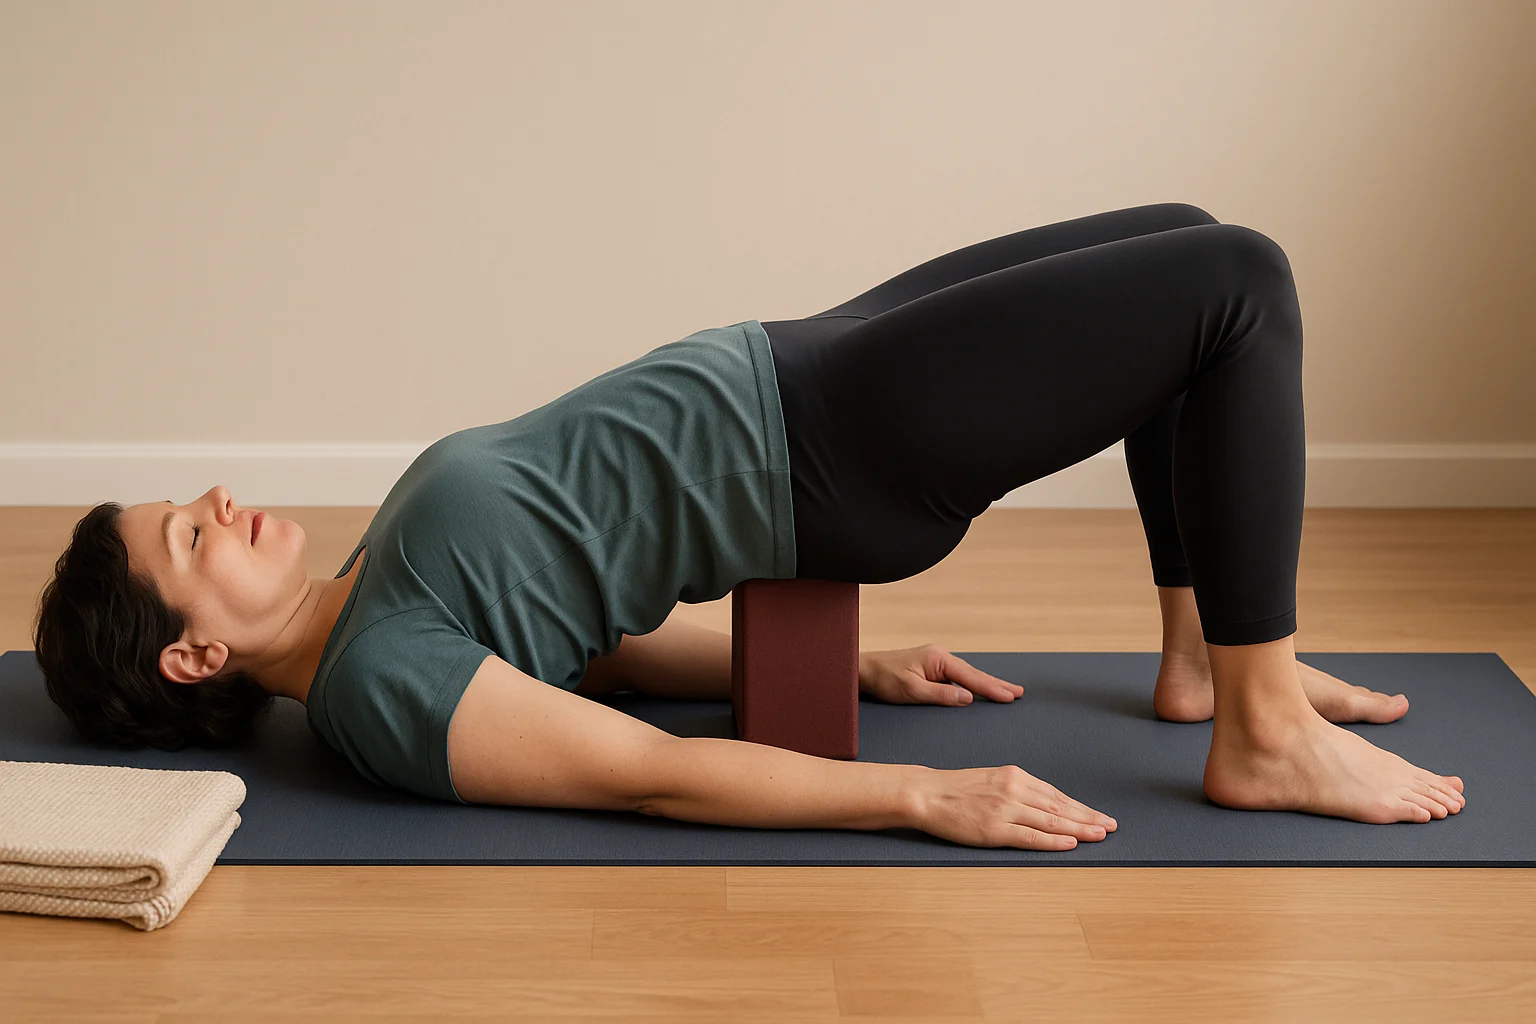
Supported Bridge Pose (Setu Bandhasana)
A mild supported backbend that opens the front of the body without asking for a deep arch.
- How to do it: Lie on your back, knees bent, feet hip-width. Lift hips slightly, slide a block or pillow under the sacrum, and rest hips on it. Arms by sides or in a T-shape.
- Hold time: 3–5 minutes.
- Props needed: Yoga block or firm pillow.
- Benefits: Provides a mild supported backbend and gently opens the chest and front of the body.
- Tips: Ensure support rests under the sacrum, not the lower spine.
Reclined Spinal Twist (Supta Matsyendrasana)
A gentle rotational shape for the back and hips that can be kept small with a pillow under the knees.
- How to do it: Lie on your back, hug knees to chest. Extend right arm, let knees fall left, resting on a pillow if needed. Look right or keep head neutral. Switch sides after a few minutes.
- Hold time: 2–3 minutes per side.
- Props needed: Pillow or blanket under knees.
- Benefits: Gently rotates the spine and stretches the back and hips without requiring a deep twist.
- Tips: Keep shoulders grounded; avoid forcing knees down.
Constructive Rest Pose
A simple, low-effort resting position with the knees bent and feet grounded.
- How to do it: Lie on your back, knees bent, feet flat, hip-width apart. Let knees rest against each other. Hands on belly or by sides.
- Hold time: 5–15 minutes.
- Props needed: Optional pillow under head.
- Benefits: Offers a low-effort resting position that may feel comfortable for the lower back and hips.
- Tips: Allow your back to settle into the floor.
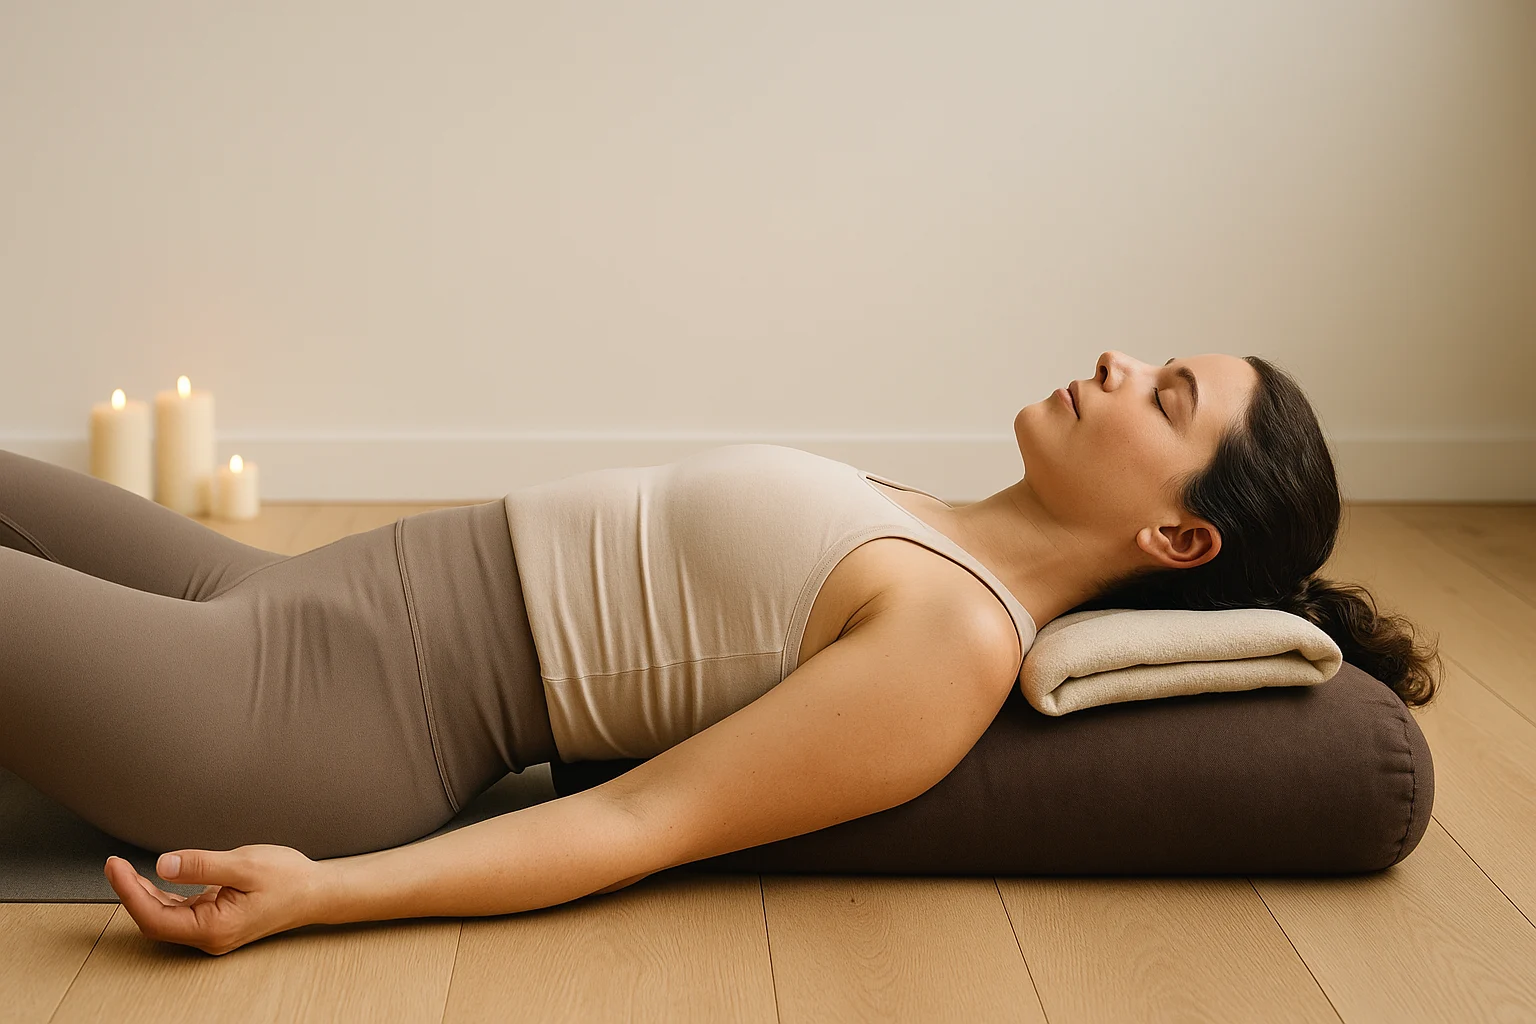
Supported Savasana (Corpse Pose)
A classic supported resting position that can be adjusted with a bolster and blankets.
- How to do it: Lie on your back, place a bolster under knees and a blanket under head. Cover with a blanket if chilly. Let arms rest, palms up, feet fall open. Close eyes, focus on breath.
- Hold time: 10–20 minutes.
- Props needed: Bolster or blanket under knees; blanket under head.
- Benefits: Creates a supported resting position that may help you settle and relax.
- Tips: Stay still to allow deeper relaxation.
Parsva Balasana (Thread the Needle)
A gentle twist for the upper back and shoulders.
- How to do it: From tabletop, slide right arm under left armpit, palm up, resting shoulder and head on the mat. Left hand stays in front or walks forward. Switch sides after a few minutes.
- Hold time: 1–2 minutes per side.
- Props needed: Blanket under head or shoulder if needed.
- Benefits: Stretches the upper back and shoulders and may feel relieving when neck and shoulder tension is mild.
- Tips: Let the shoulder soften without forcing it down.
Gentle Sphinx Pose (Salamba Bhujangasana)
A mild backbend that gently engages the back and opens the chest.
- How to do it: Lie on your belly, elbows under shoulders, forearms flat. Press into forearms and lift the chest, keeping the neck long. Relax glutes.
- Hold time: 2–5 minutes.
- Props needed: Optional pillow under hips.
- Benefits: Gently engages the back muscles and opens the chest while keeping the backbend relatively small.
- Tips: Move elbows forward if the lower back feels pinched.
Restorative Fish Pose (Matsyasana — supported)
A supported chest-opening shape that can feel useful after long periods spent hunched forward.
- How to do it: Sit with a bolster behind you, a few inches from the lower back. Lie back with the bolster supporting the upper back. Head rests on the floor or a blanket. Extend legs or keep feet flat. Arms by sides, palms up.
- Hold time: 3–5 minutes.
- Props needed: Bolster or pillow; optional blanket for head.
- Benefits: Opens the chest and front of the shoulders and can feel expansive after long periods of hunching.
- Tips: Adjust bolster height to stay comfortable.
If stiff mornings are when you want a ready-made practice instead of choosing among poses, the chair-yoga routine below gives you a separate 10-minute sequence to use on another day.
A Gentle Seated Routine for Rest Days
Confirm to get the routine and yoga tips. Unsubscribe anytime.
Something went wrong. Please check your email address and try again.
What Recovery Yoga May Help With
The strongest case for a gentle recovery practice is not that it “heals” an injury. It is that slowing down, using support, and staying within a comfortable range may make rest and gentle movement easier.
- Reducing Perceived Stress: Yoga programs can reduce perceived stress in some groups, although results vary by program and population. Learn more about managing stress with breathwork.
- Making Rest More Comfortable: Props can help you stay in a position without forcing range or holding yourself up unnecessarily.
- Easing General Tightness: Gentle positions may help some people feel less stiff or tense when the pose itself stays comfortable.
- Supporting Mental Well-being: Research suggests yoga may help with anxiety symptoms and emotional well-being in some groups, but that is not the same as treating an anxiety disorder.
- Supporting Sleep Quality: Yoga may improve sleep quality for some people, but this routine should not be presented as a treatment for insomnia.
The practical goal is not a deeper stretch. It is a position comfortable enough that you can relax without forcing it.
The research behind these broader benefits is about yoga programs, not this exact 10-pose sequence. A 2024 randomized trial in university students reported improvements in perceived stress, anxiety, and emotional well-being after a 12-week yoga program, and a systematic review summarizes stress-related biosignals studied in relation to yoga.
Frequently Asked Questions About Recovery Yoga
There is no single safest pose for every body. Fully supported options such as Supported Savasana, Constructive Rest, or Legs-Up-the-Wall can be gentler starting points when they feel comfortable. Move out of anything that increases pain, and use individualized guidance if an injury is involved.
There is no required schedule. Start with one or two comfortable poses and stop while the session still feels easy. If you are using yoga alongside injury recovery, follow your clinician or therapist’s guidance rather than a generic frequency.
To create a low-effort window for rest, easy breathing, and comfortable movement—not to force flexibility or treat an injury.
Research on yoga more broadly suggests possible benefits for perceived stress, emotional well-being, anxiety symptoms, and sleep quality in some groups. The studies linked above are not tests of this exact 10-pose routine.
On this page, “recovery yoga” is a practical label for a restorative-style practice aimed at rest after ordinary soreness, fatigue, or stress. It is not a medical rehabilitation protocol.
Often, yes. Start with fully supported postures, keep the range comfortable, and use props so you do not have to force a position. Stop if pain increases or feels sharp or unfamiliar.
Start With One Comfortable Pose
Pick one or two poses and make them comfortable—pillow under the knees, blanket under the head, easy breath in and out. You do not need to complete all 10. Stop or change the setup if a pose starts to feel more strained than restful.
On another day, use the selector again; if you want a simple home plan, explore our home-based routines. For today, one comfortable pose is enough.