When pain, tingling, or numbness travels down a leg, even deciding whether to stretch can feel like a gamble. If your symptoms are mild and stable, gentle yoga may be one way to keep moving—but no single pose treats every cause of sciatica.
If you searched for “yoga for lower back pain sciatica,” the useful question is not “Which stretch fixes sciatica?” but “Is self-guided movement appropriate today, and what starting position feels manageable?” This guide gives you a safety check, six gentle pose options, a 10–15 minute routine, and clear signs to get medical help. For broader pain-aware practice, see our yoga for pain relief guide.
Start with the Safety CheckTable of Contents
- Understanding Sciatica and Why Symptoms Vary
- What Yoga Can—and Can’t—Do for Sciatica
- What to Avoid—and How to Start Gently
- Choose a Gentle Starting Point for Sciatica
- Six Gentle Yoga Poses to Explore With Sciatica
- A 10–15 Minute Gentle Sample Routine
- When to Get Medical Help for Sciatica
- Yoga and Sciatica FAQs
- Start With What Feels Most Manageable
Understanding Sciatica and Why Symptoms Vary
Before exploring yoga for sciatica and lower-back discomfort, it helps to separate sciatica from ordinary back pain. NHS guidance on sciatica describes it as irritation or compression of the sciatic nerve. Symptoms usually affect the buttock and the back of one leg and can include sharp or burning pain, tingling, numbness, or weakness. Back pain can occur too, but leg symptoms are often more prominent.
Common Causes of Sciatica
- Herniated (slipped) disc: Disc material can press or rub on a nerve; the NHS lists this as the most common cause.
- Spinal stenosis: Narrowing in the spine can reduce the space where nerves pass.
- Spondylolisthesis: One spinal bone can slip out of position and irritate nearby nerves.
- Back injury: An injury can also irritate or compress the sciatic nerve.
The cause matters because the same movement will not feel appropriate for everyone. Gentle activity can be part of sciatica self-management, but a yoga pose cannot diagnose the cause or guarantee relief.
What Yoga Can—and Can’t—Do for Sciatica
Yoga is better studied for low-back pain than for sciatica specifically. The National Center for Complementary and Integrative Health summarizes current evidence as showing a slight benefit for low-back pain, with small improvements in pain or function in some studies. That does not prove that a particular pose treats sciatic-nerve irritation. For this guide, the practical goal is gentler movement within a comfortable range, not forcing a stretch or chasing a specific sensation. Breath-focused practice may also help you slow down and notice how a movement feels; see our yoga and breathwork for stress relief guide for that separate goal.
Current guidance for sciatica emphasizes staying active when you can and choosing exercise that fits your needs and capabilities. Yoga can be one way to do that if the positions feel manageable, but it is not uniquely required and it should not be used to push through worsening symptoms.
What to Avoid—and How to Start Gently
Instead of relying on a universal banned-pose list, use these guardrails to decide when to pause, how far to move, and when to add support.
- Don’t use the routine as a test: If symptoms are new, severe, rapidly worsening, or come with the warning signs in the tool below, get medical guidance before using the routine.
- Don’t chase a stronger stretch: Stop or reduce the movement if pain, tingling, numbness, or weakness clearly increases.
- Keep the first session short: Use a smaller range before adding longer holds or more poses.
- Use support: Blocks, straps, blankets, or a chair can reduce the effort needed to reach a position.
- Keep breathing easy: If you are bracing or holding your breath to stay in a pose, back out to an easier version.
- Get individualized help when needed: A clinician can assess changing neurological symptoms; a qualified yoga instructor can help adapt the practice once you know movement is appropriate for you.
Choose a Gentle Starting Point for Sciatica
This tool doesn’t diagnose sciatica or choose a medically “best” pose. It helps you decide whether a gentle self-guided starting point makes sense today.
Step 1 of 3
Step 2 of 3
Step 3 of 3
Start with the safety check above. If anything feels unclear or symptoms are changing quickly, skip self-guided pose matching and get medical advice.
Use the result as a starting point, not a diagnosis. The pose instructions below include modifications and stop conditions so you can keep the range gentle.
Six Gentle Yoga Poses to Explore With Sciatica
These poses are options to explore, not a ranked list of what is medically safest or most effective. Start with the position suggested by the tool, keep the range small, and skip any movement that clearly worsens your symptoms. If hip discomfort is a separate part of the picture, our yoga for lower back and hip pain guide offers additional gentle variations.
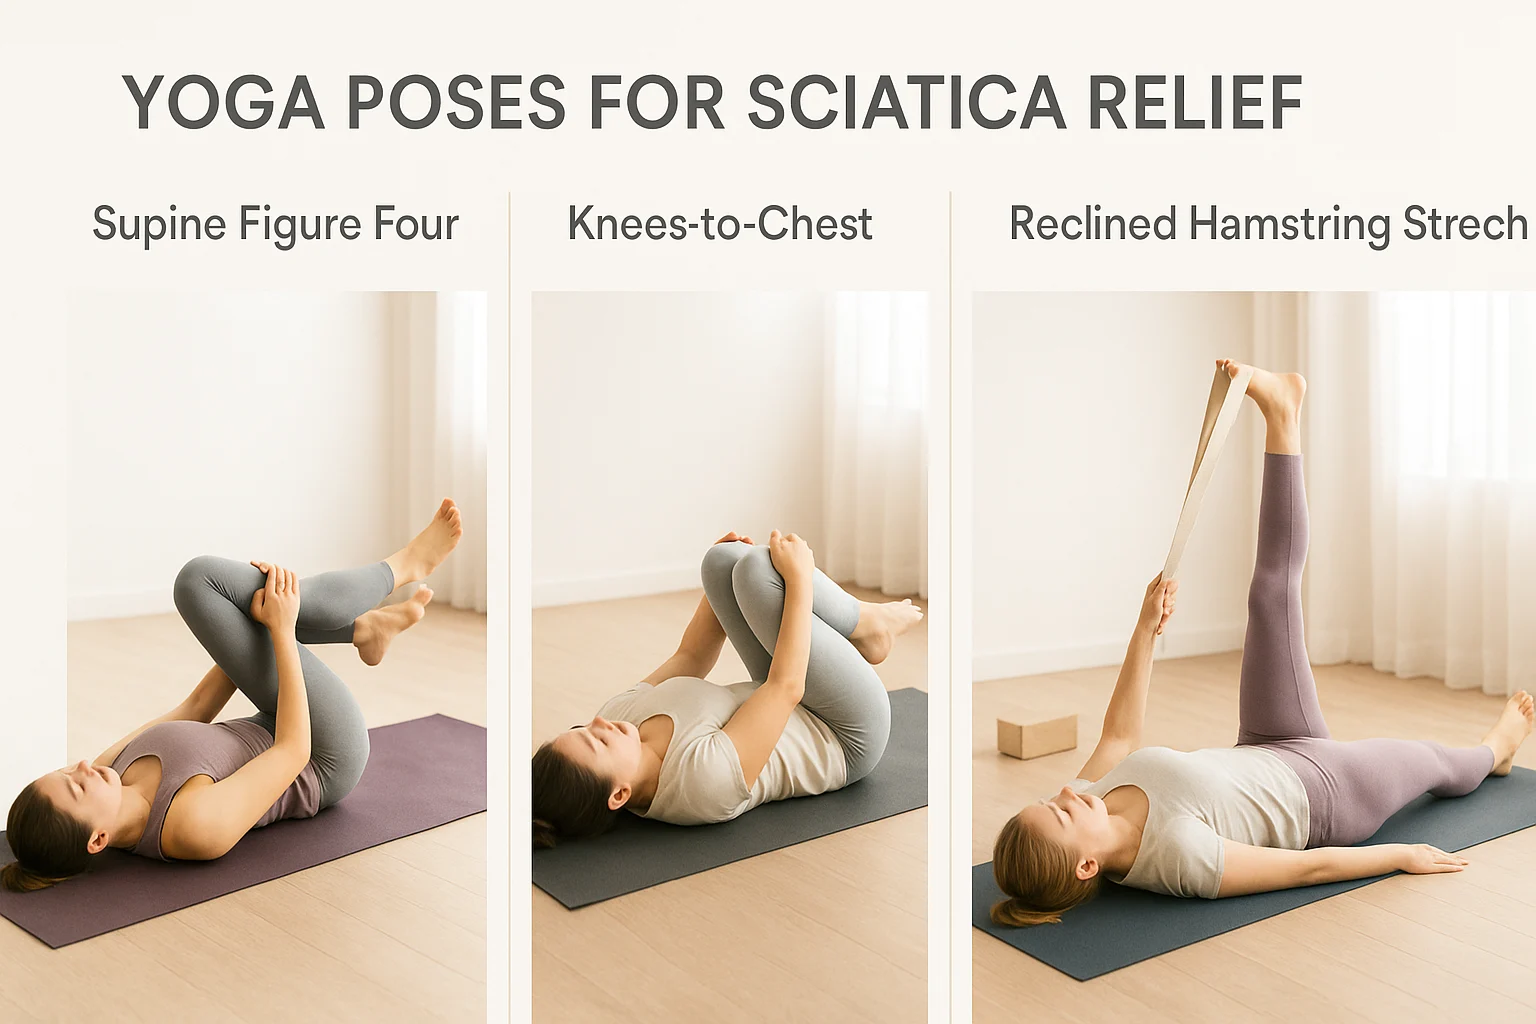
1. Supine Figure Four Stretch (Sucirandhrasana)
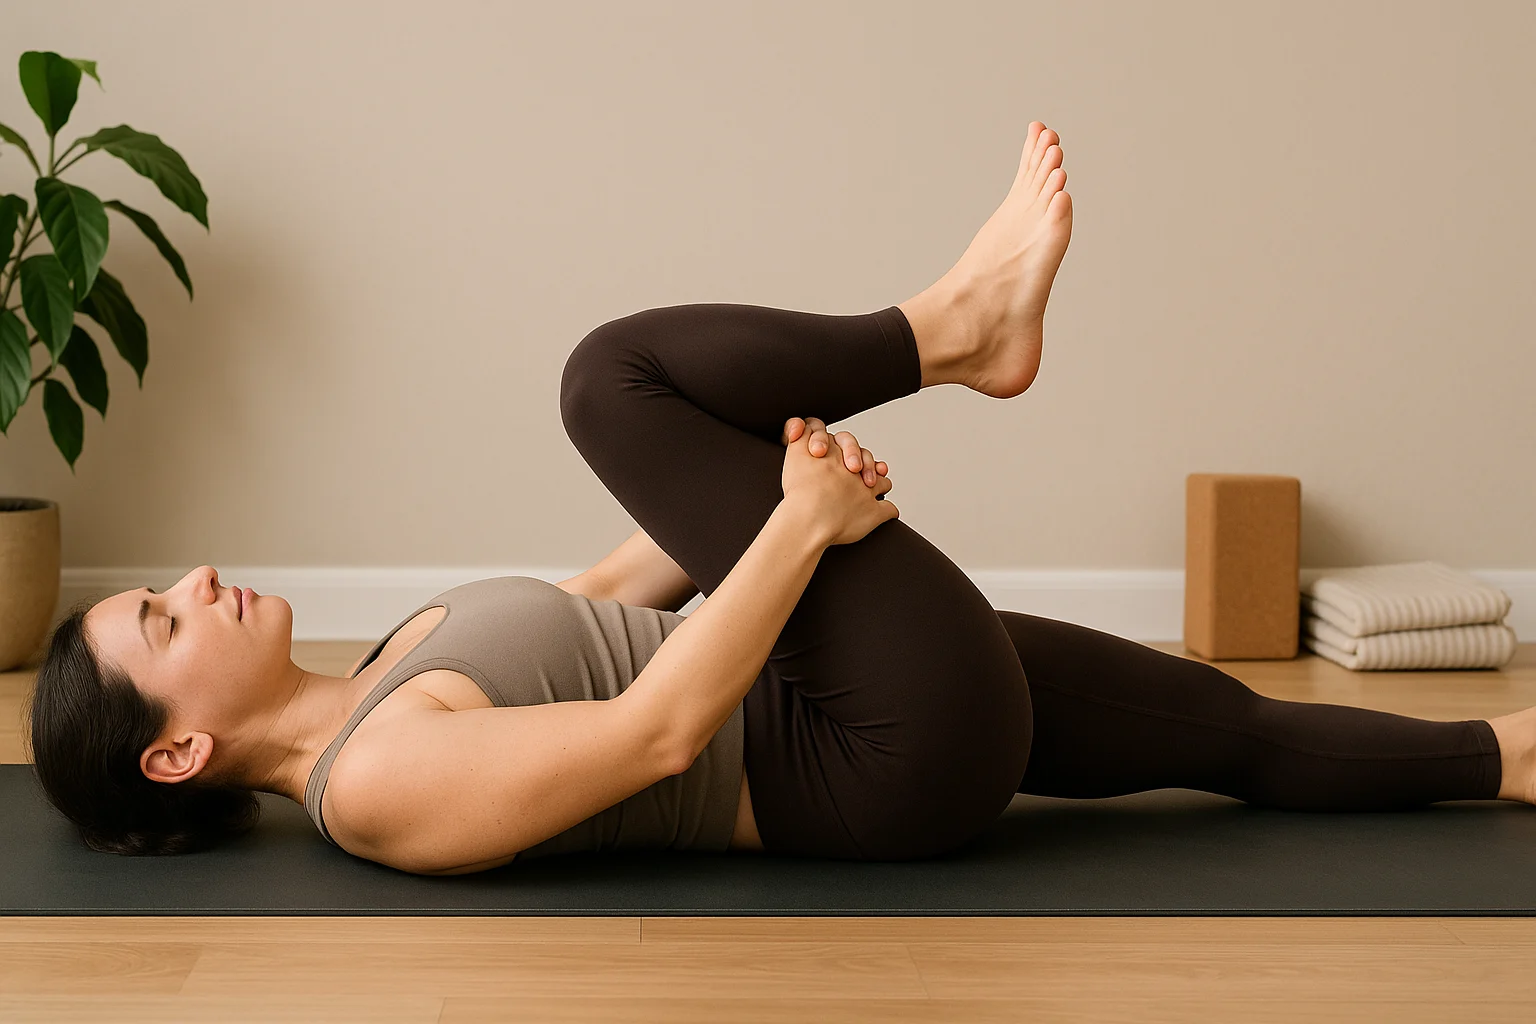
Why You Might Try It
This position creates a stretch through the outer hip and glute area. Keep it mild; a stronger stretch is not automatically more useful for sciatic symptoms.
How to Do It
- Lie back with your knees bent and feet flat on the floor, spaced hip-width apart.
- Place your right ankle across your left thigh, knee pointing outward.
- Lift your left foot, threading your right hand between your legs to clasp behind your left thigh.
- Draw your left thigh toward your chest, keeping your right foot flexed.
- Hold for 30–60 seconds, breathing comfortably.
- Switch sides.
Modifications
- Use a yoga strap around your left thigh if reaching is hard.
- Keep your left foot on the floor for a milder stretch.
Precautions
Avoid if you feel knee pain. Don’t force the stretch.
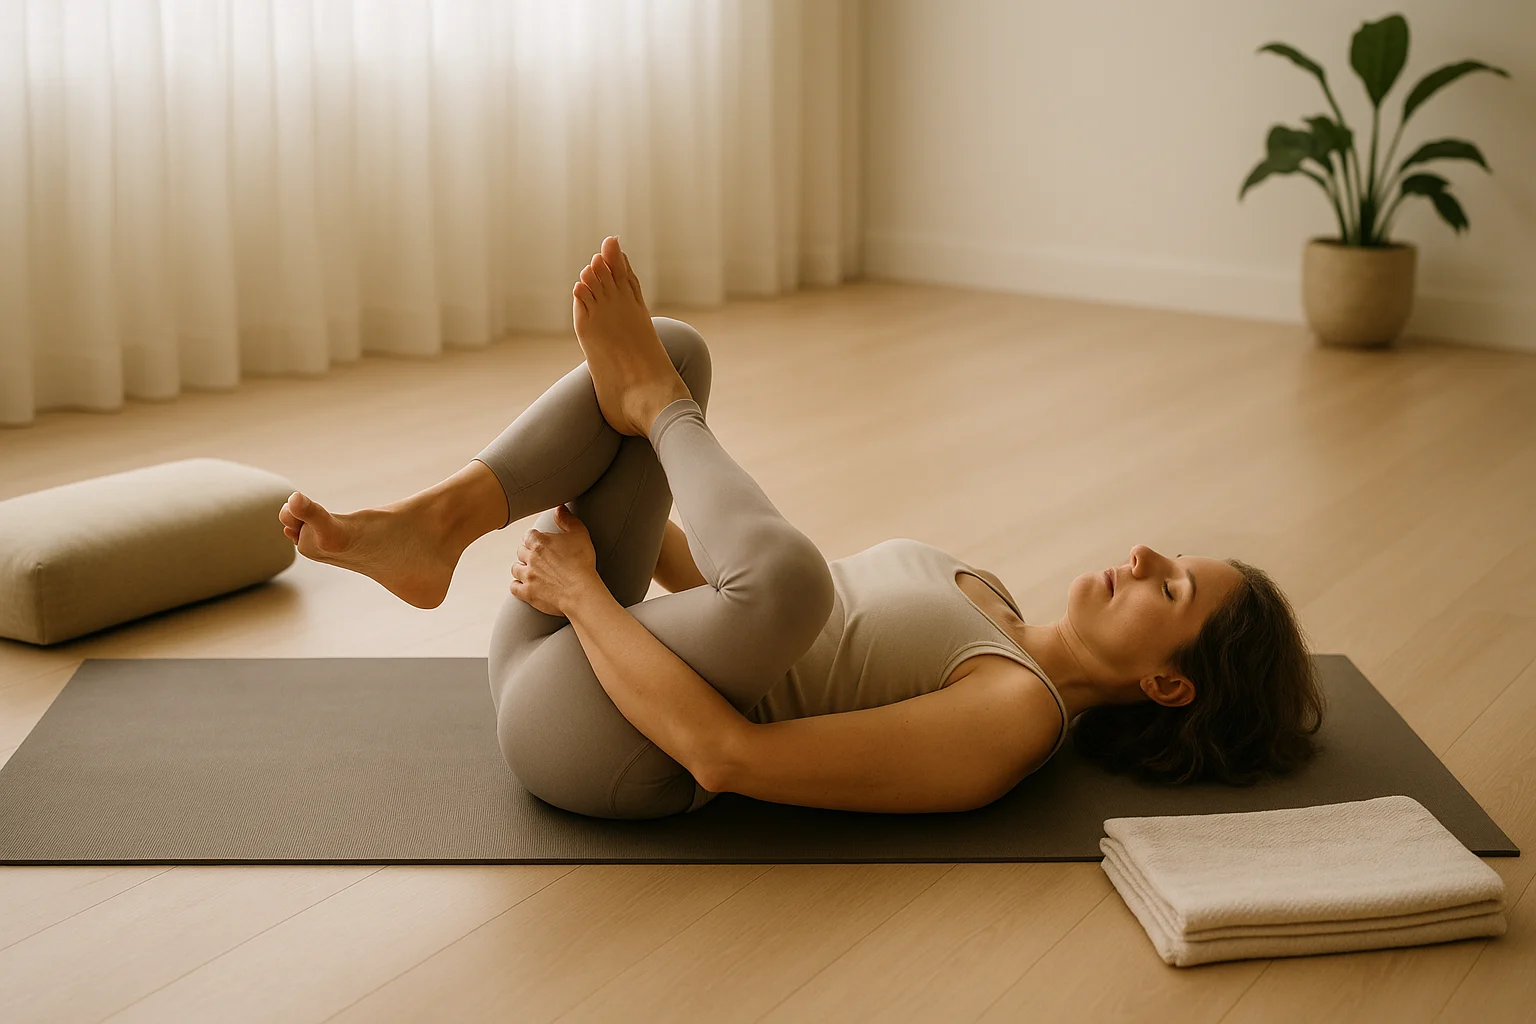
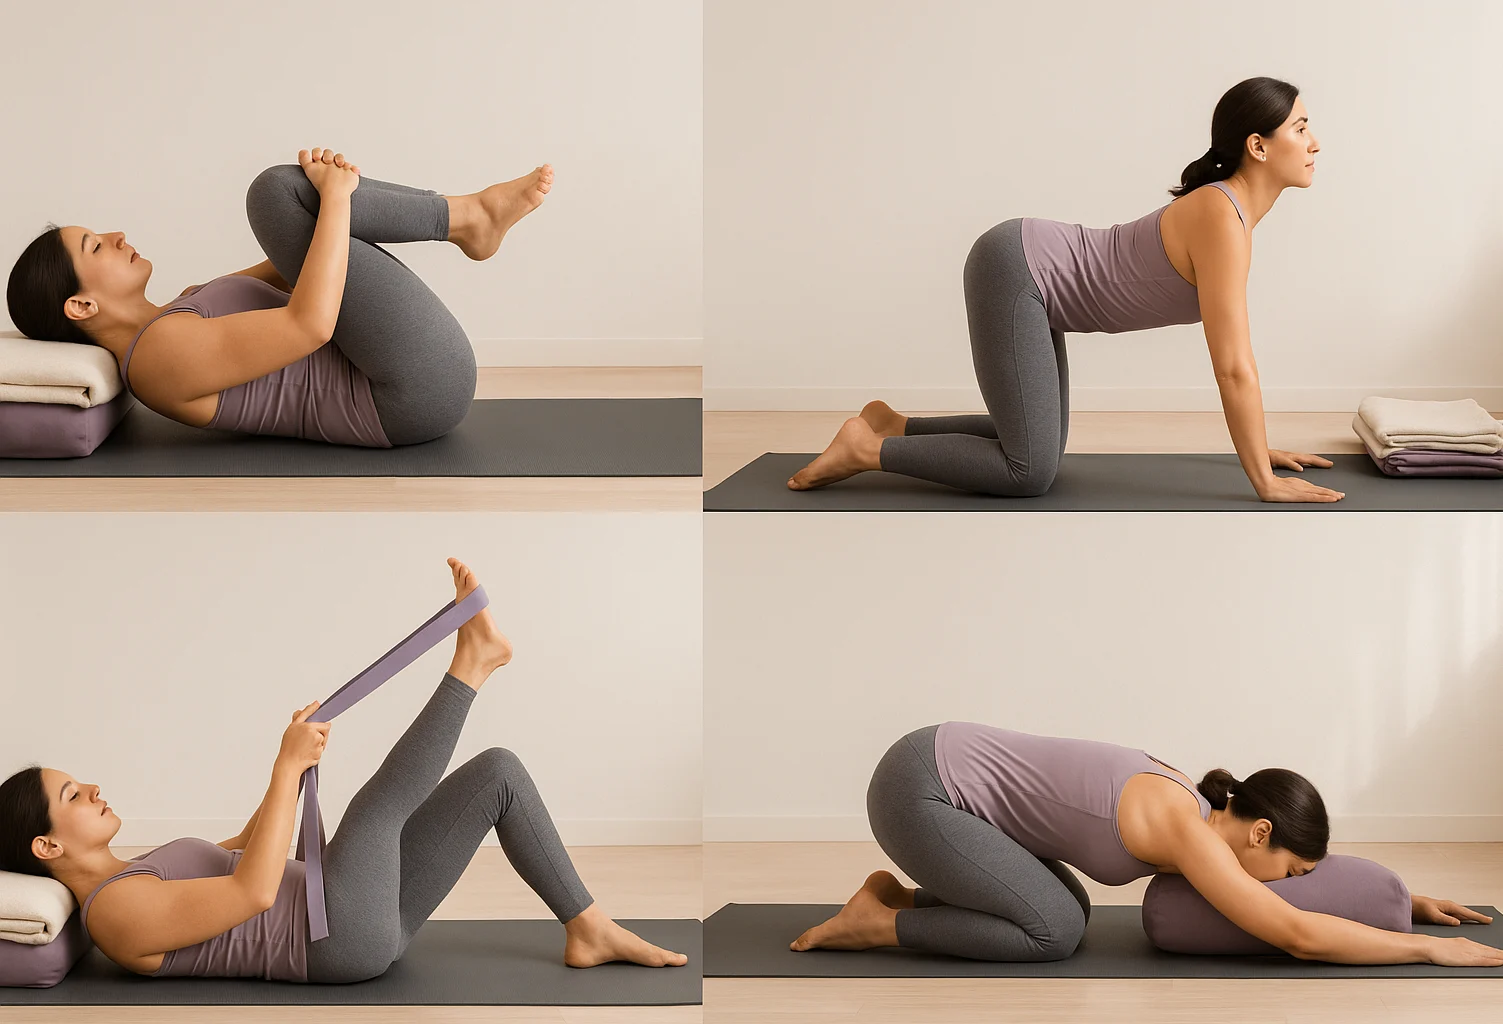
2. Knees-to-Chest Pose (Apanasana)
Why You Might Try It
This back-lying position brings the hip into a comfortable bend and may feel like a gentle way to explore lower-back and hip movement.
How to Do It
- Lie on your back, legs extended.
- Exhale, drawing both knees toward your chest.
- Wrap your arms around your shins or thighs.
- Hug your knees close, gently rocking side to side if it feels good.
- Hold for 30–60 seconds, breathing comfortably.
- Release your feet to the floor.
Modifications
- Draw one knee at a time if both are too intense.
- Use a strap around your shins for ease.
Precautions
Be mindful of knee or hip discomfort.
3. Gentle Supine Spinal Twist (Supta Matsyendrasana Variation)
Why You Might Try It
This position adds a small amount of rotation through the trunk. Some people find that relaxing; keep the range shallow and supported.
How to Do It
- Rest on your back with knees bent and feet flat on the ground.
- Stretch your arms out to the sides, palms facing up or down.
- Exhale, allowing both knees to drop to the right, keeping them bent.
- Turn your head left or keep it neutral, keeping shoulders grounded.
- Hold for 30–60 seconds, breathing comfortably.
- Return to center and repeat on the left.
Modifications
- Place a pillow between your knees for support.
- Use a block under your knees if they don’t reach the floor.
Precautions
Avoid deep twists. Ease out if you feel sharp spinal pain.
4. Cat-Cow Pose (Marjaryasana-Bitilasana)
Why You Might Try It
Cat-Cow alternates gentle spinal rounding and arching, making it a simple way to explore a small, controlled range of motion.
How to Do It
- Start in tabletop position, wrists under shoulders, knees under hips.
- Cow Pose (Inhale): Drop your belly, lift your tailbone and chest, and look forward.
- Cat Pose (Exhale): Round your spine, tuck your tailbone, and relax your head down.
- Flow between Cat and Cow for 5–10 rounds, syncing with breath.
Modifications
- Use a blanket under your knees for cushioning.
- Place hands on fists or forearms if wrists are sensitive.
Precautions
Move gently and avoid forcing the arch or round.
5. Child’s Pose (Balasana)
Why You Might Try It
This supported resting position may feel comfortable through the back and hips for some people. It is optional, especially if kneeling is uncomfortable.
How to Do It
- Start on hands and knees.
- Bring your big toes together, spreading your knees wide or closer if preferred.
- Sit your hips back toward your heels.
- Extend your arms forward, resting your forehead on the floor.
- Stay for 1–3 minutes if the position remains comfortable, keeping your breathing easy.
Modifications
- Place a block or blanket under your forehead if it doesn’t reach the floor.
- Use a rolled blanket between hips and heels for support.
Precautions
Avoid if it causes knee pain.
6. Reclined Hamstring Stretch (Supta Padangusthasana Variation)
Why You Might Try It
This back-lying variation lets you explore a hamstring stretch without folding forward. Keep the knee bent enough that the stretch stays mild and does not increase leg symptoms.
How to Do It
- Lie on your back, legs extended.
- Bend your right knee, placing a strap around the arch of your right foot.
- Lift your right leg gently toward the ceiling, maintaining a slight bend if needed.
- Keep your left leg extended or bend it with the foot flat if your back feels strained.
- Pull the strap gently to feel a stretch in your thigh, keeping hips grounded.
- Hold for 30–60 seconds, then switch sides.
Modifications
- Keep a generous knee bend for comfort.
- Hold behind your thigh if you lack a strap, avoiding neck strain.
Precautions
Don’t overstretch or bounce. Stop if you feel sharp pain.
A 10–15 Minute Gentle Sample Routine
You do not need to perform all six poses. Use your tool result as the starting point, choose only movements that stay comfortable, and skip any step that clearly worsens symptoms. This sequence takes about 10–15 minutes and works with the same simple setup used in our no-equipment yoga at home guide.
- Centering (1–2 minutes): Settle into the most comfortable starting position you identified above and let your breathing become easy.
- Gentle mobility (1–2 minutes): Use small-range Cat-Cow if hands-and-knees feels good, or stay in a supported back-lying position instead.
- Knees-to-Chest (1–2 minutes): Try one leg at a time before both legs, and stop if the movement increases leg symptoms.
- Supine Figure Four (about 2 minutes total): Hold each side for up to 1 minute with a mild stretch only.
- Reclined Hamstring Stretch (about 2 minutes total): Use a strap or hold behind the thigh, keeping the knee comfortably bent.
- Choose one quiet finish (1–2 minutes): Try either the supported supine twist or Child’s Pose—whichever feels easier, not both by default.
- Rest (2–3 minutes): Finish in a position that lets your body relax without increasing symptoms.
When to Get Medical Help for Sciatica
Yoga is not a substitute for medical assessment. Current NHS sciatica guidance advises emergency care for symptoms that can signal a serious back problem. Seek emergency medical care now if you have:
- Sciatica on both sides.
- Severe or worsening weakness or numbness in both legs.
- Numbness around or under the genitals, or around the anus.
- New difficulty starting urination, inability to urinate, or loss of bladder control.
- New loss of awareness or control of bowel movements.
Arrange a clinical assessment if symptoms are getting worse, have not improved after a few weeks of self-care, or are stopping you from doing your normal activities. After a significant injury, seek medical advice rather than using this routine as a test.
Yoga and Sciatica FAQs
These answers focus on the practical questions that come up when deciding whether to try a gentle practice.
Start With What Feels Most Manageable
If you want to try yoga with sciatica, a sensible first step is the position you can enter, breathe in, and leave without clearly worsening symptoms—not the deepest stretch you can tolerate. Use the safety check above, keep the first routine short, and let your symptoms—not a target stretch—determine whether you continue. For broader pain-aware practice ideas, return to our yoga for pain relief guide.
If stiff mornings are also part of your routine, the free chair-yoga PDF below gives you a separate 10-minute practice to keep on hand.
Get the 10-Minute Chair Yoga Routine for Stiff Mornings
Confirm your email to get the routine. Occasional emails, unsubscribe anytime.
Something went wrong. Please check your email address and try again.