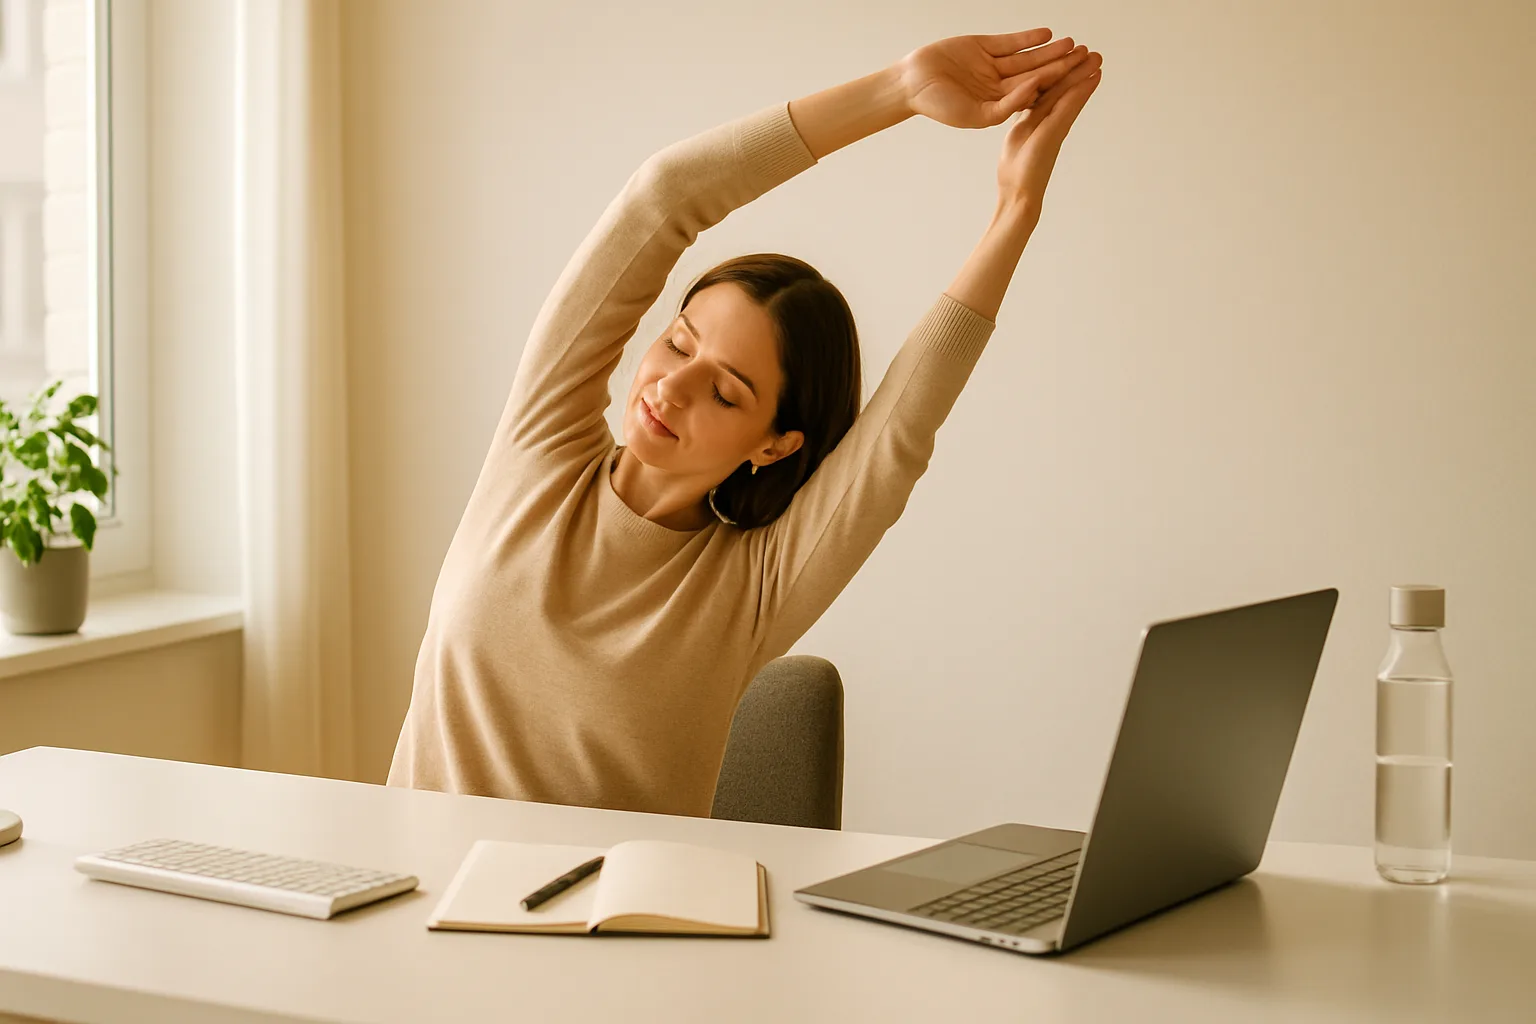
Desk stiffness usually doesn’t need a full practice. If your neck, shoulders, back, hips, or hands feel locked into one position, this 5-minute quick desk yoga posture routine gives you a gentle way to move without leaving your chair.
No mat, workout clothes, or floor poses. This five-minute desk yoga sequence is paced to fit a five-minute break, including quick transitions between movements. If one area feels especially tight, the comfort check can point you to a gentler place to begin. The goal isn’t to “fix” your posture—it’s to change position, move comfortably, and return to work feeling less stuck.
Table of Contents
- Safety Tips Before You Start
- Desk Comfort Check: Where to Start
- Your 5-Minute Office Chair Yoga Routine
- Keep Moving Between Breaks
- Get the 10-Minute Chair Yoga Routine
- Ergonomic Tweaks That Help All Day
- Common Questions About Desk Yoga at Work
- The Goal: More Positions, Not Perfect Posture
Safety Tips Before You Start
Desk yoga is gentle, but it still needs to feel comfortable. Use these checks before you start:
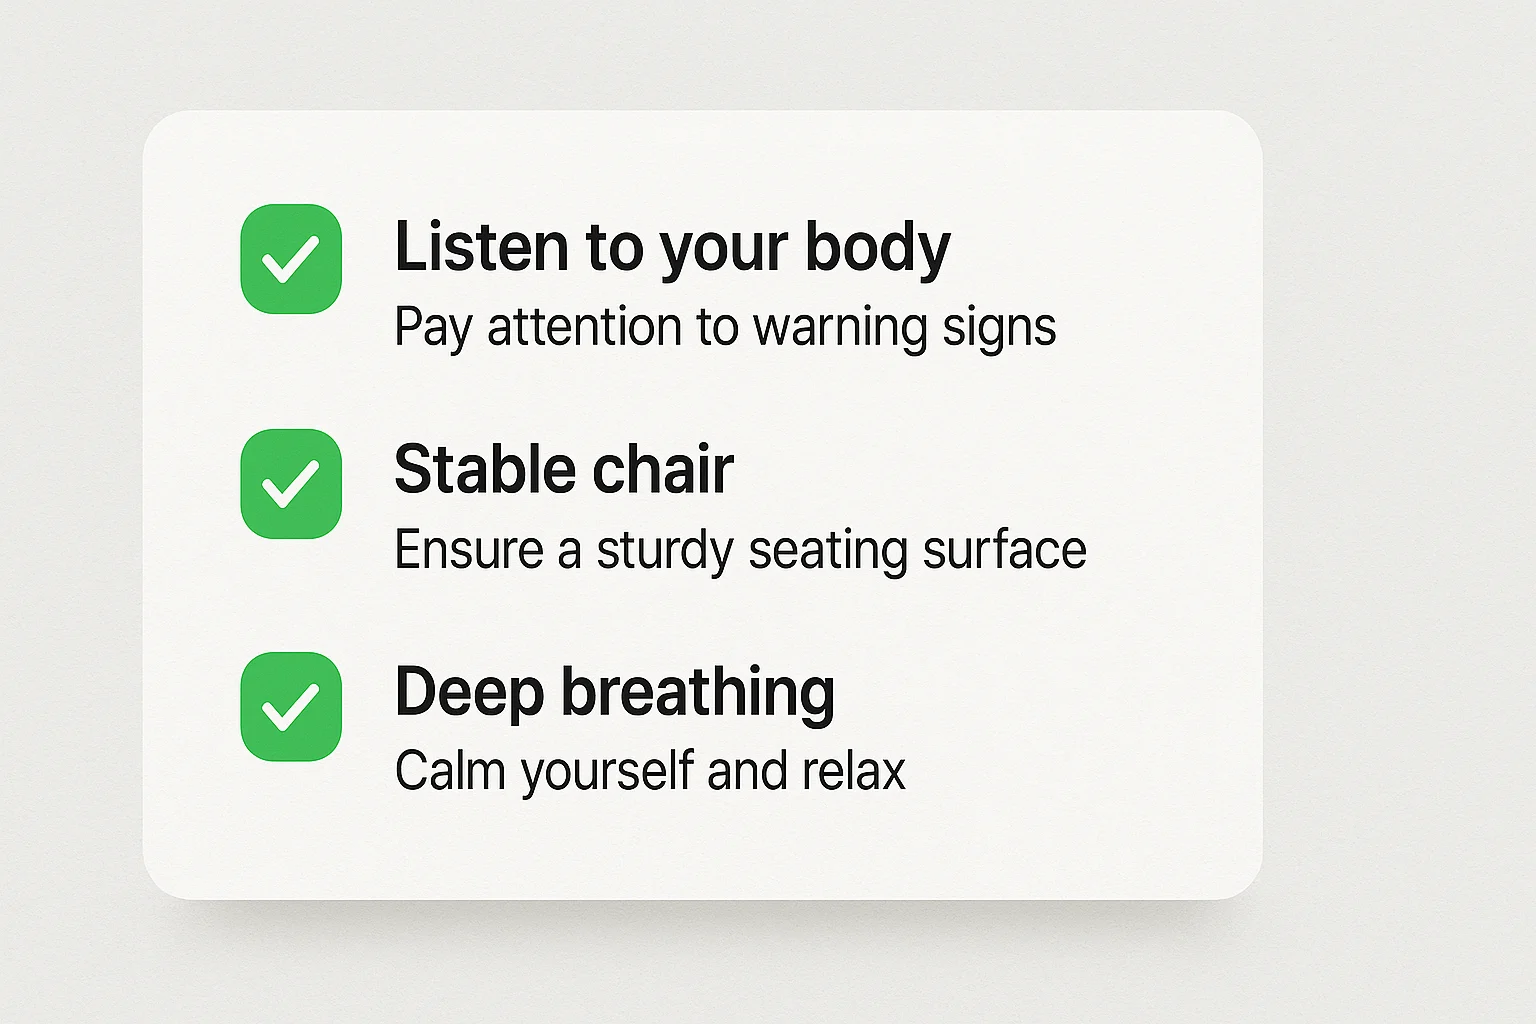
- Tune in: Ease into every move. A gentle stretch or easy range of motion is fine; a jab, pinch, or worsening pain is a reason to stop.
- Breathe comfortably: Don’t hold your breath or force a breathing pattern that feels awkward.
- Pick a steady chair: Avoid a chair that rolls or wobbles unless you can lock it securely. Keep your feet supported.
- Start tall, then move: Find a comfortable supported seat before you twist, reach, or fold.
- Move smoothly: Stay controlled rather than bouncing into a deeper range.
- Know when to pause: If pain is severe, persistent, follows an injury, or comes with numbness, tingling, or weakness, skip the routine and get medical advice before continuing.
Desk Comfort Check: Where to Start
Check how your neck, shoulders, back, hips, and hands feel right now. This doesn’t diagnose posture or injury—it simply points you toward a gentler starting place in the routine.
Check each area to get a starting point.
Choose an option for all five areas. If anything feels painful or concerning, the safer next step appears right away.
Your 5-Minute Office Chair Yoga Routine
For a five-minute reset, follow the times below in order. The movement cues total about four and a half minutes, leaving roughly 30 seconds to switch sides and move between shapes. If the comfort check points you to one area, use that section on its own instead. Keep the range comfortable, and stop if a movement causes pain.
Neck Half-Rolls — 20 Seconds
If your head has been drifting toward the screen, use this as a gentle side-and-forward neck movement.
- How:
- Sit tall, feet flat, shoulders easy.
- Tip right ear toward right shoulder; feel the left side lengthen.
- Roll chin toward chest, then lift left ear toward left shoulder. Continue in slow half-circles for about 20 seconds.
- If your neck is sensitive, skip rolling the head back.
- Focus: Gentle neck movement and an easy stretch through the side of the neck and upper shoulder.
- Tip: Imagine drawing a slow rainbow with your nose.
Shoulder Shrugs & Rolls — 30 Seconds
Move the shoulders and shoulder blades through a few easy directions after typing.
- How:
- Let your arms hang. Lift both shoulders toward your ears, then let them drop. Repeat 2–3 times.
- Roll forward: up → forward → down for 2–3 slow circles.
- Roll back: up → back → down for 2–3 slow circles. Keep the whole set to about 30 seconds.
- Focus: Shoulder-blade movement and an easy release through the upper shoulders.
- Tip: For the backward rolls, imagine pinching a pencil between your shoulder blades.
Seated Cat–Cow — 30 Seconds
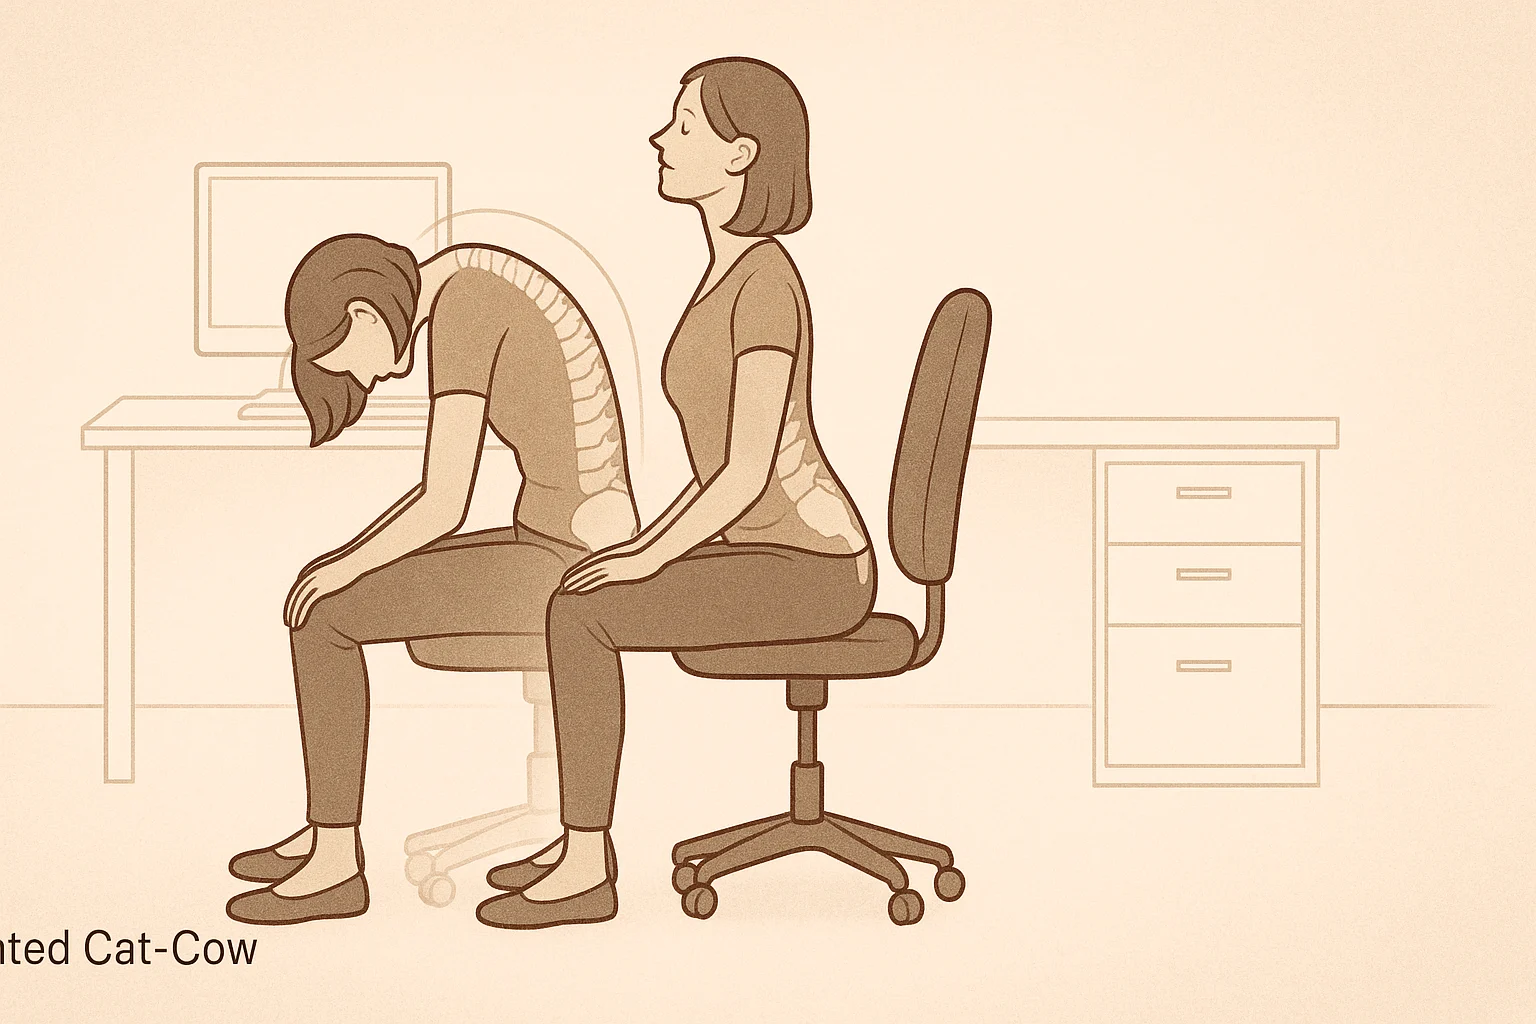
Alternate between a gentle arch and round to move the spine without leaving the chair.
- How:
- Sit near the edge of your chair, hands on knees.
- Cow (inhale): Arch gently, chest forward, chin slightly up, shoulder blades draw together.
- Cat (exhale): Round the spine, tuck chin, belly gently pulls in.
- Flow between them for about 30 seconds—roughly three slow rounds if that pace feels comfortable.
- Focus: Gentle spinal flexion and extension with the breath.
- Tip: Think “proud chest” for Cow and “angry cat” for Cat.
Seated Spinal Twist — 30 Seconds
Add a little mid-back rotation after facing forward for a while.
- How:
- Sit tall. Right hand to left knee; left hand to chair back.
- Inhale to lengthen the spine.
- Exhale, turn gently to the left from your ribs. Peek over the shoulder if comfy.
- Stay about 15 seconds; unwind gently, then switch sides for the remaining 15 seconds.
- Focus: Gentle rotation through the mid-back while keeping the movement controlled.
- Tip: Hips stay level; the twist starts from your center, not your neck.
Wrist & Finger Stretches for Typing — 40 Seconds
Give your wrists and fingers a gentle change of position after repetitive hand use.
- How:
- Right arm long, palm forward, fingers up. With the left hand, gently draw fingers back for about 10 seconds.
- Point the right fingers down and gently ease the back of the hand toward you for about 10 seconds.
- Switch hands and repeat both positions for about 10 seconds each.
- Focus: Gentle wrist and finger movement after typing; this is not a treatment for carpal tunnel syndrome.
- Tip: Smaller range is fine if you feel tender—stay gentle.
Seated Figure-Four Stretch — 60 Seconds
A simple outer-hip stretch if sitting leaves your hips feeling tight.
- How:
- Sit tall. Rest right ankle across the left thigh to make a “4.” If that stresses the knee, keep both feet down and cross at the ankles instead.
- Keep the spine long. You should feel the stretch around the right outer hip/glute, not in the knee.
- To go deeper, hinge forward from the hips with a straight back.
- Stay about 30 seconds, then switch sides for the remaining 30 seconds.
- Focus: A controlled stretch through the glutes and outer hip.
- Tips: Too intense? Keep both feet down and cross at the ankles. Don’t press the raised knee downward.
- Variation: Rest your foot on a low stool instead of the knee.
Overhead Arm Stretch — 30 Seconds
Lengthen through the side body and shoulders after typing.
- How:
- Sit tall. Reach both arms up; interlace fingers or hold opposite wrists.
- Lean right for about 15 seconds, keeping the breath comfortable.
- Return to center, lean left for about 15 seconds, then release.
- Focus: A gentle side-body and shoulder stretch.
- Tip: Keep shoulders away from ears; reach up and over, not just sideways.
Chest Opener — 30 Seconds
Open the front of the chest without forcing the shoulders backward.
- How:
- Scoot forward if needed. Clasp hands behind you or hold the chair back.
- Inhale, lift the chest and draw shoulder blades together. Gently move the hands away from your back.
- Keep chin slightly tucked. Stay for about 30 seconds, breathing comfortably, then release.
- Focus: A controlled stretch across the chest and front of the shoulders.
- Tips: Can’t clasp? Use a strap/towel, or hold the chair sides and focus on opening the collarbones.
Keep Moving Between Breaks
Tiny habits keep tension from piling up. If sitting is most of your day, our seated yoga poses for beginners cover the same ground away from the desk, and the printable chair yoga poses are worth keeping to hand. A few easy ways to weave movement into your day:
- Micro-breaks: About once an hour, take a five-minute break from computer tasks—look away, stand, stretch, or walk.
- Walk and talk: If a call does not need a screen, use it as a chance to walk.
- Stand to think: Change position for brainstorming or reading.
- Use a repeatable cue: The end of a meeting or a drink refill can become your reminder to move.
- Set a reminder: A timer can help until the break becomes automatic.
Keep the five-minute desk reset for busy work moments; use the free printable below when you want a longer chair practice on a stiff morning.
A Seated Routine for Stiff Mornings
A chair-yoga sequence for stiff mornings, delivered after you confirm your email.
Confirm to get the routine and yoga tips. Unsubscribe anytime.
Something went wrong. Please check your email address and try again.
Ergonomic Tweaks That Help All Day
The routine changes how you move for a few minutes; your workstation changes what you return to. For the wider picture on practising around a specific condition or limitation, see our guide to yoga for specific health needs. OSHA’s Good Working Positions guide is a useful reference for a comfortable, adjustable setup.
- Chair: Support your back, keep your shoulders relaxed, and let your feet rest flat on the floor or on a footrest.
- Lumbar support: If the chair does not support your lower back, a rolled towel or removable back-support cushion can be a practical temporary option.
- Screen: Keep it directly in front of you, generally about 20–40 inches away, with the top of the screen at or slightly below eye level.
- Keyboard + mouse: Keep them close enough that your elbows stay near your body and your wrists can remain neutral.
- Mix positions: Change position regularly and stand or walk for a few minutes periodically.
- Footrest: Use one if your chair or desk height leaves your feet unsupported.
The best setup is not one rigid pose—it is a supported workstation that lets you change position comfortably.
Common Questions About Desk Yoga at Work
The Goal: More Positions, Not Perfect Posture
You do not need to monitor your posture all day. Use the timed five-minute sequence when you notice you have been in one position for a while, or use the comfort check to choose one area on a busy day. If the same area keeps bothering you, use the safety guidance and revisit your workstation setup instead of assuming a deeper stretch is the answer. Give your body another position, then get back to your day.