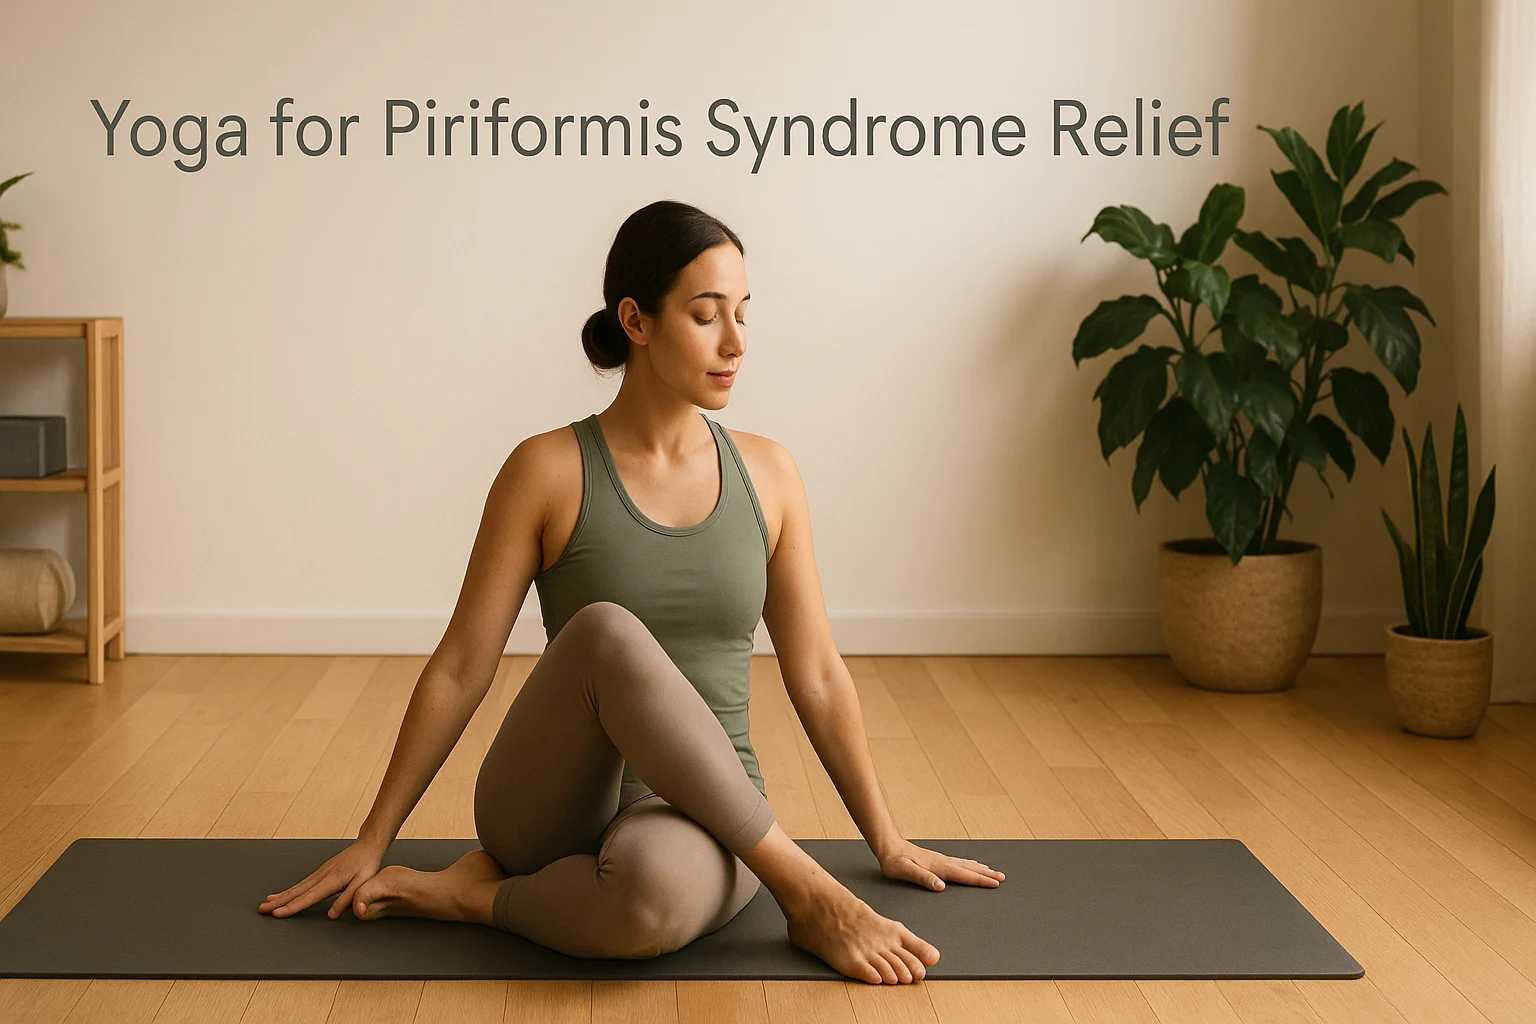
This yoga piriformis syndrome guide is built for a practical question: what can you try without assuming the pain source is already confirmed? Piriformis-type pain can feel like a deep ache in one buttock or a zinging sensation down the back of your leg, but that pattern can overlap with sciatica from the lower back. The guide gives you four scalable pose options, a quick position selector, and clear signs that it is better to stop and get evaluated.
Start with the position you can enter and exit most comfortably. For the broader picture, this post sits inside our guide to yoga for pain relief.
Table of Contents
- Piriformis Syndrome vs. Sciatica: Why the Difference Matters
- Before You Stretch: When Gentle Yoga May Fit
- Find a Starting Pose That Fits Your Setup
- Piriformis Yoga Poses: 4 Gentle Options to Explore
- How to Practice Without Aggravating Symptoms
- Frequently Asked Questions
- Start With the Easiest Position, Not the Deepest
Piriformis Syndrome vs. Sciatica: Why the Difference Matters
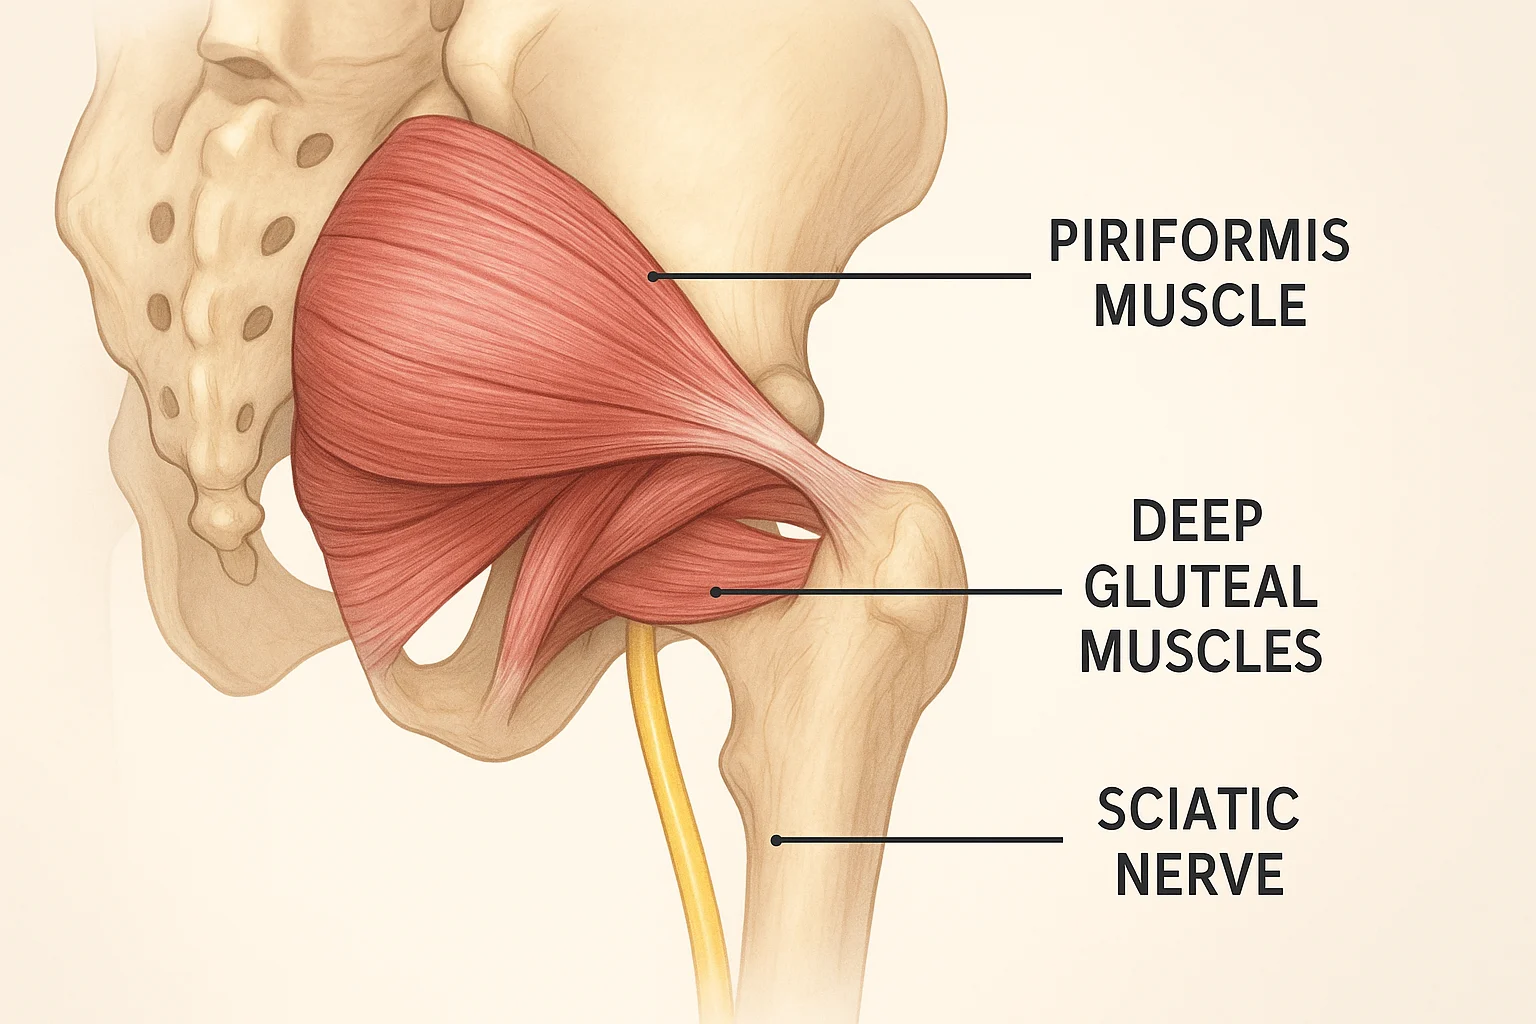
The piriformis is a small muscle deep in the buttock that helps move and stabilize the hip. Piriformis syndrome refers to irritation or compression of the sciatic nerve around this muscle, which can cause buttock pain and sometimes tingling or numbness down the leg. Those symptoms can overlap with sciatica from the lower back, and diagnosing piriformis syndrome often involves ruling out other causes rather than relying on pain location alone. For broader context, see this Mayo Clinic resource on sciatica.
For a separate guide focused on low-back and sciatica-type symptoms, see our yoga for sciatica relief article.
Before You Stretch: When Gentle Yoga May Fit
Conservative care for piriformis syndrome commonly includes stretching, range-of-motion work, strengthening, and physical therapy; the NCBI Bookshelf overview of piriformis syndrome gives that clinical context. Gentle yoga can be one way to explore comfortable hip movement, but it should not be used to diagnose the cause of radiating pain. For the slower, awareness-focused side of practice, see our post on benefits of mindful movement yoga.
Before You Practice
If the pain is new, severe, persistent, or comes with numbness or weakness, consider a healthcare evaluation instead of trying to confirm the diagnosis yourself. Seek medical care promptly for sudden severe pain, new weakness or numbness, bowel or bladder changes, or symptoms after a significant injury.
For the practice itself, use a comfortable range, ease off if symptoms increase, and use a strap, block, chair, or folded blanket when that makes a position easier to enter and exit.
Not sure where to begin? Choose the setup that feels easiest to get into and out of today, then use the selector below to jump to that option.
Find a Starting Pose That Fits Your Setup
Choose the position that feels easiest to access today. The selector points you to a matching option in this guide; it does not diagnose piriformis syndrome or determine what is causing your symptoms.
Piriformis Yoga Poses: 4 Gentle Options to Explore
If you are looking for gentle yoga stretches for the piriformis, these four options cover the most useful setup differences without turning the section into a long pose list. Start with the position you can enter and exit comfortably, and treat the intensity label as a reminder that deeper is not better. If a pose increases radiating pain, tingling, or numbness, back out and choose an easier setup.
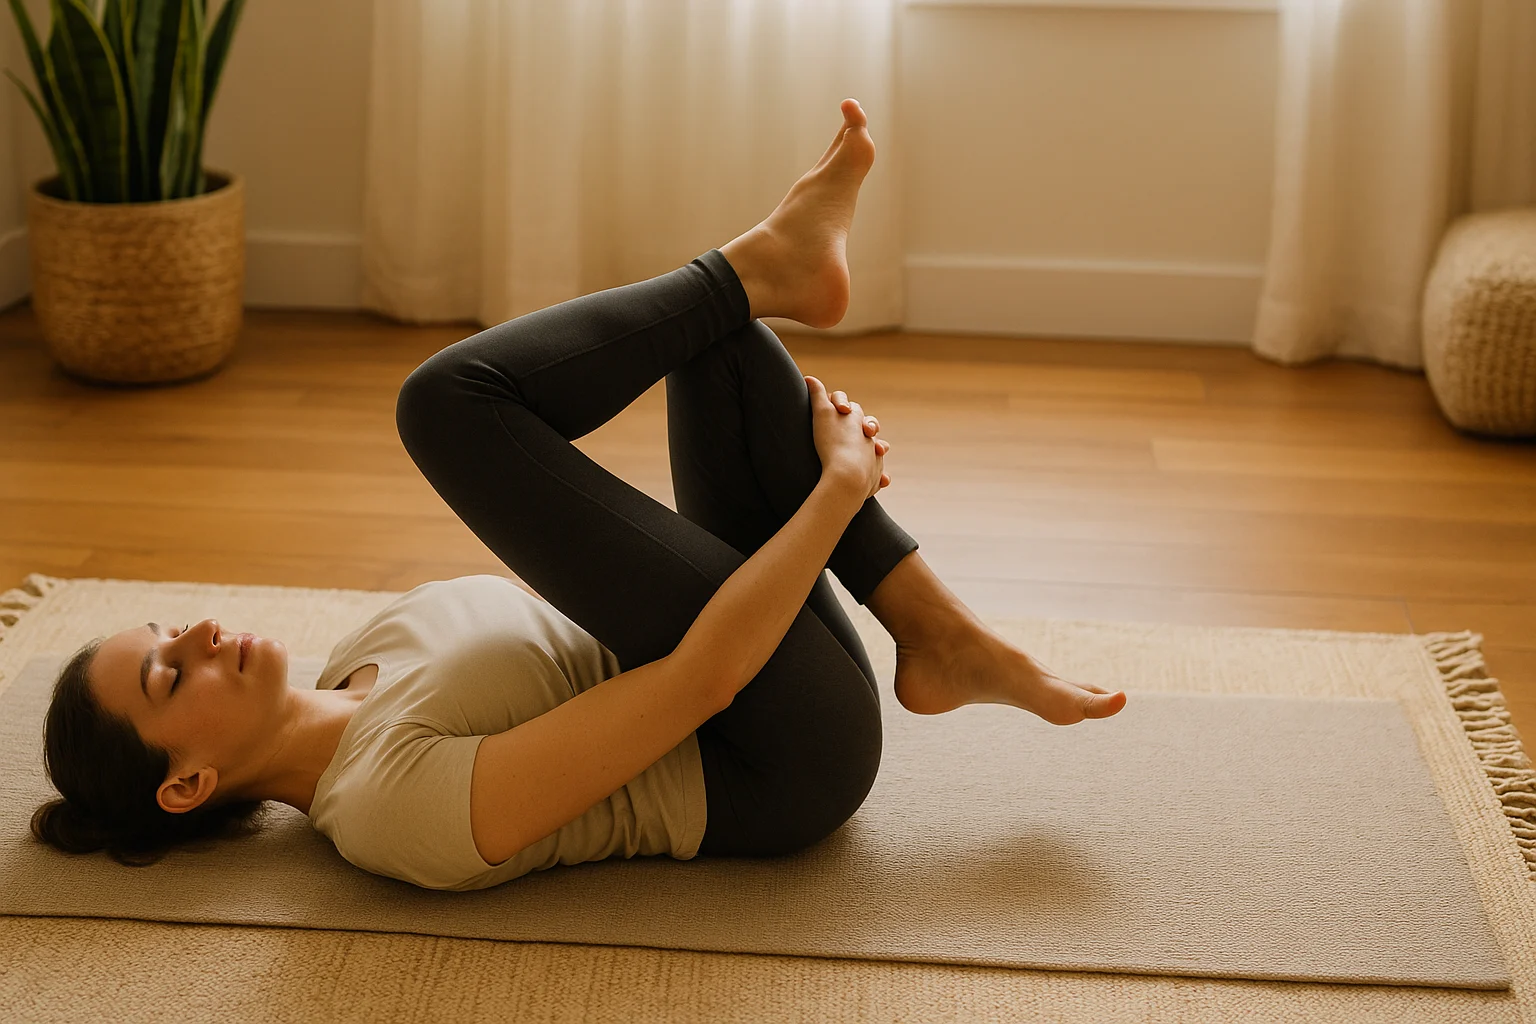
1. Supine Figure Four Stretch (Reclined Pigeon)
Setup: Reclined
Intensity: Gentle to moderate
This reclined figure-four gently stretches the outer hip. Here’s how:
- Settle in on your back with knees bent and feet flat on the mat, about hip-width apart.
- Rest your right ankle over your left thigh, letting your right knee open to the side.
- Feel a gentle stretch in your right glute. Want a bit more? Lift your left foot off the ground.
- Slide your hands behind your left thigh and gently draw it toward your chest, keeping your head relaxed.
- Take slow breaths and let the back of your hip get heavy on the mat; stay for a few comfortable breaths.
- Ease out slowly and switch to the other side.
Why choose it: This is the easiest reclined option to scale because you can keep the supporting foot down or draw the thigh in only as far as feels comfortable.
2. Supine Figure Four With a Strap
Setup: Reclined with a strap
Intensity: Gentle to moderate
This is the same basic figure-four shape with a strap doing some of the reaching for you.
- Lie on your back with both knees bent and feet on the mat.
- Rest your right ankle over your left thigh, letting the right knee open comfortably.
- Loop a strap behind your left thigh and hold one end in each hand.
- Use the strap to draw the left thigh toward you only until you feel a manageable stretch in the right outer hip.
- Keep your head and shoulders relaxed and pause for a few comfortable breaths.
- Ease the leg away, remove the strap, and switch sides.
Why choose it: Use the strap when reaching behind the thigh is awkward or makes you tense your shoulders. The strap is for access and control, not for pulling into a deeper stretch.
3. Chair Figure Four (Seated Glute Stretch)
Setup: Seated on a chair
Intensity: Gentle to moderate
This version keeps you off the floor and makes the range easy to adjust.
- Sit toward the front of a sturdy chair with both feet flat on the floor.
- Rest your right ankle over your left thigh, just above the knee.
- Sit tall and let the right knee relax outward without pressing it down.
- If you want more stretch, hinge forward slightly from the hips while keeping the movement comfortable.
- Pause for a few easy breaths, come upright, and switch sides.
Why choose it: Choose the chair when getting to the floor is the main barrier or when you want the easiest setup to exit quickly.
4. Modified Pigeon Pose (Eka Pada Rajakapotasana)
Setup: Hands and knees, then extending
Intensity: Deeper option
Modified Pigeon uses a larger hip range than the reclined and seated options, so it is not the place to start when symptoms are easily irritated.
- Start in a tabletop position on your hands and knees.
- Bring your right knee forward, placing it behind your right wrist, with your shin angled across the mat.
- Slide your left leg back, keeping your hips square. Pop a block under your right hip if it feels tight.
- Breathe in to lift your chest, then exhale and lean forward over your front leg.
- Stay for a few comfortable breaths without forcing the front knee or hip, then switch sides.
Use with caution: If knee pain or radiating leg symptoms increase, come out and return to Supine Figure Four or the chair variation.
How to Practice Without Aggravating Symptoms
How Often to Practice
There is no well-established yoga-specific schedule for piriformis syndrome. Start with a brief, comfortable practice and judge the dose by how you feel during the session and afterward. More is not automatically better: shorten the range, duration, or frequency if pain, tingling, or numbness increases. If a clinician or physical therapist has given you a plan, use that guidance instead of a generic schedule.
During a Flare-Up
During a flare-up, avoid positions and activities that reliably make your symptoms worse. Deep hip stretches such as Pigeon may be too intense for some people, and prolonged sitting is a common aggravator. Gentle walking or another easy activity can be a better choice when it feels comfortable. Do not push through sharp or radiating pain, and back out of any position that increases tingling or numbness.
When to Stop and Get Medical Help
Use slow breathing, easy transitions, and props when they reduce strain; there is no benefit to forcing a deeper range. Stop if a position increases pain, tingling, or numbness. Seek medical care promptly for sudden severe pain, new weakness or numbness, bowel or bladder changes, or symptoms after a significant injury. If symptoms persist for more than a few weeks despite self-care, a healthcare professional can help sort out the cause and next steps.
Between Sessions: Change Positions Regularly
Outside the mat, vary positions instead of staying seated for long stretches. If sitting tends to aggravate your symptoms, stand up, walk, or change position regularly rather than following a rigid timer. Comfortable sitting support and sensible lifting habits can also reduce unnecessary strain. Pair gentle movement with ordinary breaks instead of treating any one posture as a cure.
For broader lower-back and hip discomfort, see our hip pain yoga relief guide for lower-back and hip options.
If the chair variation is the most practical option for you, the free routine below gives you a simple seated practice to keep on hand.
Get the 10-Minute Chair Yoga Routine
Confirm your email to get the routine. Unsubscribe anytime.
Something went wrong. Please check your email address and try again.
Frequently Asked Questions
Start With the Easiest Position, Not the Deepest
If you try one thing from this guide, start with the setup you can enter and exit comfortably—often Supine Figure Four or the chair variation—and keep the range modest. Deeper is not better, and a pose that increases radiating pain, tingling, or numbness is not the right choice for that session. If symptoms are severe, worsening, or not settling—or you develop new weakness, numbness, or bowel or bladder changes—stop experimenting and get evaluated.