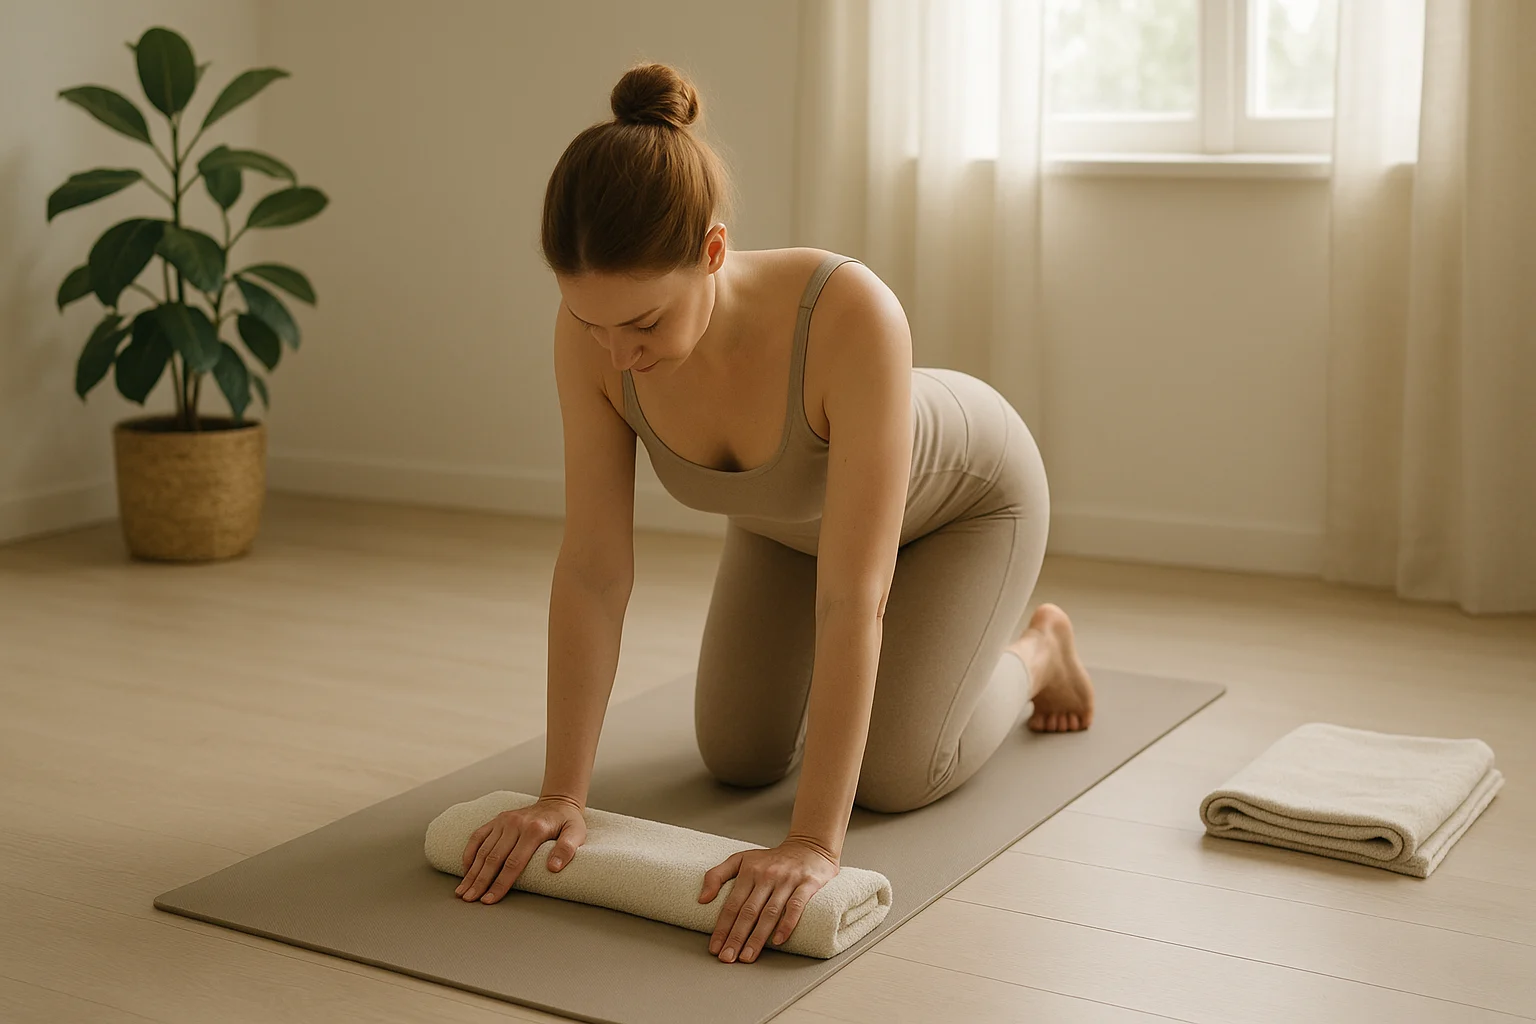
If yoga and wrist pain keep colliding in Downward Dog, Plank, or hands-and-knees poses, you do not need to prove that you can tolerate the original shape. Take wrist loading out before you try to stretch through it. That can mean switching to your forearms, choosing seated or standing poses, or skipping hand-supported transitions for the day.
This guide is about adapting the practice, not diagnosing the cause of pain. You’ll see how to reduce load, choose a starting route with the wrist-friendly tool, and recognize signs that deserve medical assessment. For broader body-area options, use our yoga for pain relief guide.
Find a Wrist-Friendly Starting PointTable of Contents
Why Wrist Pain Can Show Up During Yoga
Many yoga poses ask the hands and wrists to support part of your body weight while the wrist is extended. If that position hurts, the important question is not “What is wrong with my alignment?” but “How can I ask less of this wrist right now?” Wrist pain has many possible causes, so use the pattern you notice to choose a modification rather than trying to diagnose yourself from one symptom.
Loading matters more than perfect-looking alignment
Hand position can change how a pose feels, but there is no single cue that makes a painful wrist safe. If spreading the fingers, changing hand placement, or shortening the hold still leaves the wrist uncomfortable, reduce or remove the load instead of forcing the position.
Repetition can keep a sore wrist irritated
Downward Dog, Plank, Chaturanga, and hands-and-knees transitions can repeat the same wrist demand many times in one class. If discomfort builds during the session or lingers afterward, cut back on those repetitions and choose a lower-load route.
Existing wrist problems change the decision
Arthritis, sprains, tendinitis, nerve irritation, and other wrist problems can all change what feels tolerable. Numbness or tingling deserves particular attention: treat it as a reason to get assessed, not as a reason to stretch harder or assume you know the diagnosis.
How to Reduce Wrist Loading in Yoga
The goal is not to make every classic pose work today. The goal is to keep the practice useful while asking less of the wrist.
1. Remove hand loading first
If putting weight through the hands hurts, start with seated or standing poses, or choose a resting position that keeps the hands relaxed. This is the simplest way to keep moving without repeatedly testing the painful position.
2. Move support to your forearms when that feels comfortable
Forearm-supported variations can keep some familiar shapes in the practice without loading the palms. They are options, not requirements: if forearm support is also uncomfortable, use the no-load route instead.
3. Use fists or props only when they genuinely improve comfort
A fist, block, or wedge can change the wrist angle or where you place support, but none of them automatically makes a painful pose appropriate. Use a stable setup, stop if symptoms increase, and do not treat a prop as permission to push through pain.
4. Keep wrist movement gentle
For mild stiffness, easy wrist circles or other comfortable movement can be enough. Stay inside a range that feels easy; forcing deep flexion or extension is not necessary for a useful warm-up.
Find a Wrist-Friendly Starting Point
Use this as a starting guide, not a diagnosis. Pick what you notice during yoga, then choose how much wrist loading feels comfortable today.
Choose the answer that best matches what you notice during yoga.
Wrist-Friendly Pose Options by Load Level
Instead of treating a pose as universally “safe” or “unsafe,” choose by how much wrist loading it asks from you. Comfort can change from person to person and from one day to the next.
Quick swaps for common wrist-loaded poses
| If this bothers your wrist | Try this instead | Main idea |
|---|---|---|
| Downward Dog | Dolphin if forearm support feels comfortable; otherwise switch to a seated or standing pose. | Move support away from the palms instead of forcing the original shape. |
| Plank | Forearm Plank, or leave Plank out for the day. | Keep the core work only if the lower-load setup stays comfortable. |
| Tabletop or Cat-Cow | Seated Cat-Cow; forearm or fist support only if that feels stable and comfortable. | You do not need flat palms to keep the spinal movement. |
| Chaturanga | Skip the hand-loaded transition and move to the next comfortable pose. | Not every transition needs a wrist-bearing replacement. |
No hand loading
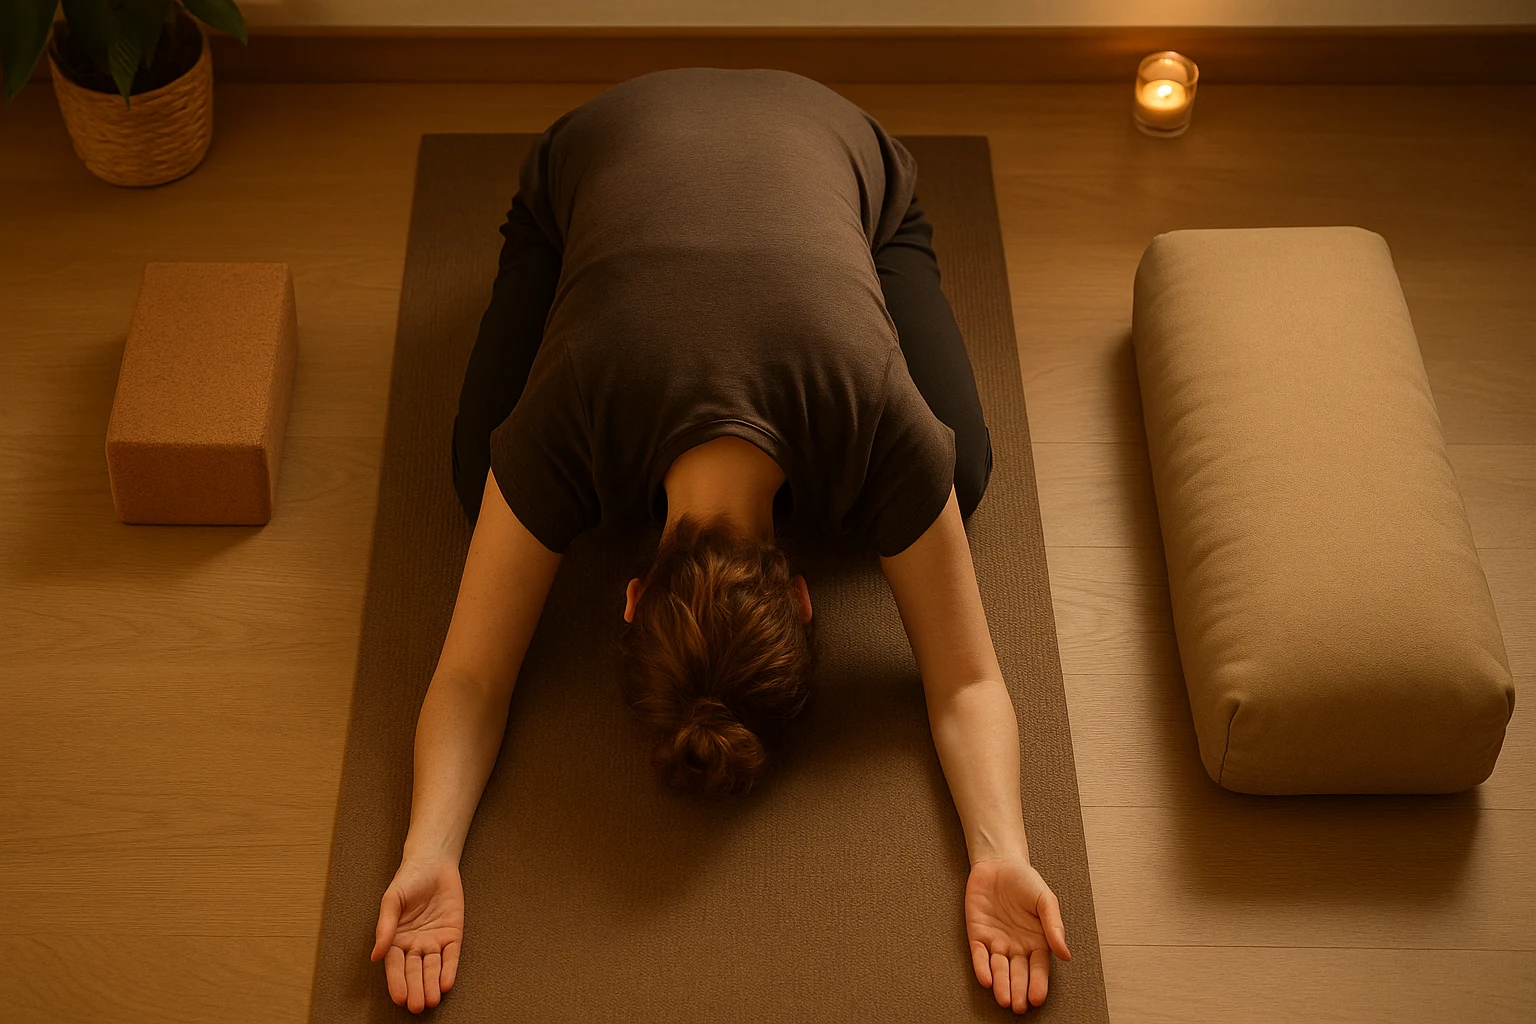
Start here when you want the wrist out of the job completely. Seated Mountain, gentle seated side bends, and standing poses can keep the practice moving while the hands stay relaxed. Child’s Pose can also be wrist-sparing when you enter without leaning through painful hands and let the arms rest in a comfortable position without bearing weight through the wrists.
Forearm-supported options
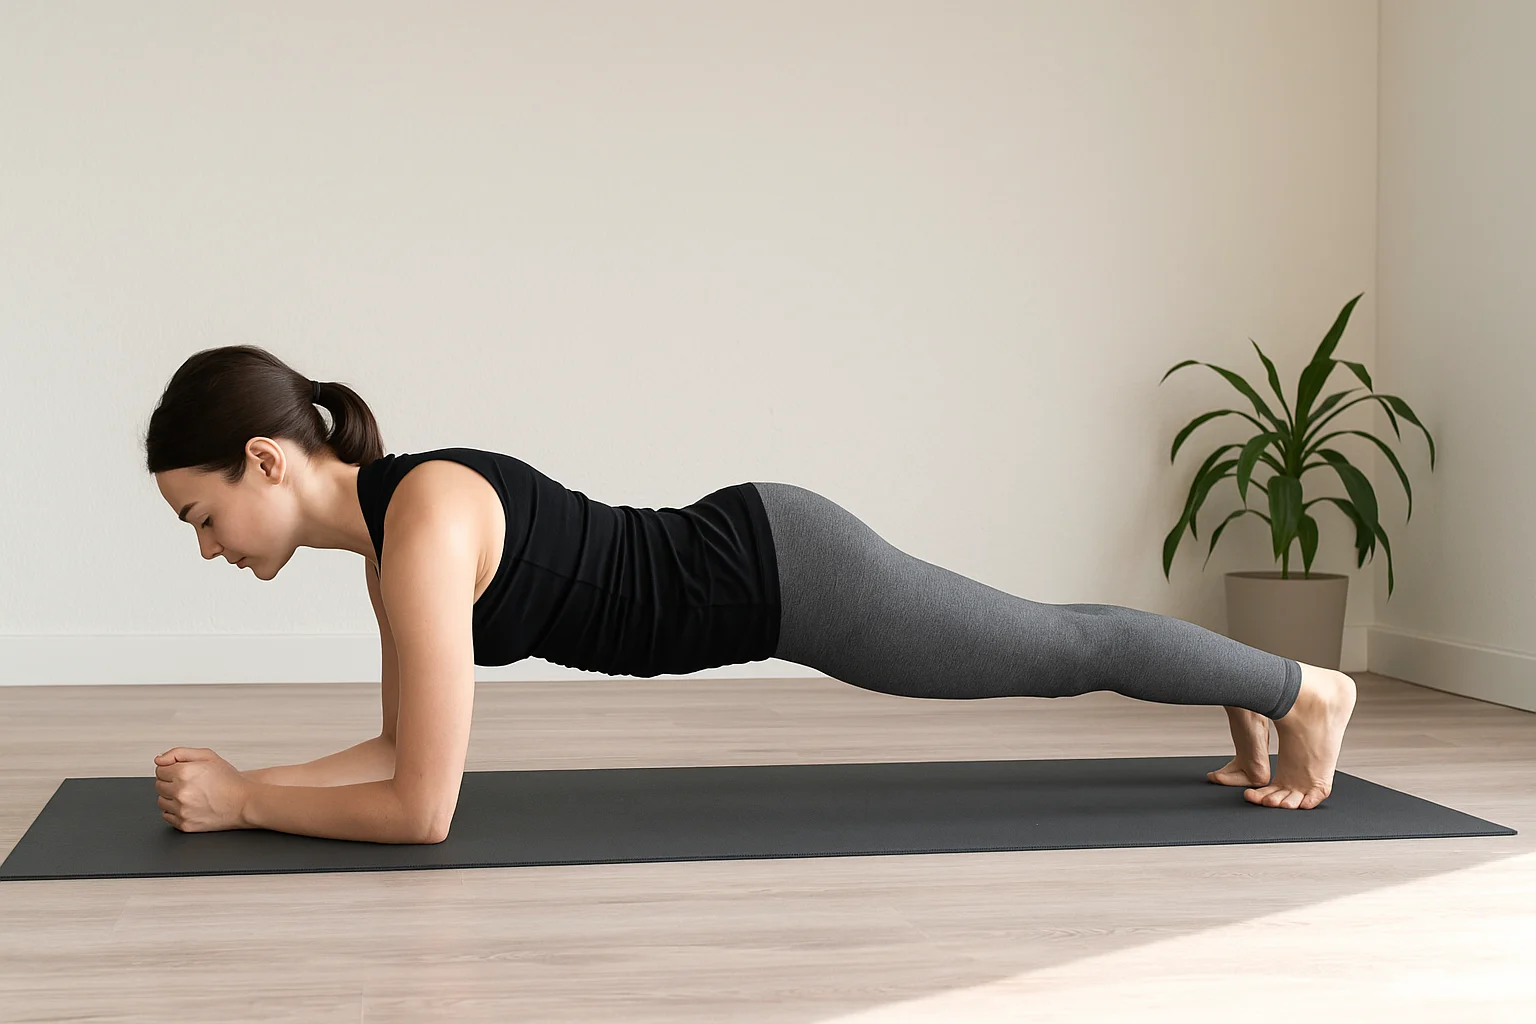
Forearm Plank and Dolphin shift support away from the palms. Use them only if your forearms and shoulders are comfortable and the position does not increase wrist symptoms.
- Forearm Plank: Place elbows under or near the shoulders, step back, and keep the body in one long line without letting the pose become a wrist test.
- Dolphin: From the forearms, lift the hips only as far as you can keep the shoulders and neck comfortable.
Hands-and-knees only if the wrist is comfortable
Cat-Cow does not have to be done on flat palms. A seated Cat-Cow removes hand loading altogether; some people also prefer forearm or fist-supported versions. Choose the version that feels stable and comfortable rather than forcing the standard setup.
Gentle wrist mobility in yoga
Slow wrist circles can be a simple way to explore wrist mobility in yoga without loading the joint. Keep the motion small and comfortable, and stop if movement increases pain, tingling, or other symptoms.
When Wrist Pain Needs Medical Attention
Use yoga modifications only for mild symptoms that settle when you reduce the load. Get medical advice if wrist pain is worsening, keeps returning, interferes with normal activities, or comes with tingling or loss of sensation.
- After an injury: Get prompt advice for significant pain, swelling, or difficulty using the wrist.
- Persistent or worsening symptoms: Don’t keep testing the same painful position in yoga.
- Tingling or loss of sensation: These symptoms need assessment rather than a self-diagnosis of carpal tunnel syndrome.
- Painful, warm, swollen, and stiff wrist: Arrange medical assessment.
- Urgent warning signs: Seek urgent medical help if pain is severe, you cannot move the wrist or hold things, the wrist changes shape or colour, you lose feeling in part or all of the hand, or you have a very painful, hot or red lump.
A clinician can help work out the cause and whether activity changes, a splint, therapy, exercises, imaging, or another treatment is appropriate. For a general medical overview, see MedlinePlus on wrist injuries and disorders.
Frequently Asked Questions
A Wrist-Friendly Practice Still Counts
You do not need to earn your way back to full Downward Dog today. If forearm support feels good, use it. If it does not, choose seated, standing, or no-hand-loading options. A useful practice is the version you can do without making wrist symptoms worse.
If the wrist keeps limiting ordinary activities, keeps worsening, or gives you numbness, tingling, loss of sensation, or other warning signs, stop troubleshooting it with yoga and get it assessed. The goal is not to complete every pose; it is to keep movement workable for the body you have today.
If your wrist is not in that category and floor work is simply uncomfortable in the morning, a chair-based routine gives you another way to keep moving.
Get the 10-Minute Chair Yoga Routine
Confirm to get the routine and yoga tips. Unsubscribe anytime.
Something went wrong. Please check your email address and try again.